Konica Minolta bizhub C654 bizhub C654/C754 Print Operations User Guide - Page 113
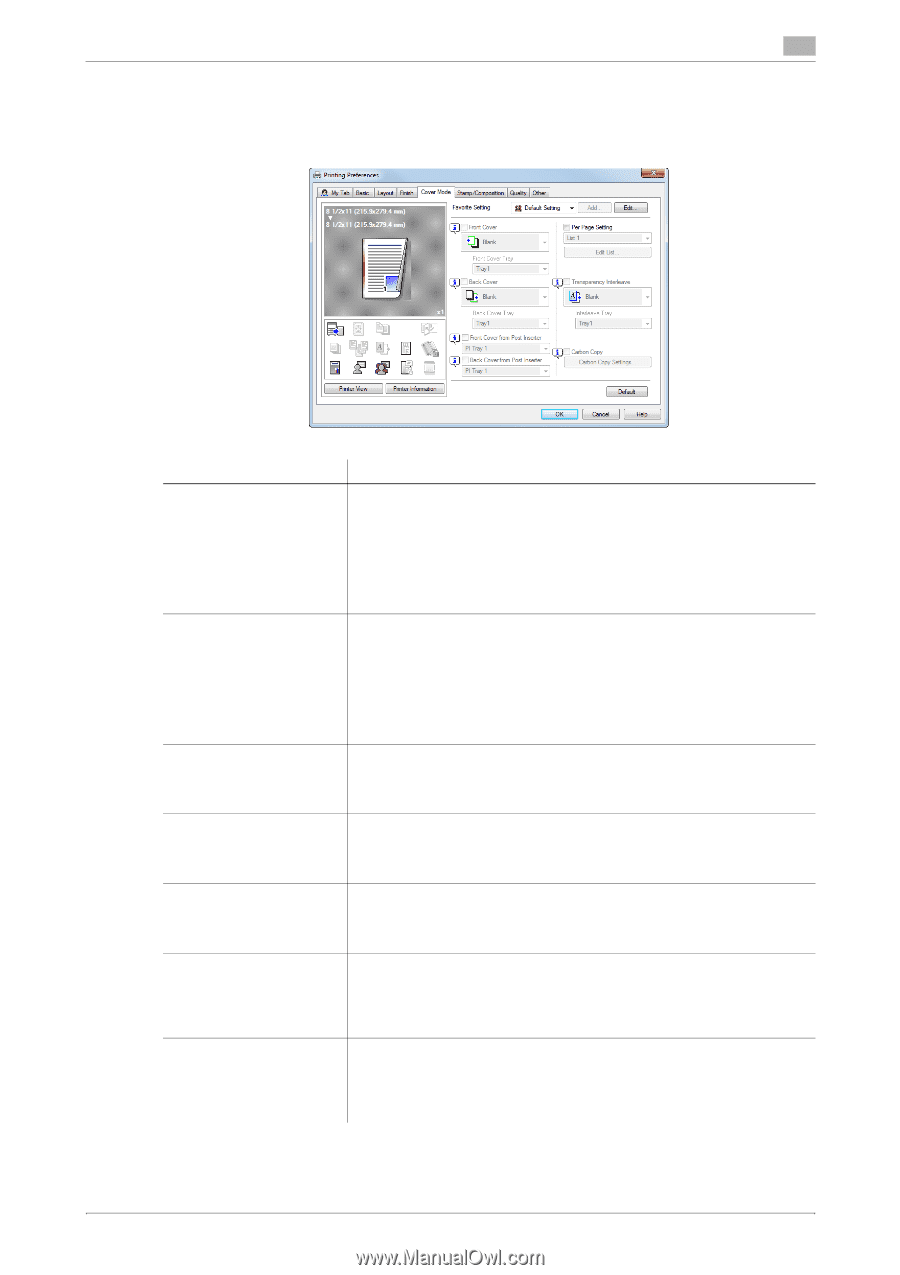
Available operations in the [Cover Mode] tab
 |
View all Konica Minolta bizhub C654 manuals
Add to My Manuals
Save this manual to your list of manuals |
Page 113 highlights
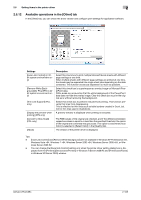
2.6 Setting items in the printer driver 2 2.6.9 Available operations in the [Cover Mode] tab In the [Cover Mode] tab, you can insert covers and pages. You can also change the layout or finish between pages. Settings [Front Cover] [Back Cover] [Front Cover from Post Inserter] [Back Cover from Post Inserter] [Per Page Setting] [Transparency Interleave] [Carbon Copy] Description Select this check box to insert and print on a front cover. In [Front Cover Tray], select the paper tray for the front cover. Then, select whether to print on the inserted front cover. • [Blank]: Nothing is printed on the inserted front cover. • [Print]: The first page of the original is printed on the inserted front cov- er. You can set this option when you have selected anything other than [Auto] in [Paper Tray] in the [Basic] tab. Select this check box to insert and print on a back cover. In [Back Cover Tray], select the paper tray for the back cover. Then, select whether to print on the inserted back cover. • [Blank]: Nothing is printed on the inserted back cover. • [Print]: The last page of the original is printed on the inserted back cov- er. You can set this option when you have selected anything other than [Auto] in [Paper Tray] in the [Basic] tab. Select this check box to insert and print on an outer front cover. In addition, select the PI tray for the outer front cover. You can set this option when you have selected anything other than [Auto] in [Paper Tray] in the [Basic] tab. Select this check box to insert and print on an outer back cover. In addition, select the PI tray for the outer back cover. You can set this option when you have selected anything other than [Auto] in [Paper Tray] in the [Basic] tab. Select this check box to insert sheets into the original or change the print settings page by page. In addition, select the list to apply to printing. Click [Edit List...] to create in advance a list containing detailed print settings. For details, refer to page 2-55. When printing on multiple OHP transparencies, select this check box if you want to insert paper between the OHP transparencies. In [Interleave Tray], select the paper tray for the paper to be inserted. You can set this option when you have selected [Transparency] in [Paper Type] in the [Basic] tab. Select this check box to print the original on different sheets of paper loaded in multiple trays. Selecting the [Carbon Copy] check box displays the [Carbon Copy Settings] window. Specify the output order or trays used for carbon copying. For details, refer to page 2-26. bizhub C754/C654 2-100
-
 1
1 -
2
-
3
-
4
-
5
-
6
-
7
-
8
-
9
-
10
-
11
-
12
-
13
-
14
-
15
-
16
-
17
-
18
-
19
-
20
-
21
-
22
-
23
-
24
-
25
-
26
-
27
-
28
-
29
-
30
-
31
-
32
-
33
-
34
-
35
-
36
-
37
-
38
-
39
-
40
-
41
-
42
-
43
-
44
-
45
-
46
-
47
-
48
-
49
-
50
-
51
-
52
-
53
-
54
-
55
-
56
-
57
-
58
-
59
-
60
-
61
-
62
-
63
-
64
-
65
-
66
-
67
-
68
-
69
-
70
-
71
-
72
-
73
-
74
-
75
-
76
-
77
-
78
-
79
-
80
-
81
-
82
-
83
-
84
-
85
-
86
-
87
-
88
-
89
-
90
-
91
-
92
-
93
-
94
-
95
-
96
-
97
-
98
-
99
-
100
-
101
-
102
-
103
-
104
-
105
-
106
-
107
-
 108
108 -
 109
109 -
 110
110 -
 111
111 -
 112
112 -
 113
113 -
 114
114 -
 115
115 -
 116
116 -
 117
117 -
 118
118 -
119
-
120
-
121
-
122
-
123
-
124
-
125
-
126
-
127
-
128
-
129
-
130
-
131
-
132
-
133
-
134
-
135
-
136
-
137
-
138
-
139
-
140
-
141
-
142
-
143
-
144
-
145
-
146
-
147
-
148
-
149
-
150
-
151
-
152
-
153
-
154
-
155
-
156
-
157
-
158
-
159
-
160
-
161
-
162
-
163
-
164
-
165
-
166
-
167
-
168
-
169
-
170
-
171
-
172
-
173
-
174
-
175
-
176
-
177
-
178
-
179
-
180
-
181
-
182
-
183
-
184
-
185
-
186
-
187
-
188
-
189
-
190
-
191
-
192
-
193
-
194
-
195
-
196
-
197
-
198
-
199
-
200
-
201
-
202
-
203
-
204
-
205
-
206
-
207
-
208
-
209
-
210
-
211
-
212
-
213
-
214
-
215
-
216
-
217
-
218
-
219
-
220
-
221
-
222
-
223
-
224
-
225
-
226
-
227
-
228
-
229
-
230
-
231
-
232
-
233
-
234
-
235
-
236
-
237
-
238
-
239
-
240
-
241
-
242
-
243
-
244
-
245
-
246
-
247
-
248
-
249
-
250
-
251
-
252
-
253
-
254
-
255
-
256
-
257
-
258
-
259
-
260
-
261
-
262
-
263
-
264
-
265
-
266
-
267
-
268
-
269
 |
 |