Linksys EFSP42 User Guide - Page 14
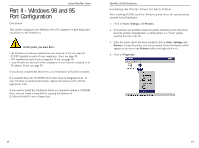
Part II- Windows NT Port, Configuration - windows 7
 |
UPC - 745883549108
View all Linksys EFSP42 manuals
Add to My Manuals
Save this manual to your list of manuals |
Page 14 highlights
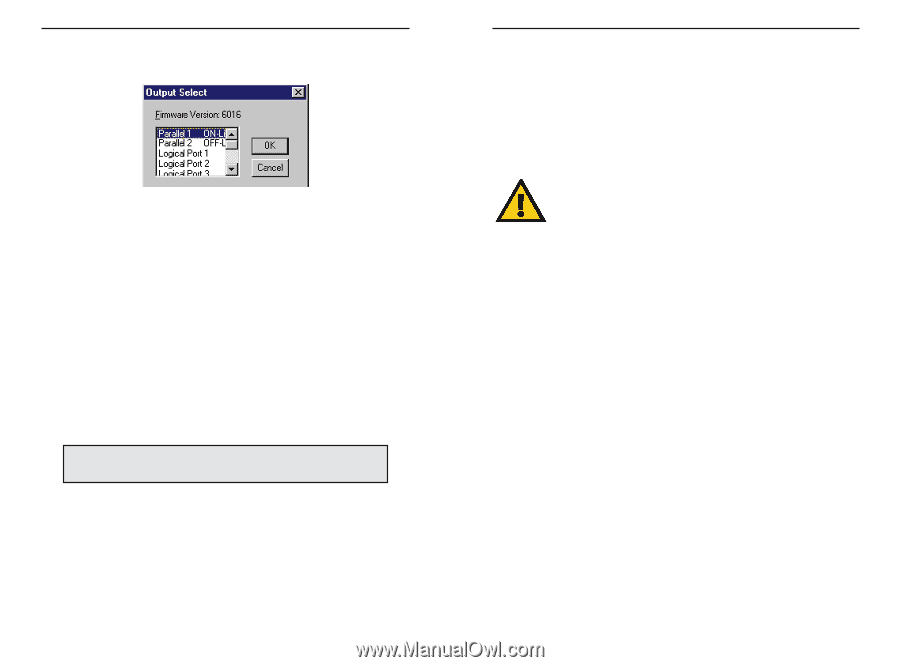
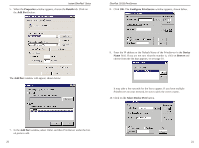
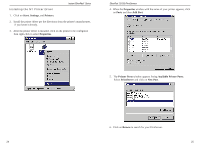
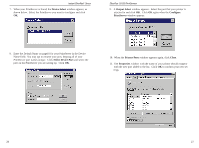
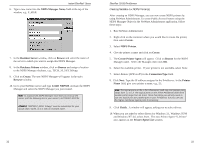
Instant EtherFast® Series 11. If you are using PrintServer with more than one parallel port, choose the PrintServer parallel (LPT) port connected to the newly installed printer. 12. In the Configure PrintServer window, set the Retry interval, which determines how many seconds Windows waits before attempting to send a print job again if the PrintServer was busy. 13. If you want each print job to be identified with the user's name, enable the banner. If you need postscripting printing for the banner, select the PostScript option. Be sure to enter the workgroup or username you want to appear on the banner. 14. When you finish, click OK. When the Printer Properties window reappears, click Apply, then select the General tab. Click on Print Test Page. If the page prints, click OK in the Properties window and close all opened windows. Your PrintServer installation is now complete, and you can print as you do normally. To change the PrintServer's internal setup or configuration, see page 37. Note: For 3-Port PrintServers (EPSX3) and 2-Port Switched PrintServers (EFSP42), you must add a port each time you add a printer to your PrintServer and each time you add an additional PrintServer to your network. EtherFast 10/100 PrintServers Part II- Windows NT Port Configuration Your PrintServer is fully compatible with Windows NT 4.0 environments. This section will show you how to set up each port you use on the PrintServer so all the computers on your networks can print from the PrintServer. At this point, you must have: • TCP/IP installed on each of your computers. If not, see page 58. • IPX installed on each of your computers. If not, see page 58. • have an IP address for the PrintServer and each computer on the network. • Logged on as an NT Adminstrator. If you do not complete the above first, your installation will not be complete. It is assumed that your CD-ROM drive's letter name is designated as D. If your CD drive is named another letter, replace all instances of D with the appropriate letter. 22 23
-
 1
1 -
2
-
3
-
4
-
5
-
6
-
7
-
8
-
 9
9 -
 10
10 -
 11
11 -
 12
12 -
 13
13 -
 14
14 -
 15
15 -
 16
16 -
 17
17 -
 18
18 -
 19
19 -
20
-
21
-
22
-
23
-
24
-
25
-
26
-
27
-
28
-
29
-
30
-
31
-
32
-
33
-
34
-
35
-
36
-
37
-
38
-
39
-
40
-
41
-
42
-
43
-
44
-
45
-
46
-
47
-
48
-
49
 |
 |