Linksys EFSP42 User Guide - Page 9
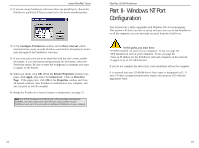
Part I - Windows Driver Setup - ip
 |
UPC - 745883549108
View all Linksys EFSP42 manuals
Add to My Manuals
Save this manual to your list of manuals |
Page 9 highlights
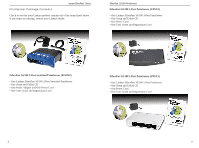
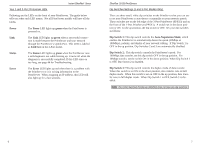
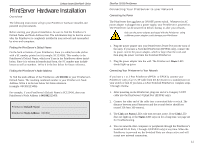
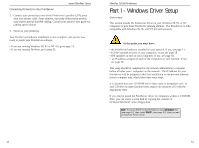
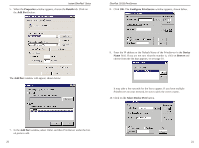
Instant EtherFast® Series Connecting Printer(s) to Your PrintServer 1. Connect your printer(s) to one of the PrintServer's parallel (LPT) ports with your printer cable. Some printers, especially bidirectional models, may require special shielded cabling. Consult your printer's user guide for cabling specifications. 2. Power on your printer(s). Your PrintServer hardware installation is now complete, and you are now ready to install your PrintServer software. • If you are running Windows 98, 95 or NT 4.0, go to page 13. • If you are running NetWare, go to page 29. EtherFast 10/100 PrintServers Part I - Windows Driver Setup Overview This section installs the Printserver driver on your Windows 98, 95, or NT computers to give them PrintServer printing abilities. The PrintServer is fully compatible with Windows 98, 95, and NT 4.0 environments. At this point, you must have: • the PrintServer hardware installed on your network. If not, see page 11. • TCP/IP installed on each of your computers. If not, see page 58. • IPX installed on each of your computers. If not, see page 58. • an IP address assigned to each of the computers on your network. If not, see page 58. This setup should be completed on the network administrator's computer before all other users' computers on the network. The IP address for your PrintServer will be assigned in this first installation on the network administrator's computer only, which takes three extra steps. It is assumed that your CD-ROM drive's letter name is designated as D. If your CD drive is named another letter, replace all instances of D with the appropriate letter. If you need to install the PrintServer driver on computers without a CD-ROM drive, you can create a setup disk by copying the contents of D:\Driver\Win9xNT onto a floppy disk. Note: To set up DHCP on the PrintServer, install Bi-Admin first (see page 37), then install DHCP (see page 57), then proceed to install the Printer Driver. 12 13
-
 1
1 -
2
-
3
-
 4
4 -
 5
5 -
 6
6 -
 7
7 -
 8
8 -
 9
9 -
 10
10 -
 11
11 -
 12
12 -
 13
13 -
 14
14 -
15
-
16
-
17
-
18
-
19
-
20
-
21
-
22
-
23
-
24
-
25
-
26
-
27
-
28
-
29
-
30
-
31
-
32
-
33
-
34
-
35
-
36
-
37
-
38
-
39
-
40
-
41
-
42
-
43
-
44
-
45
-
46
-
47
-
48
-
49
 |
 |