Magellan Triton 400 Manual - English - Page 28
Customizing the Map Screen Data Fields, Saving Your Current Position as a Waypoint
 |
UPC - 763357117769
View all Magellan Triton 400 manuals
Add to My Manuals
Save this manual to your list of manuals |
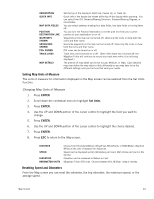
Page 28 highlights
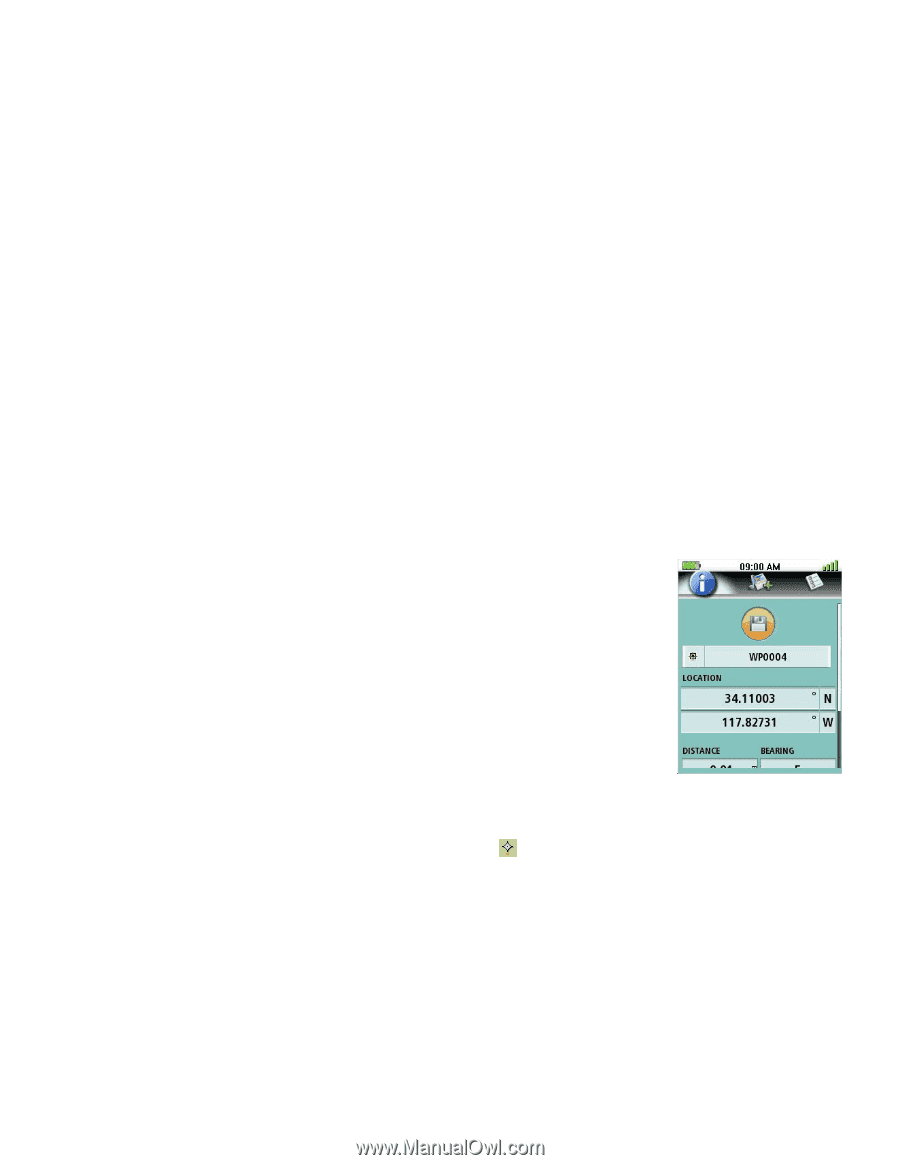
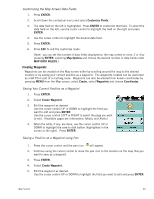
Customizing the Map Screen Data Fields 1. Press ENTER. 2. Scroll down the contextual menu and select Customize Fields. 3. The data field on the left is highlighted. Press ENTER to customize that field. To select the data field on the left, use the cursor control to highlight the field on the right and press ENTER. 4. Use the cursor control to highlight the desired data field. 5. Press ENTER. 6. Press ESC to exit the customize mode. (Note: you can set the number of data fields displayed on the map screen to none, 2 or 4 by pressing ENTER, selecting Map Options and choose the desired number of data fields under MAP DATA FIELDS.) Creating Waypoints Waypoints can be created on the Map screen either by scrolling around the map to the desired location or by saving your current position as a waypoint. The waypoints created can be used later as a GO TO or part of a multileg route. Waypoints can also be entered from known coordinates by pressing MENU from the Map screen, select Create, select Waypoints and choose Coordinates. Saving Your Current Position as a Waypoint 1. Press ENTER. 2. Select Create Waypoint. 3. Edit the waypoint as desired. Use the cursor control UP or DOWN to highlight the field you want to edit and press ENTER. Use the cursor control LEFT or RIGHT to select the page you want to edit. (Available pages are Information, Media, and Alerts.) 4. When the edits, if any, are done, use the cursor control UP or DOWN to highlight the save to disk button (highlighted in the screen to the right). Press ENTER. Saving a Position as a Waypoint using Pan 1. Press the cursor control and the pan icon will appear. 2. Continue using the cursor control to move the pan icon to the location on the map that you want to save as a waypoint. 3. Press ENTER. 4. Select Create Waypoint. 5. Edit the waypoint as desired. Use the cursor control UP or DOWN to highlight the field you want to edit and press ENTER. Map Screen 20
-
 1
1 -
2
-
3
-
4
-
5
-
6
-
7
-
8
-
9
-
10
-
11
-
12
-
13
-
14
-
15
-
16
-
17
-
18
-
19
-
20
-
21
-
22
-
 23
23 -
 24
24 -
 25
25 -
 26
26 -
 27
27 -
 28
28 -
 29
29 -
 30
30 -
 31
31 -
 32
32 -
 33
33 -
34
-
35
-
36
-
37
-
38
-
39
-
40
-
41
-
42
-
43
-
44
-
45
-
46
-
47
-
48
-
49
-
50
-
51
-
52
-
53
-
54
-
55
-
56
-
57
-
58
-
59
-
60
-
61
-
62
-
63
-
64
-
65
 |
 |