Magnavox MWR20V6 Owners Manual - Page 53
Switching camera angles, Reducing block noise
 |
UPC - 053818570180
View all Magnavox MWR20V6 manuals
Add to My Manuals
Save this manual to your list of manuals |
Page 53 highlights
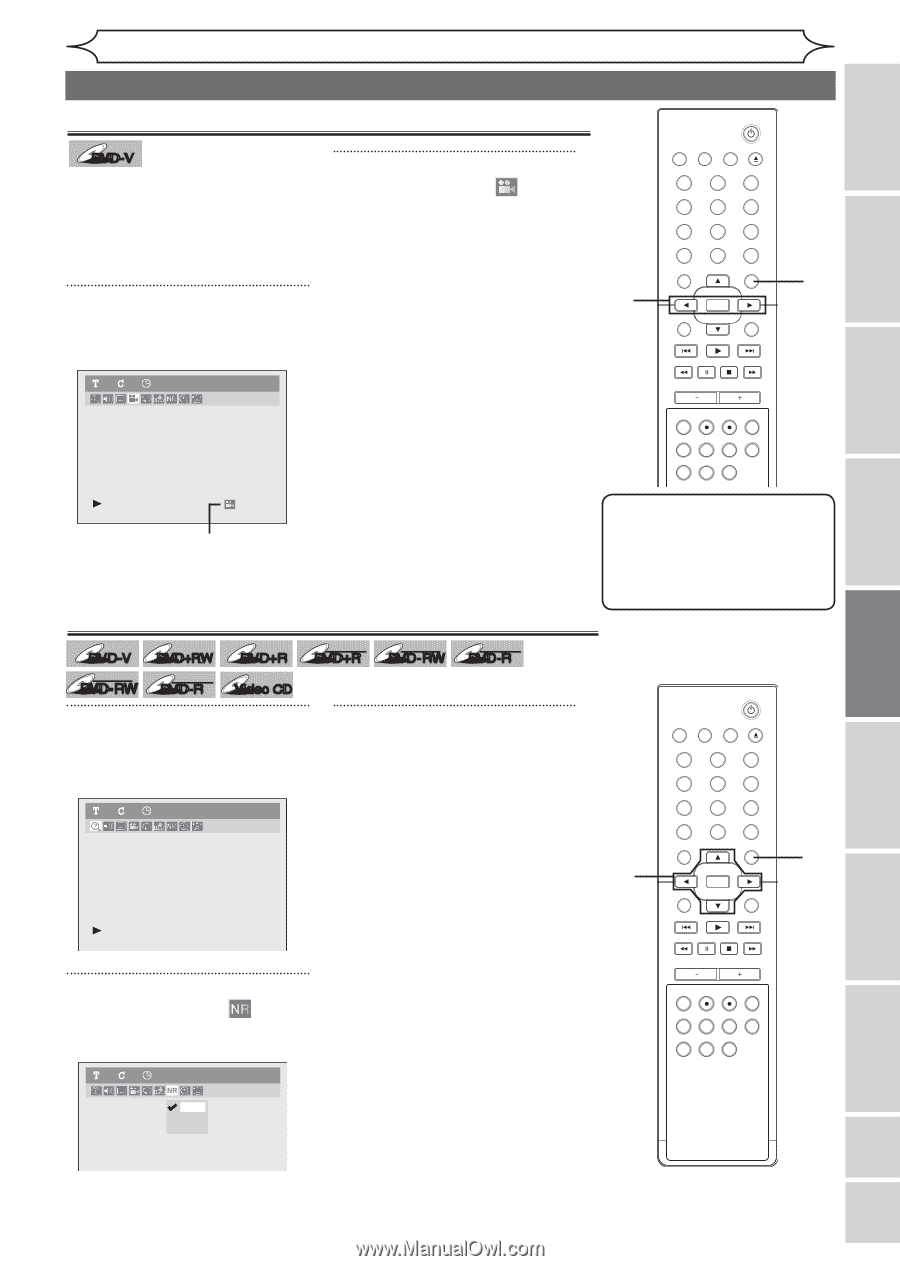
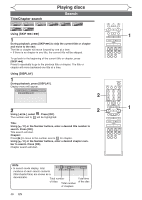
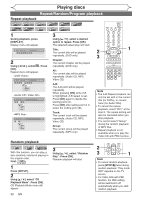
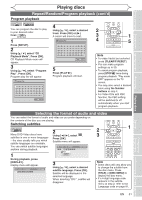
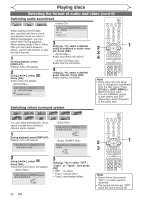
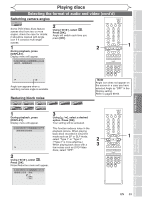
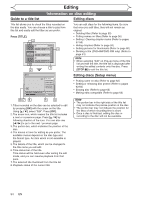
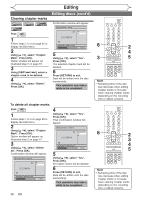
Before you start Connections Getting started Recording Playing discs Selecting the format of audio and video (cont'd) Switching camera angles STANDBY-ON DVD-V Some DVD-Video discs feature scenes shot from two or more angles, check the case for details: it should be marked with Angle icon if it contains multi-angle scenes. 1 During playback, press [DISPLAY]. Display menu will appear. 2 Using [{ / B], select . Press [OK]. Angle will switch each time you press [OK]. 2 VIDEO/TV VCR DVD OPEN/CLOSE .@/: ABC 1 2 GHI JKL 4 5 PQRS TUV 7 8 CLEAR/C-RESET SPACE 0 RETURN DEF 3 MNO 6 WXYZ 9 TITLE DISPLAY OK DISC MENU SETUP 1 11 0:00:00 DVD-Video CHANNEL TIMER VCR REC DVD REC REC MODE TIMER SET SLOW CM SKIP RAPID PLAY SEARCH AUDIO DUBBING Angle icon appears when a switching camera angle is available. Reducing block noise DVD-V DVD+RW DVD+R Video Video DVD-RW DVD-R Video CD 1 During playback, press [DISPLAY]. Display menu will appear. DL +VR +VR DVD+R DVD-RW DVD-R 3 Using [K / L], select a desired option. Press [OK]. Your setting will be activated. 11 0:00:00 DVD-Video 2 Using [{ / B], select . Press [OK]. Noise Reduction menu will appear. 11 0:00:00 DVD-Video This function reduces noise in the playback picture. When playing back discs recorded in long time mode such as EP or SLP mode, select "Type 1" or "Type 2". ("Type 2" is more effective.) When playing back discs with a few noises such as DVD-Video discs, select "OFF". OFF Type 1 Type 2 Note Angle icon does not appear on the screen in a case you have selected Angle as "OFF" in the Display setting. Refer to pages 68-69. 2 3 STANDBY-ON VIDEO/TV VCR DVD OPEN/CLOSE .@/: ABC 1 2 GHI JKL 4 5 PQRS 7 CLEAR/C-RESET TUV 8 SPACE 0 RETURN DEF 3 MNO 6 WXYZ 9 TITLE DISPLAY OK DISC MENU SETUP 1 CHANNEL TIMER VCR REC DVD REC REC MODE TIMER SET SLOW CM SKIP RAPID PLAY SEARCH AUDIO DUBBING Playing discs Editing Changing the Setup menu VCR functions Others Español EN 53
-
 1
1 -
2
-
3
-
4
-
5
-
6
-
7
-
8
-
9
-
10
-
11
-
12
-
13
-
14
-
15
-
16
-
17
-
18
-
19
-
20
-
21
-
22
-
23
-
24
-
25
-
26
-
27
-
28
-
29
-
30
-
31
-
32
-
33
-
34
-
35
-
36
-
37
-
38
-
39
-
40
-
41
-
42
-
43
-
44
-
45
-
46
-
47
-
 48
48 -
 49
49 -
 50
50 -
 51
51 -
 52
52 -
 53
53 -
 54
54 -
 55
55 -
 56
56 -
 57
57 -
 58
58 -
59
-
60
-
61
-
62
-
63
-
64
-
65
-
66
-
67
-
68
-
69
-
70
-
71
-
72
-
73
-
74
-
75
-
76
-
77
-
78
-
79
-
80
-
81
-
82
-
83
-
84
-
85
-
86
-
87
-
88
-
89
-
90
 |
 |