Panasonic WJRT208 WJRT208 User Guide - Page 25
Turning the Power Off, 4 Modification of the System Time, TIME & DATE
 |
View all Panasonic WJRT208 manuals
Add to My Manuals
Save this manual to your list of manuals |
Page 25 highlights
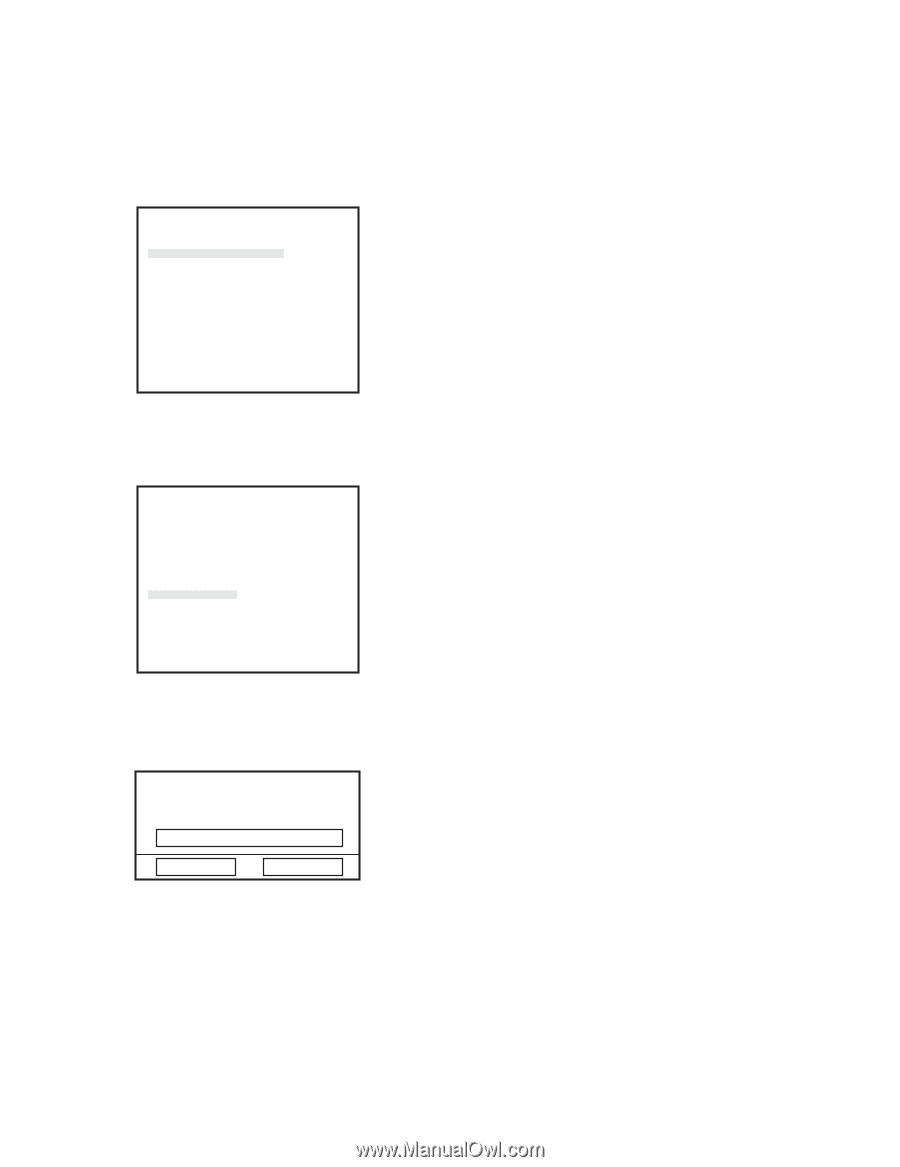
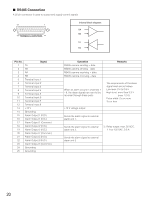
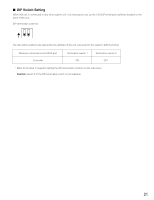
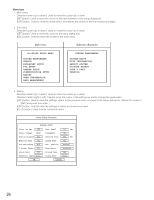
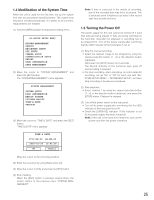
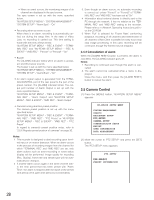
1.4 Modification of the System Time When this unit is used for the first time, set up the system time with the procedures specified below. This system time should be checked periodically. If it seems to be incorrect, readjustments are needed. (1) Click the [MENU] button to display the setting menu. WJ-RT208 SETUP MENU SYSTEM MANAGEMENT SEARCH REC&EVENT SETUP PTZ SETUP CAMERA SETUP COMMUNICATION SETUP REPORT USER INFORMATION DATA MANAGEMENT (2) Move the cursor to "SYSTEM MANAGEMENT" and press the [SET] button. The "SYSTEM MANAGEMENT" menu appears. SYSTEM MANAGEMENT SYSTEM SETUP DISK INFORMATION REBOOT SYSTEM PICTURE ADJUST TIME & DATE VERSION (3) Move the cursor to "TIME & DATE" and press the [SET] button. "TIME & DATE" menu appears. TIME & DATE YYYY-MM-DD HH:MM:SS 2005-01-28 10:43:38 OK Cancel Move the cursor to the correcting position. (4) Enter the local time by using Buttons [0] - [9]. (5) Move the cursor to [OK] and press the [SET] button. (6) End of setting When the [ESC] button is pressed several times, the screen returns to the previous menu "SYSTEM MANAGEMENT". Note: If time is corrected in the middle of recording, part of the recorded data may fail to be played. This is because some turbulence can arise in the record start time and the end time. 1.5 Turning the Power Off The power supply for this unit cannot be turned off if hard disk data are being played or data are being recorded on the hard disk. Operation for playback or recording has to be stopped first. Turn off the power supply after confirming that the HDD indicator of the front panel is not lit. (1) Stop the manual recording. • Select the desired image to be stopped by using the camera selection button (1 - 8) or the direction button (up/down). Hold down the [STOP] button for 2 seconds. The Record indicator of the numerical keys goes off and recording is stopped. • For timer recording, alarm recording, or motion detector recording, set up "On" or "Off" for each one with "WJRT208 SETUP MENU" - "REC&EVENT SETUP", and then stop recording in the above procedures. (2) Stop playback. • Select channel 1 by using the camera selection button (1 - 8) or the direction button (up/down), and press the [STOP] button. Playback is stopped. (3) Turn off the power switch on the rear panel. • Turn off the power supply after confirming that the HDD indicator of the front panel is not lit. • Check the [OPERATE] indicator. If this indicator is not lit, the power supply has been turned off. Note: If this unit is not used for a long time, pull out the power cord from the power connector. 25
-
 1
1 -
2
-
3
-
4
-
5
-
6
-
7
-
8
-
9
-
10
-
11
-
12
-
13
-
14
-
15
-
16
-
17
-
18
-
19
-
 20
20 -
 21
21 -
 22
22 -
 23
23 -
 24
24 -
 25
25 -
 26
26 -
 27
27 -
 28
28 -
 29
29 -
 30
30 -
31
-
32
-
33
-
34
-
35
-
36
-
37
-
38
-
39
-
40
-
41
-
42
-
43
-
44
-
45
-
46
-
47
-
48
-
49
-
50
-
51
-
52
-
53
-
54
-
55
-
56
-
57
-
58
-
59
-
60
-
61
-
62
 |
 |