Samsung SCH-R360 User Manual (user Manual) (ver.f7) (English) - Page 58
Save As Draft
 |
View all Samsung SCH-R360 manuals
Add to My Manuals
Save this manual to your list of manuals |
Page 58 highlights
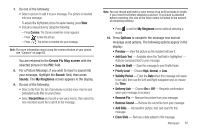
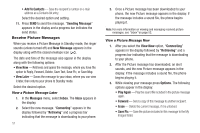
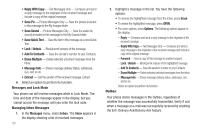
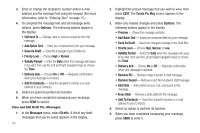
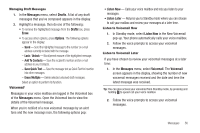
3. Enter or change the recipient's number and/or e-mail address and the message text using the keypad. (For more information, refer to "Entering Text" on page 15.) 4. To complete the message text and set message send options, press Options. The following options appear in the display: • Edit Send To - Change, add, or remove recipients from this message. • Add Quick Text - Insert pre-composed text into your message. • Save As Draft - Save the message to your Drafts box. • Priority Level - Choose High or Normal. • Validity Period - Enter the Date when this message will cease to be valid, then use the Left and Right navigation keys to choose the Time. • Delivery Ack - Choose On or Off - Requests confirmation when your message is received. • Add To Contacts - Save the recipient's number or e-mail address to your Contacts. 5. Select an option to perform its function. 6. When you have completed composing your message, press SEND to send it. View and Edit Draft Pic. Messages 1. In the Messages menu, select Drafts. A list of any draft messages that you've saved appears in the display. 55 2. Highlight the picture message that you wish to view, then press EDIT. The Create Pic Msg screen appears in the display. 3. Make any needed changes and press Options. The following options appear in the display: • Preview - Shows the message contents. • Add Quick Text - Insert pre-composed text into your message. • Save As Draft - Saves the changed message to the Draft Box. • Priority Level - Choose High, Normal, or Low. • Validity Period - Enter the Date when this message will cease to be valid, then use the Left and Right navigation keys to choose the Time. • Delivery Ack - Choose On or Off - Requests confirmation when your message is received. • Remove Pic - Remove image included in draft message. • Remove Sound - Remove sound file included in draft message. • Add Slide - Add another picture, text, and sound to this message. • Erase Slide - Remove a slide added to this message. • Add To Contacts - Save the recipient's number or e-mail address to your Contacts. 4. Select an option to perform its function. 5. When you have completed composing your message, press SEND to send it.
-
 1
1 -
2
-
3
-
4
-
5
-
6
-
7
-
8
-
9
-
10
-
11
-
12
-
13
-
14
-
15
-
16
-
17
-
18
-
19
-
20
-
21
-
22
-
23
-
24
-
25
-
26
-
27
-
28
-
29
-
30
-
31
-
32
-
33
-
34
-
35
-
36
-
37
-
38
-
39
-
40
-
41
-
42
-
43
-
44
-
45
-
46
-
47
-
48
-
49
-
50
-
51
-
52
-
 53
53 -
 54
54 -
 55
55 -
 56
56 -
 57
57 -
 58
58 -
 59
59 -
 60
60 -
 61
61 -
 62
62 -
 63
63 -
64
-
65
-
66
-
67
-
68
-
69
-
70
-
71
-
72
-
73
-
74
-
75
-
76
-
77
-
78
-
79
-
80
-
81
-
82
-
83
-
84
-
85
-
86
-
87
-
88
-
89
-
90
-
91
-
92
-
93
-
94
-
95
-
96
-
97
-
98
-
99
-
100
-
101
-
102
-
103
-
104
-
105
-
106
-
107
-
108
-
109
-
110
-
111
-
112
-
113
-
114
-
115
-
116
-
117
-
118
-
119
 |
 |