2004 Lexus GS 300 Navigation Manual - Page 58
2004 Lexus GS 300 Manual

Page 58 highlights
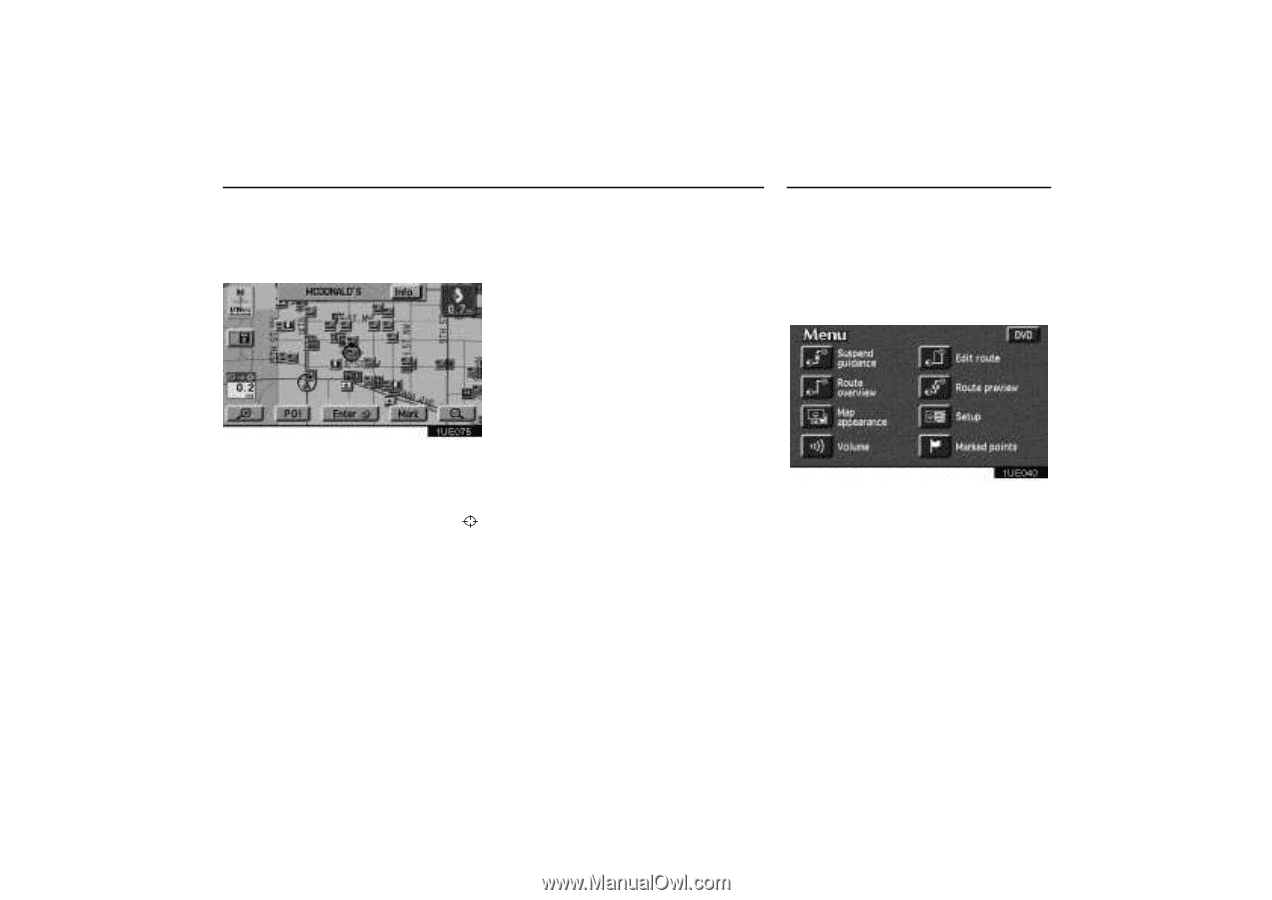
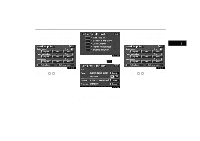
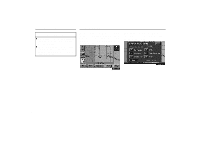
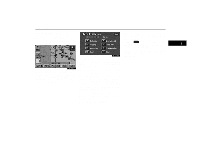
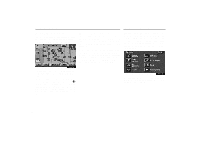
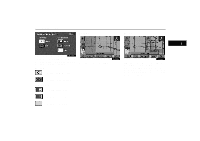
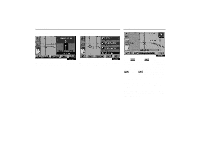
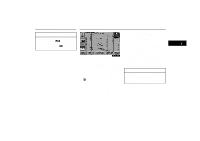
Displaying POI Setting a POI as a destination You can select one of the points of interest icons on the Map screen as a destination and use it for a route guidance. The name of the point of interest and the "Info." switch on the screen are displayed at the top of the screen. When you touch the "Info." switch on the screen, the information such as the name and address, etc. are displayed. When your desired point of interest overlaps with the cursor, touch the "Enter" switch. The screen changes and displays the map location of the selected destination and the route preference. (See "(a) Entering Destination" on page 25.) Map Appearance You can select the single screen map or the dual screen map and you can change the half of the screen to the Guidance screen by touching the Map/Guidance switch while the Map screen is displayed. You can choose one of two types of guidance screen. 1UE075 Directly touch the icon of the point of interest that you want to set as a destination. The map will shift so the icon is centered in . the screen and overlaps with the cursor At this time, the distance from your current position will be displayed on the screen. The distance shown is as measured in a straight line from the current vehicle position to the POI. 1UE040 1. Push the "MENU" button to display the Menu screen and touch the "Map appearance" switch. 48
-
 1
1 -
2
-
3
-
4
-
5
-
6
-
7
-
8
-
9
-
10
-
11
-
12
-
13
-
14
-
15
-
16
-
17
-
18
-
19
-
20
-
21
-
22
-
23
-
24
-
25
-
26
-
27
-
28
-
29
-
30
-
31
-
32
-
33
-
34
-
35
-
36
-
37
-
38
-
39
-
40
-
41
-
42
-
43
-
44
-
45
-
46
-
47
-
48
-
49
-
50
-
51
-
52
-
 53
53 -
 54
54 -
 55
55 -
 56
56 -
 57
57 -
 58
58 -
 59
59 -
 60
60 -
 61
61 -
 62
62 -
 63
63 -
64
-
65
-
66
-
67
-
68
-
69
-
70
-
71
-
72
-
73
-
74
-
75
-
76
-
77
-
78
-
79
-
80
-
81
-
82
-
83
-
84
-
85
-
86
-
87
-
88
-
89
-
90
-
91
-
92
-
93
-
94
-
95
-
96
-
97
-
98
-
99
-
100
-
101
-
102
-
103
-
104
-
105
-
106
-
107
-
108
-
109
-
110
-
111
-
112
-
113
-
114
-
115
-
116
-
117
-
118
-
119
-
120
-
121
-
122
-
123
-
124
-
125
-
126
-
127
-
128
-
129
-
130
-
131
-
132
-
133
-
134
-
135
-
136
-
137
-
138
-
139
-
140
-
141
-
142
-
143
-
144
-
145
-
146
-
147
-
148
-
149
-
150
-
151
-
152
 |
 |