2004 Lexus GS 300 Navigation Manual - Page 81
2004 Lexus GS 300 Manual

Page 81 highlights
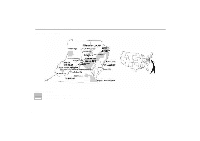
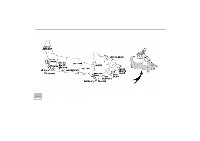
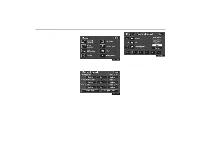
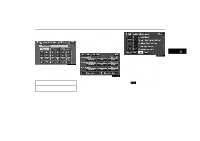
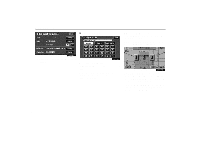
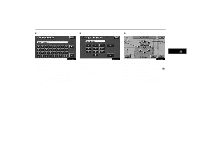
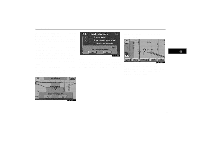
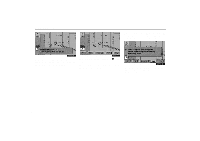
Marked Points When you finish registration of the marked point, the Register marked point screen appears. (b) Editing marked points Once a marked point is registered, you can edit the icon, name or telephone number. 1. Push the "MENU" button to display the Menu screen and touch the "Marked points" switch. 2UE003 2SE004U The screen lists the marked points. 3. Touch your desired icon. You can turn the pages by touching the "Page 1" or "Page 2" switch. Touching the "With sound" switch, you can select your desired sound. (For details, see page 72.) 1UE063 2. Touch the points. Sort by Icon: Touch this switch to list the marked points in order of the category of icon. Sort by Date: Touch this switch to list the marked points in order of the registered date. "Edit" switch of Marked Sort by Name: Touch this switch to list the marked points in alphabetical order. of the desired marked point to Touch display the Edit marked point screen. INFORMATION Up to 100 marked points can be registered. 71
-
 1
1 -
2
-
3
-
4
-
5
-
6
-
7
-
8
-
9
-
10
-
11
-
12
-
13
-
14
-
15
-
16
-
17
-
18
-
19
-
20
-
21
-
22
-
23
-
24
-
25
-
26
-
27
-
28
-
29
-
30
-
31
-
32
-
33
-
34
-
35
-
36
-
37
-
38
-
39
-
40
-
41
-
42
-
43
-
44
-
45
-
46
-
47
-
48
-
49
-
50
-
51
-
52
-
53
-
54
-
55
-
56
-
57
-
58
-
59
-
60
-
61
-
62
-
63
-
64
-
65
-
66
-
67
-
68
-
69
-
70
-
71
-
72
-
73
-
74
-
75
-
 76
76 -
 77
77 -
 78
78 -
 79
79 -
 80
80 -
 81
81 -
 82
82 -
 83
83 -
 84
84 -
 85
85 -
 86
86 -
87
-
88
-
89
-
90
-
91
-
92
-
93
-
94
-
95
-
96
-
97
-
98
-
99
-
100
-
101
-
102
-
103
-
104
-
105
-
106
-
107
-
108
-
109
-
110
-
111
-
112
-
113
-
114
-
115
-
116
-
117
-
118
-
119
-
120
-
121
-
122
-
123
-
124
-
125
-
126
-
127
-
128
-
129
-
130
-
131
-
132
-
133
-
134
-
135
-
136
-
137
-
138
-
139
-
140
-
141
-
142
-
143
-
144
-
145
-
146
-
147
-
148
-
149
-
150
-
151
-
152
 |
 |
