Canon PIXMA mini260 Photo Printing Guide - Page 30
Printing a Specified Area-Trimming, Trimming
 |
View all Canon PIXMA mini260 manuals
Add to My Manuals
Save this manual to your list of manuals |
Page 30 highlights
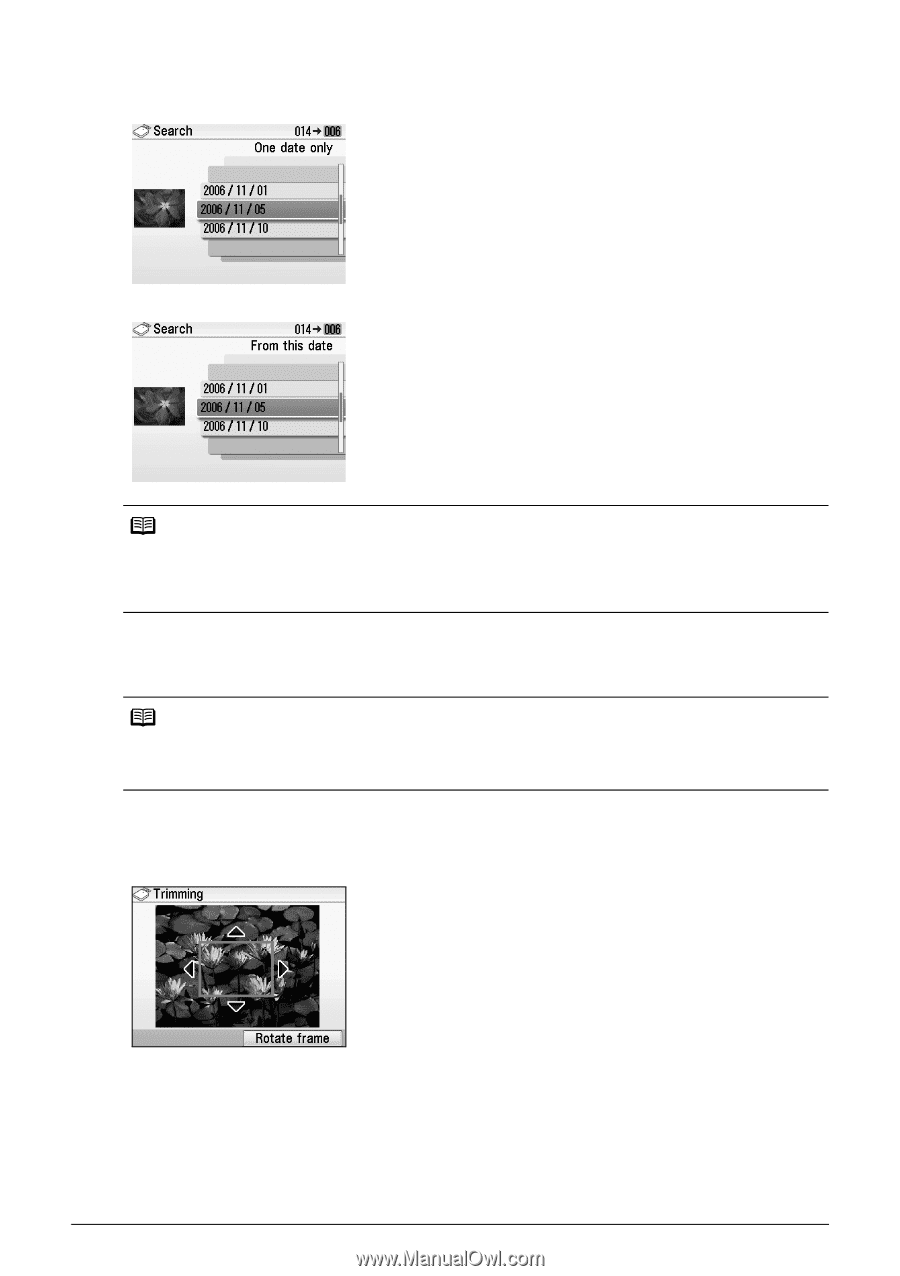
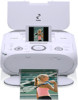
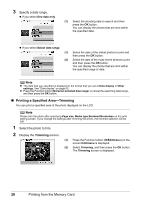
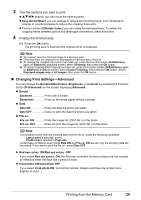
3 Specify a date range. If you select One date only (1) Select the shooting date to search and then press the OK button. You can display the photos that are shot within the specified date. If you select Select date range (1) Select the date of the oldest photos to print and then press the OK button. (2) Select the date of the most recent photos to print and then press the OK button. You can display the photos that are shot within the specified range of date. Note The date that you specified is displayed in the format that you set at Date display in Other settings. See "Date display" on page 53. Press the Function button (f2/Cancel selected date range) to cancel the searching date range, and then press the OK button. Printing a Specified Area-Trimming You can print a specified area of the photo displayed on the LCD. Note Please trim the photo after specifying Page size, Media type Bordered/Borderless on the print setting screen. If you change the settings after trimming the photo, the trimmed selection will be lost. 1 Select the photo to trim. 2 Display the Trimming screen. (1) Press the Function button (f2/Edit/menu) on the screen Edit/menu is displayed. (2) Select Trimming, and then press the OK button. The Trimming screen is displayed. 28 Printing from the Memory Card
-
 1
1 -
2
-
3
-
4
-
5
-
6
-
7
-
8
-
9
-
10
-
11
-
12
-
13
-
14
-
15
-
16
-
17
-
18
-
19
-
20
-
21
-
22
-
23
-
24
-
 25
25 -
 26
26 -
 27
27 -
 28
28 -
 29
29 -
 30
30 -
 31
31 -
 32
32 -
 33
33 -
 34
34 -
 35
35 -
36
-
37
-
38
-
39
-
40
-
41
-
42
-
43
-
44
-
45
-
46
-
47
-
48
-
49
-
50
-
51
-
52
-
53
-
54
-
55
-
56
-
57
-
58
-
59
-
60
-
61
-
62
-
63
-
64
-
65
-
66
-
67
-
68
-
69
-
70
-
71
-
72
-
73
-
74
-
75
-
76
-
77
-
78
-
79
-
80
-
81
-
82
-
83
-
84
-
85
-
86
-
87
-
88
-
89
-
90
-
91
-
92
 |
 |