Canon iP6600D iP6600D Direct Printing Guide - Page 25
Displaying Photos Automatically on the LCD - Slide Show - reset
 |
UPC - 013803048889
View all Canon iP6600D manuals
Add to My Manuals
Save this manual to your list of manuals |
Page 25 highlights
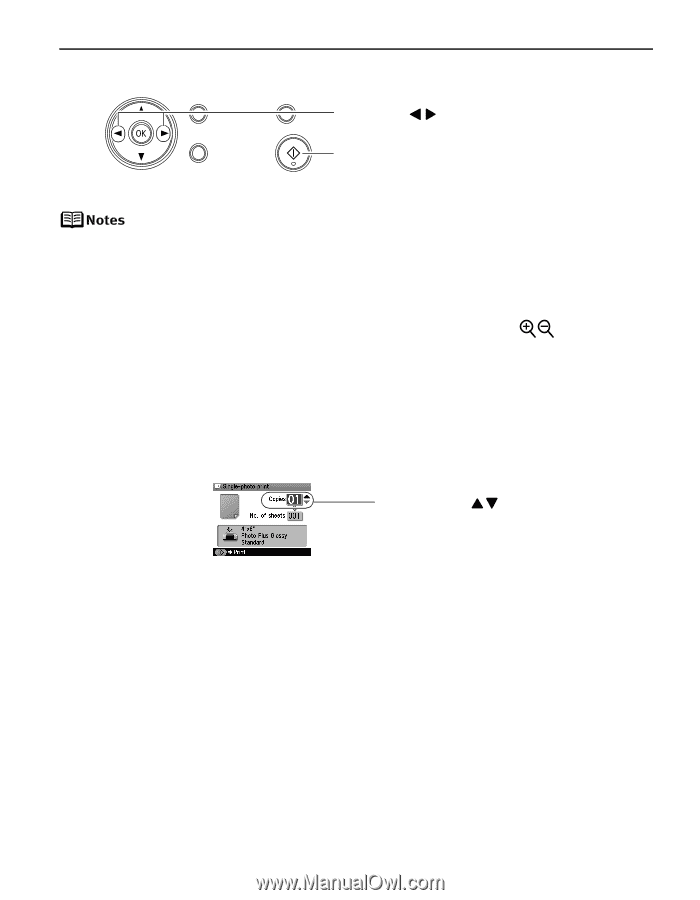
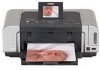
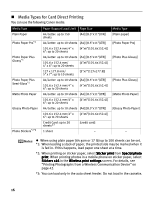
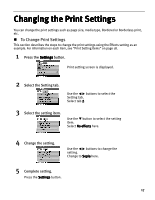
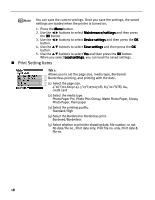
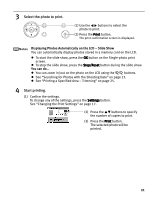
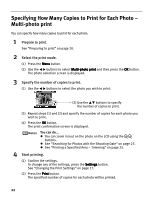
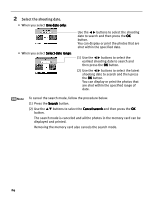
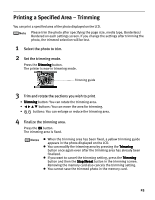
3 Select the photo to print. (1) Use the buttons to select the photo to print. (2) Press the Print button. The print confirmation screen is displayed. Displaying Photos Automatically on the LCD - Slide Show You can automatically display photos stored in a memory card on the LCD. To start the slide show, press the OK button on the Single-photo print screen. To stop the slide show, press the Stop/Reset button during the slide show. You can do... You can zoom in/out on the photo on the LCD using the buttons. See "Searching for Photos with the Shooting Date" on page 23. See "Printing a Specified Area - Trimming" on page 25. 4 Start printing. (1) Confirm the settings. To change any of the settings, press the Settings button. See "Changing the Print Settings" on page 17. (2) Press the buttons to specify the number of copies to print. (3) Press the Print button. The selected photo will be printed. 21
-
 1
1 -
2
-
3
-
4
-
5
-
6
-
7
-
8
-
9
-
10
-
11
-
12
-
13
-
14
-
15
-
16
-
17
-
18
-
19
-
 20
20 -
 21
21 -
 22
22 -
 23
23 -
 24
24 -
 25
25 -
 26
26 -
 27
27 -
 28
28 -
 29
29 -
 30
30 -
31
-
32
-
33
-
34
-
35
-
36
-
37
-
38
-
39
-
40
-
41
-
42
-
43
-
44
-
45
-
46
-
47
-
48
-
49
-
50
-
51
-
52
-
53
-
54
-
55
-
56
-
57
-
58
-
59
-
60
-
61
-
62
-
63
-
64
-
65
-
66
-
67
-
68
-
69
-
70
-
71
-
72
-
73
-
74
-
75
-
76
-
77
-
78
-
79
-
80
 |
 |