Epson WorkForce Pro WF-5190 User Manual - Page 143
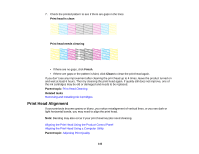
Cleaning the Print Head Using the Product Control Panel, When the cleaning cycle is finished
 |
View all Epson WorkForce Pro WF-5190 manuals
Add to My Manuals
Save this manual to your list of manuals |
Page 143 highlights
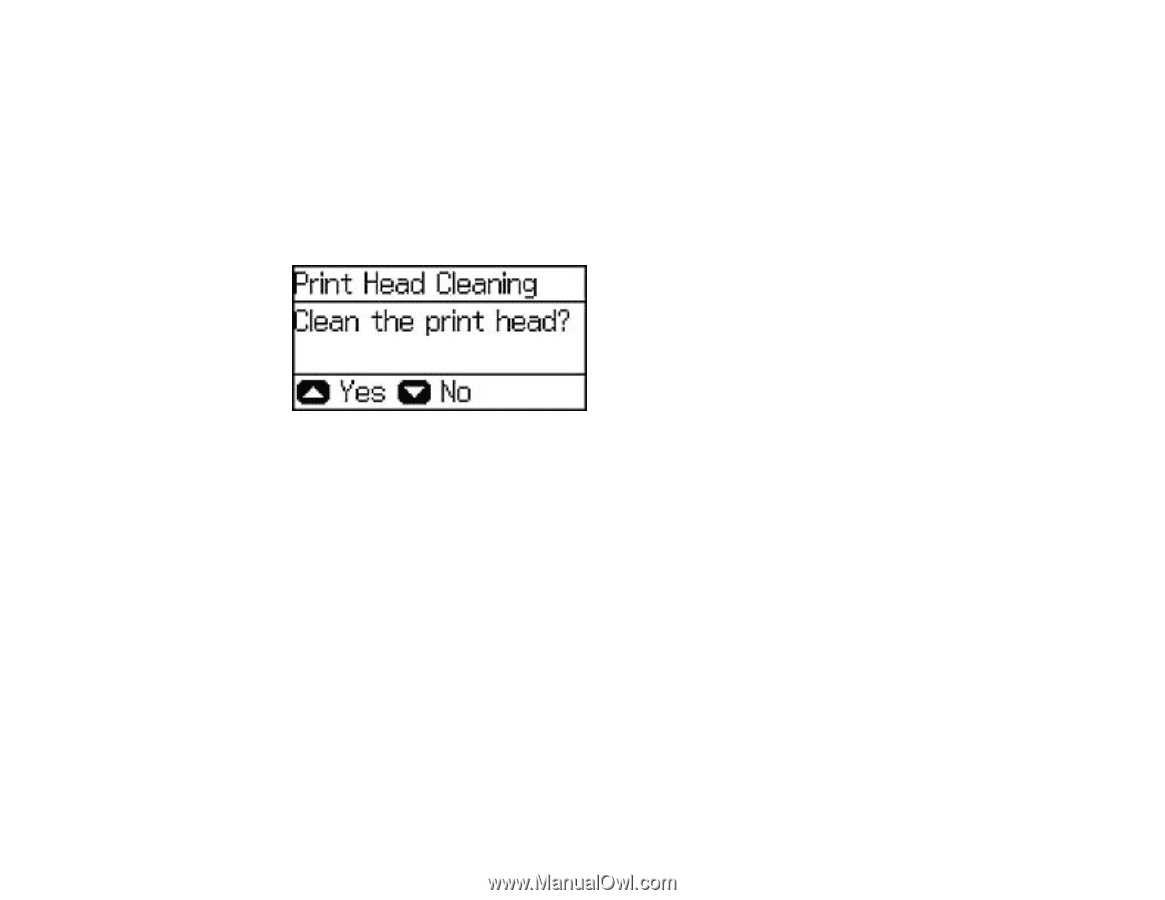
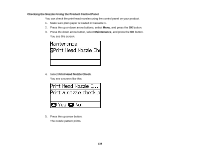
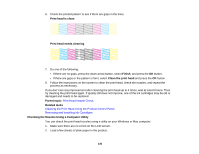
Cleaning the Print Head Using the Product Control Panel You can clean the print head using the control panel on your product. 1. Make sure plain paper is loaded in Cassette 1. 2. Press the up or down arrow buttons, select Menu, and press the OK button. 3. Press the down arrow button, select Maintenance, and press the OK button. 4. Press the down arrow button, select Print Head Cleaning, and press the OK button. You see this screen: 5. Press the up arrow button. Note: Use the nozzle check pattern to determine which colors need cleaning. You can save ink by cleaning only selected colors. When the cleaning cycle is finished, you see a message on the screen. Caution: Never turn off the product during a cleaning cycle or you may damage it. 6. Select Print Nozzle Check Pattern and press the OK button. 7. Press the up arrow button. 8. Press the down arrow button, select Finish, and press the OK button to confirm that the print head is clean. If you don't see any improvement after cleaning the print head up to 4 times, leave the product turned on and wait at least 6 hours. Then try cleaning the print head again. If quality still does not improve, one of the ink cartridges may be old or damaged and needs to be replaced. Parent topic: Print Head Cleaning 143
-
 1
1 -
2
-
3
-
4
-
5
-
6
-
7
-
8
-
9
-
10
-
11
-
12
-
13
-
14
-
15
-
16
-
17
-
18
-
19
-
20
-
21
-
22
-
23
-
24
-
25
-
26
-
27
-
28
-
29
-
30
-
31
-
32
-
33
-
34
-
35
-
36
-
37
-
38
-
39
-
40
-
41
-
42
-
43
-
44
-
45
-
46
-
47
-
48
-
49
-
50
-
51
-
52
-
53
-
54
-
55
-
56
-
57
-
58
-
59
-
60
-
61
-
62
-
63
-
64
-
65
-
66
-
67
-
68
-
69
-
70
-
71
-
72
-
73
-
74
-
75
-
76
-
77
-
78
-
79
-
80
-
81
-
82
-
83
-
84
-
85
-
86
-
87
-
88
-
89
-
90
-
91
-
92
-
93
-
94
-
95
-
96
-
97
-
98
-
99
-
100
-
101
-
102
-
103
-
104
-
105
-
106
-
107
-
108
-
109
-
110
-
111
-
112
-
113
-
114
-
115
-
116
-
117
-
118
-
119
-
120
-
121
-
122
-
123
-
124
-
125
-
126
-
127
-
128
-
129
-
130
-
131
-
132
-
133
-
134
-
135
-
136
-
137
-
 138
138 -
 139
139 -
 140
140 -
 141
141 -
 142
142 -
 143
143 -
 144
144 -
 145
145 -
 146
146 -
 147
147 -
 148
148 -
149
-
150
-
151
-
152
-
153
-
154
-
155
-
156
-
157
-
158
-
159
-
160
-
161
-
162
-
163
-
164
-
165
-
166
-
167
-
168
-
169
-
170
-
171
-
172
-
173
-
174
-
175
-
176
-
177
-
178
-
179
-
180
-
181
-
182
-
183
-
184
-
185
-
186
-
187
-
188
-
189
-
190
-
191
-
192
-
193
-
194
-
195
-
196
-
197
-
198
-
199
-
200
-
201
-
202
-
203
-
204
-
205
-
206
-
207
-
208
-
209
-
210
-
211
-
212
-
213
-
214
-
215
 |
 |