Gateway DX4320 Hardware Installation Guide - Page 12
Removing an Existing Drive, back to Gateway for credit.
 |
View all Gateway DX4320 manuals
Add to My Manuals
Save this manual to your list of manuals |
Page 12 highlights
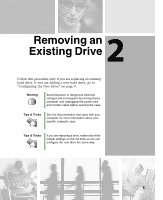
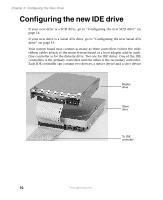
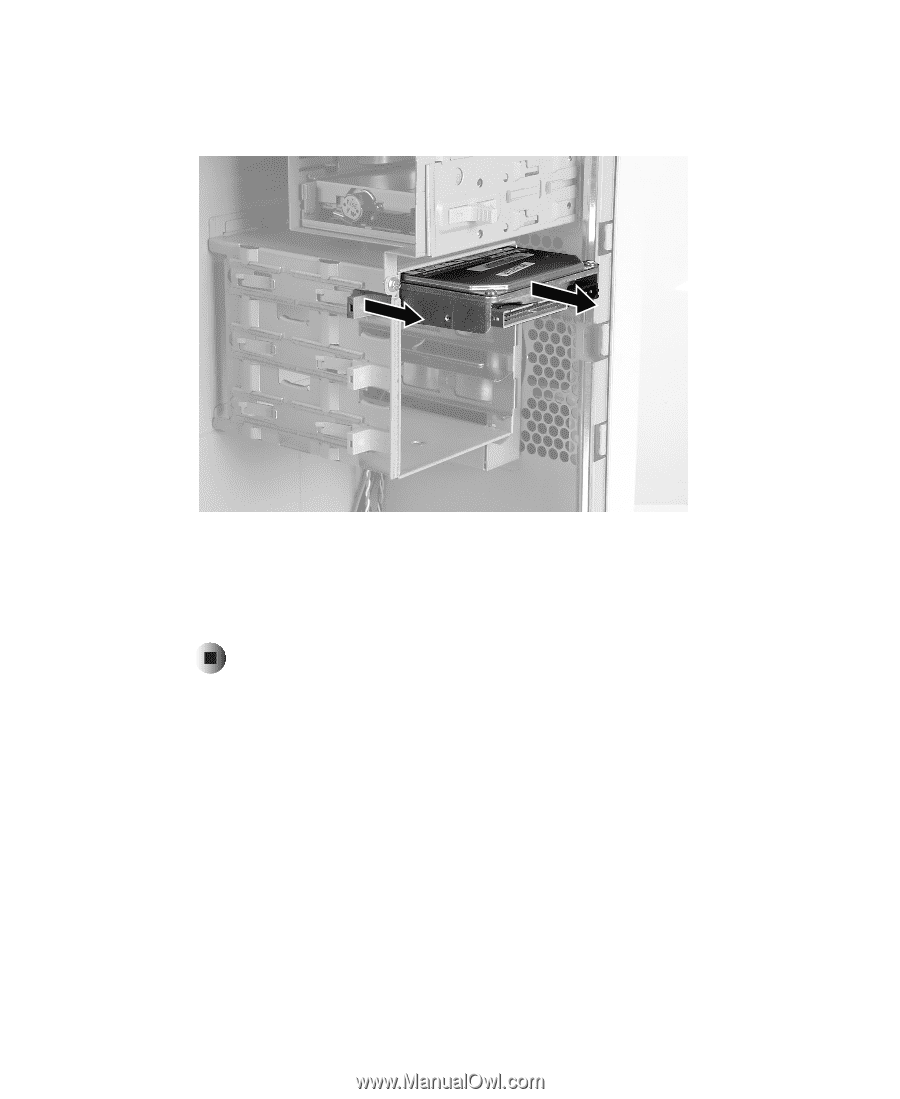
Chapter 2: Removing an Existing Drive If the drive is attached to a fixed cage, slide the release lever, then remove the drive. 5 If this drive is a replacement for a failed drive, carefully pack the failed drive and follow the instructions on the return form to send your drive back to Gateway for credit. Go to "Configuring the New Drive" on page 9. 8 www.gateway.com
-
 1
1 -
2
-
3
-
4
-
5
-
6
-
 7
7 -
 8
8 -
 9
9 -
 10
10 -
 11
11 -
 12
12 -
 13
13 -
 14
14 -
 15
15 -
 16
16 -
 17
17 -
18
-
19
-
20
-
21
-
22
-
23
-
24
-
25
-
26
-
27
-
28
-
29
-
30
-
31
-
32
-
33
-
34
-
35
-
36
-
37
-
38
-
39
-
40
-
41
-
42
-
43
-
44
-
45
-
46
-
47
-
48
-
49
-
50
-
51
-
52
-
53
-
54
-
55
-
56
-
57
-
58
-
59
-
60
-
61
-
62
-
63
-
64
 |
 |
8
Chapter 2: Removing an Existing Drive
www.gateway.com
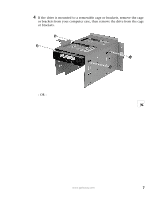
If the drive is attached to a fixed cage, slide the release lever, then remove
the drive.
5
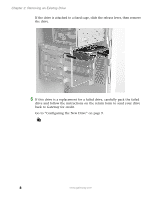
If this drive is a replacement for a failed drive, carefully pack the failed
drive and follow the instructions on the return form to send your drive
back to Gateway for credit.
Go to “Configuring the New Drive” on page 9.