Gateway DX4320 Hardware Installation Guide - Page 29
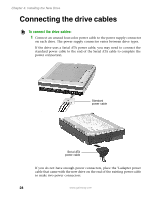
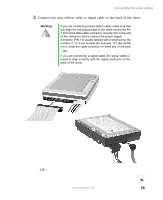
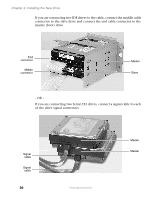
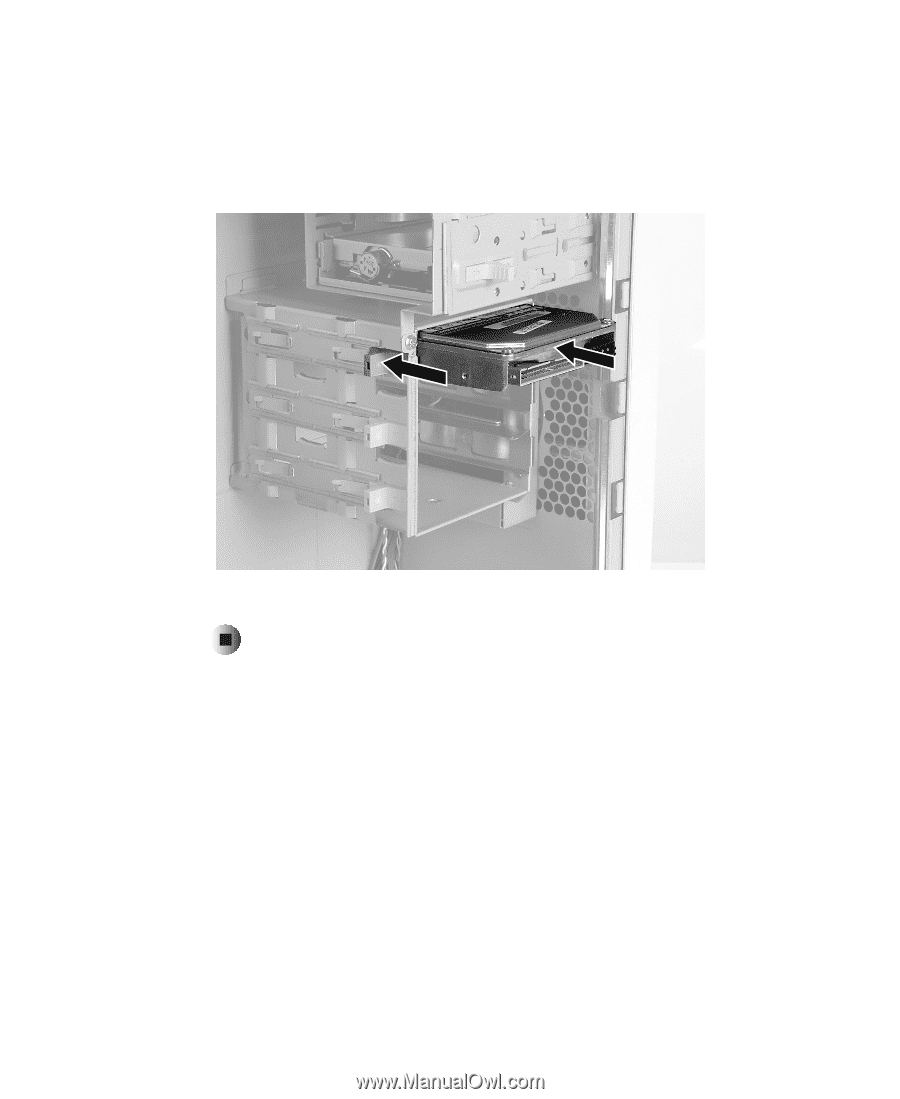
information, see Connecting the drive cables
 |
View all Gateway DX4320 manuals
Add to My Manuals
Save this manual to your list of manuals |
Page 29 highlights
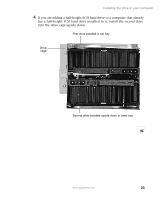
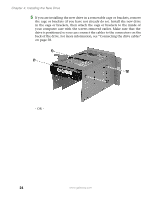
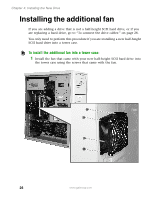
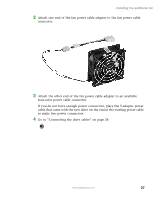
Installing the drive in your computer If the drive was attached to a fixed cage, make sure that the release lever is in the unlocked position, install the drive, then slide the release lever to the locked position. Make sure that the drive is positioned so you can connect the cables to the connectors on the back of the drive. For more information, see "Connecting the drive cables" on page 28. 6 Go to "Installing the additional fan" on page 26. www.gateway.com 25
-
 1
1 -
2
-
3
-
4
-
5
-
6
-
7
-
8
-
9
-
10
-
11
-
12
-
13
-
14
-
15
-
16
-
17
-
18
-
19
-
20
-
21
-
22
-
23
-
 24
24 -
 25
25 -
 26
26 -
 27
27 -
 28
28 -
 29
29 -
 30
30 -
 31
31 -
 32
32 -
 33
33 -
 34
34 -
35
-
36
-
37
-
38
-
39
-
40
-
41
-
42
-
43
-
44
-
45
-
46
-
47
-
48
-
49
-
50
-
51
-
52
-
53
-
54
-
55
-
56
-
57
-
58
-
59
-
60
-
61
-
62
-
63
-
64
 |
 |
25
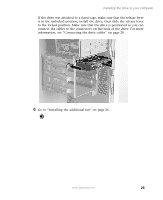
Installing the drive in your computer
www.gateway.com
If the drive was attached to a fixed cage, make sure that the release lever
is in the unlocked position, install the drive, then slide the release lever
to the locked position. Make sure that the drive is positioned so you can
connect the cables to the connectors on the back of the drive. For more
information, see “Connecting the drive cables” on page 28.
6
Go to “Installing the additional fan” on page 26.