Netgear WNR1000v2 WNR1000v2 User Manual - Page 68
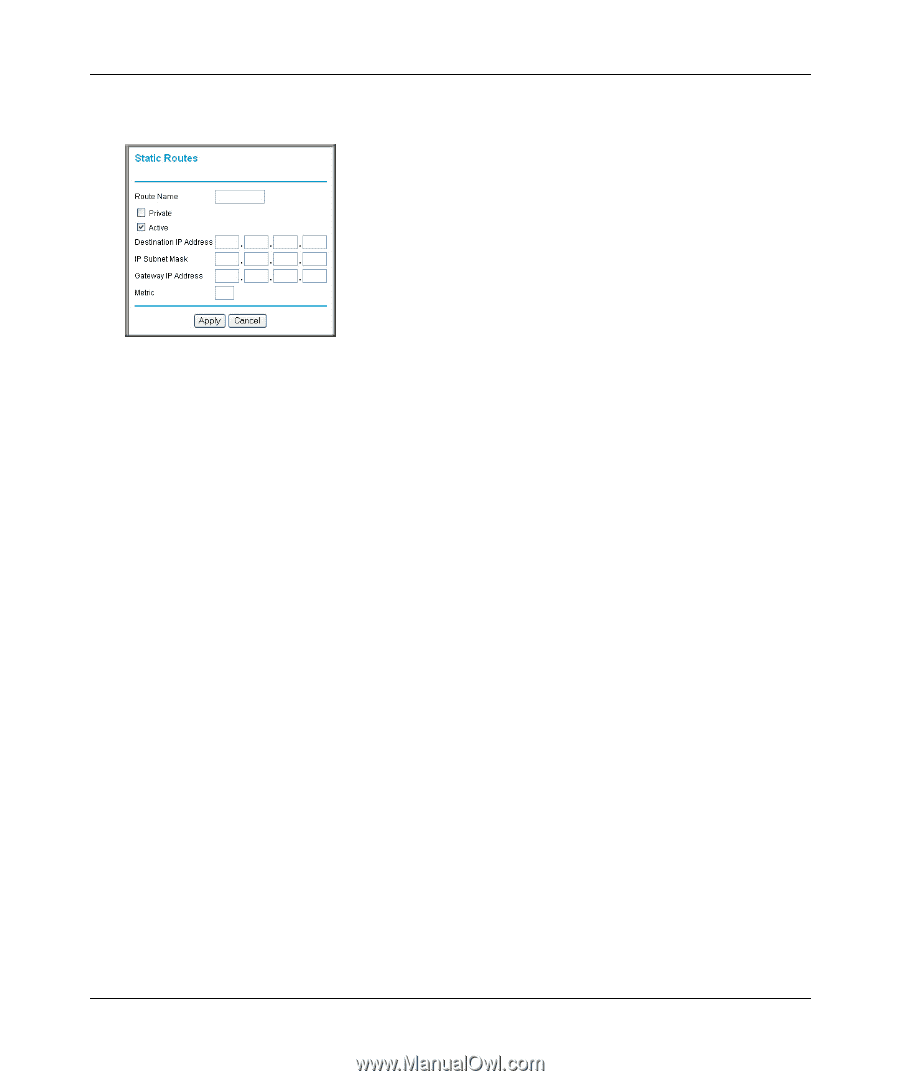
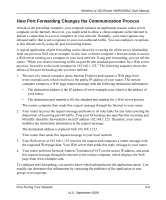
Route Name, Private, Active, Destination IP Address, IP Subnet Mask, Gateway, IP Address, Metric
 |
View all Netgear WNR1000v2 manuals
Add to My Manuals
Save this manual to your list of manuals |
Page 68 highlights
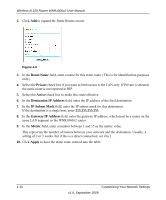
Wireless-N 150 Router WNR1000v2 User Manual 2. Click Add to expand the Static Routes screen. Figure 4-6 3. In the Route Name field, enter a name for this static route. (This is for identification purposes only.) 4. Select the Private check box if you want to limit access to the LAN only. If Private is selected, the static route is not reported in RIP. 5. Select the Active check box to make this route effective. 6. In the Destination IP Address field, enter the IP address of the final destination. 7. In the IP Subnet Mask field, enter the IP subnet mask for this destination. If the destination is a single host, enter 255.255.255.255. 8. In the Gateway IP Address field, enter the gateway IP address, which must be a router on the same LAN segment as the WNR1000v2 router. 9. In the Metric field, enter a number between 1 and 15 as the metric value. This represents the number of routers between your network and the destination. Usually, a setting of 2 or 3 works, but if this is a direct connection, set it to 1. 10. Click Apply to have the static route entered into the table. 4-10 Customizing Your Network Settings v1.0, September 2009
-
 1
1 -
2
-
3
-
4
-
5
-
6
-
7
-
8
-
9
-
10
-
11
-
12
-
13
-
14
-
15
-
16
-
17
-
18
-
19
-
20
-
21
-
22
-
23
-
24
-
25
-
26
-
27
-
28
-
29
-
30
-
31
-
32
-
33
-
34
-
35
-
36
-
37
-
38
-
39
-
40
-
41
-
42
-
43
-
44
-
45
-
46
-
47
-
48
-
49
-
50
-
51
-
52
-
53
-
54
-
55
-
56
-
57
-
58
-
59
-
60
-
61
-
62
-
 63
63 -
 64
64 -
 65
65 -
 66
66 -
 67
67 -
 68
68 -
 69
69 -
 70
70 -
 71
71 -
 72
72 -
 73
73 -
74
-
75
-
76
-
77
-
78
-
79
-
80
-
81
-
82
-
83
-
84
-
85
-
86
-
87
-
88
-
89
-
90
-
91
-
92
-
93
-
94
-
95
-
96
-
97
-
98
-
99
-
100
-
101
-
102
-
103
-
104
-
105
-
106
-
107
-
108
-
109
-
110
-
111
-
112
-
113
-
114
-
115
-
116
-
117
-
118
-
119
-
120
-
121
-
122
-
123
-
124
-
125
-
126
-
127
-
128
 |
 |