Olympus D-100 D-100 Instruction Manual - Page 65
ADVANCED SHOOTING FEATURES, Press the, OK/menu button., Press the shutter button.
 |
View all Olympus D-100 manuals
Add to My Manuals
Save this manual to your list of manuals |
Page 65 highlights
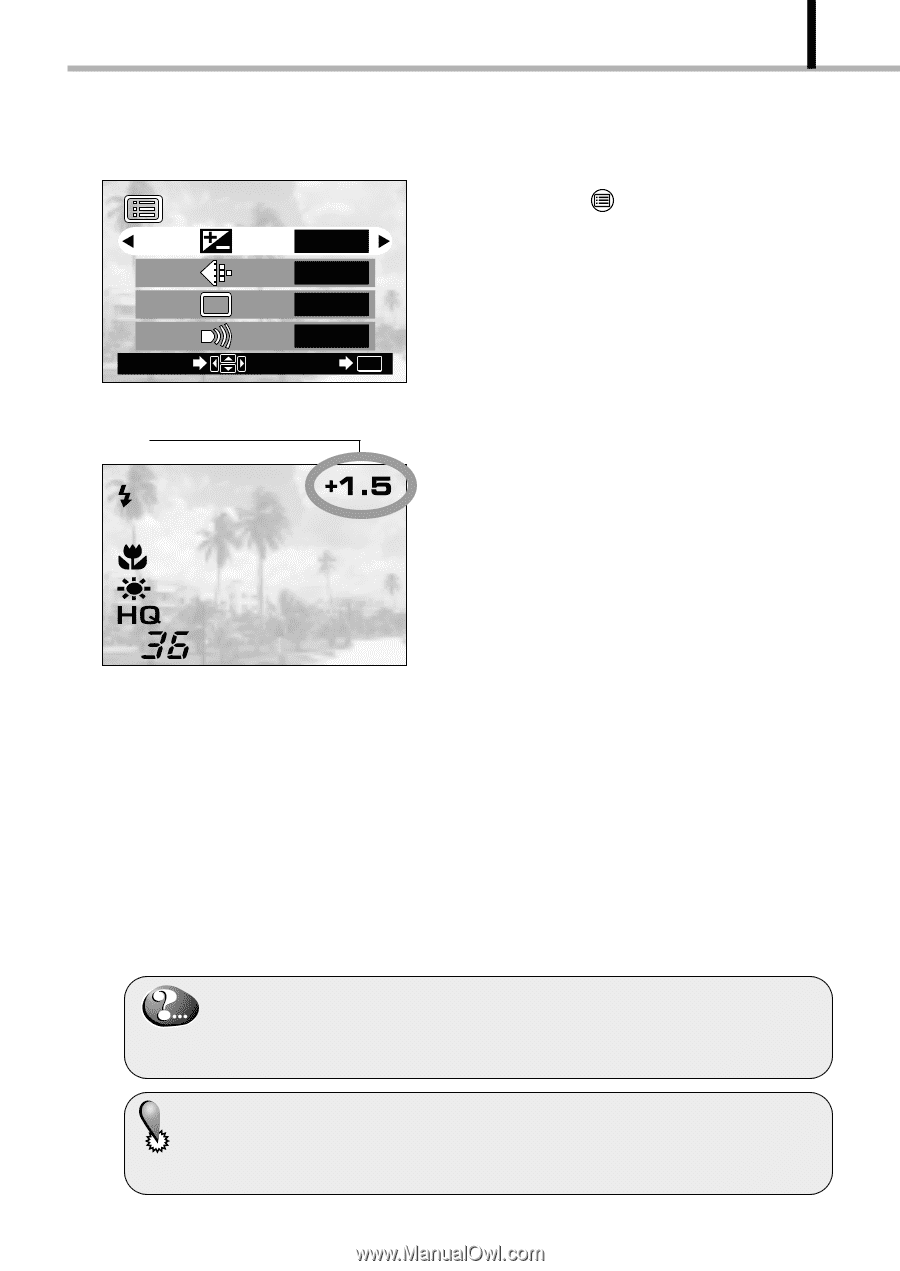
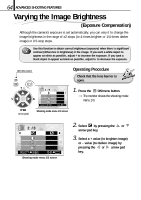
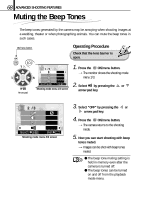
65 ADVANCED SHOOTING FEATURES 2/3 WB SELECT +1.5 HQ AUTO ON END OK Shooting mode menu 2/3 screen Corrected exposure value 4. Press the OK/menu button. [The camera returns to the shooting mode and the monitor shows the corrected exposure value. 5. Press the shutter button. [Images can be shot successively while maintaining the corrected exposure value. 6. Turn the camera OFF. [The exposure value is reset to ±0 (no correction). The exposure compensation value on the monitor goes out. When the exposure is corrected, the brightness of the image displayed on the monitor also changes. However, the variation may be less noticeable when the subject is dark. In this case, check the shot image to confirm that exposure is satisfactory. ⅷ If the flash is used, the image brightness (exposure) may differ from the intended brightness (exposure). ⅷ Exposure compensation cannot correct the image if the surroundings of the subject are extremely bright or dark.
-
 1
1 -
2
-
3
-
4
-
5
-
6
-
7
-
8
-
9
-
10
-
11
-
12
-
13
-
14
-
15
-
16
-
17
-
18
-
19
-
20
-
21
-
22
-
23
-
24
-
25
-
26
-
27
-
28
-
29
-
30
-
31
-
32
-
33
-
34
-
35
-
36
-
37
-
38
-
39
-
40
-
41
-
42
-
43
-
44
-
45
-
46
-
47
-
48
-
49
-
50
-
51
-
52
-
53
-
54
-
55
-
56
-
57
-
58
-
59
-
 60
60 -
 61
61 -
 62
62 -
 63
63 -
 64
64 -
 65
65 -
 66
66 -
 67
67 -
 68
68 -
 69
69 -
 70
70 -
71
-
72
-
73
-
74
-
75
-
76
-
77
-
78
-
79
-
80
-
81
-
82
-
83
-
84
-
85
-
86
-
87
-
88
-
89
-
90
-
91
-
92
-
93
-
94
-
95
-
96
-
97
-
98
-
99
-
100
-
101
-
102
-
103
-
104
 |
 |