Onkyo HT-R640 Owner Manual - Page 65
Multichannel DVD Input Settings, Audio Adjust Functions
 |
View all Onkyo HT-R640 manuals
Add to My Manuals
Save this manual to your list of manuals |
Page 65 highlights
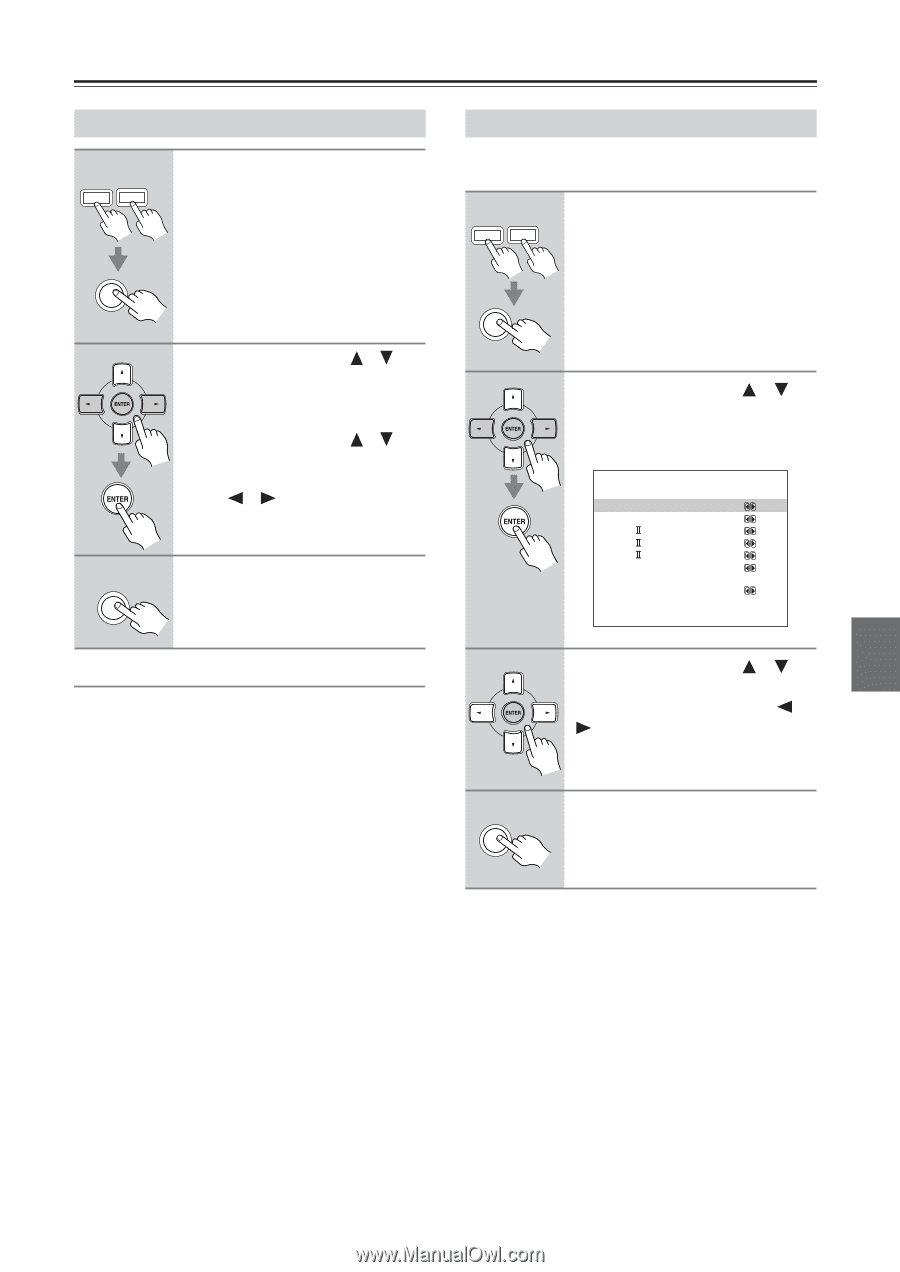
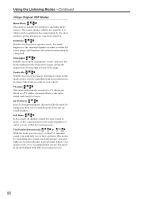
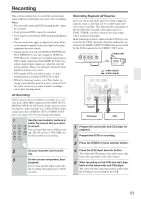
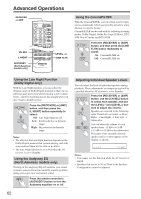
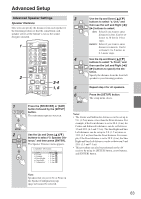
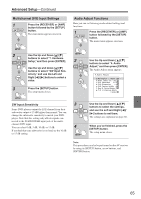
Advanced Setup-Continued Multichannel DVD Input Settings 1 AMP RECEIVER Press the [RECEIVER] or [AMP] button followed by the [SETUP] button. The main menu appears onscreen. Audio Adjust Functions Here you can set listening mode-related settings and functions. 1 AMP RECEIVER Press the [RECEIVER] or [AMP] button followed by the [SETUP] button. The main menu appears onscreen. SETUP 2 Use the Up and Down [ ]/[ ] buttons to select "7. Hardware Setup," and then press [ENTER]. Use the Up and Down [ ]/[ ] buttons to select "SW Input Sensitivity," and use the Left and Right [ ]/[ ] buttons to select a value. 3 Press the [SETUP] button. The setup menu closes. SETUP SW Input Sensitivity Some DVD players output the LFE channel from their subwoofer output at 15 dB higher than normal. You can change the subwoofer sensitivity to match your DVD player. Note that this setting only affects signals connected to the SUBWOOFER input jack of the multichannel DVD input. You can select 0 dB, 5 dB, 10 dB, or 15 dB. If you find that your subwoofer is too loud, try the 10 dB or 15 dB setting. SETUP 2 Use the Up and Down [ ]/[ ] buttons to select "4. Audio Adjust," and then press [ENTER]. The Audio Adjust menu appears. 4.Audio Adjust a.Multiplex : Main b.Mono Input Ch: L+R c.PL Panorama :Off d.PL Dimension : 0 e.PL Center Width :3 f.Neo:6 CenterImage:2 g.T-D Listening Angle : Wide 3 Use the Up and Down [ ]/[ ] buttons to select the settings, and use the Left and Right [ ]/ [ ] buttons to set them. The settings are explained on page 66. 4 SETUP When you've finished, press the [SETUP] button. The setup menu closes. Note: This procedure can also be performed on the AV receiver by using its [SETUP] button, arrow buttons, and [ENTER] button. 65
-
 1
1 -
2
-
3
-
4
-
5
-
6
-
7
-
8
-
9
-
10
-
11
-
12
-
13
-
14
-
15
-
16
-
17
-
18
-
19
-
20
-
21
-
22
-
23
-
24
-
25
-
26
-
27
-
28
-
29
-
30
-
31
-
32
-
33
-
34
-
35
-
36
-
37
-
38
-
39
-
40
-
41
-
42
-
43
-
44
-
45
-
46
-
47
-
48
-
49
-
50
-
51
-
52
-
53
-
54
-
55
-
56
-
57
-
58
-
59
-
 60
60 -
 61
61 -
 62
62 -
 63
63 -
 64
64 -
 65
65 -
 66
66 -
 67
67 -
 68
68 -
 69
69 -
 70
70 -
71
-
72
-
73
-
74
-
75
-
76
-
77
-
78
-
79
-
80
 |
 |