Onkyo HT-R640 Owner Manual - Page 71
Correcting Sound and Picture Sync, Changing the Remote Controller
 |
View all Onkyo HT-R640 manuals
Add to My Manuals
Save this manual to your list of manuals |
Page 71 highlights
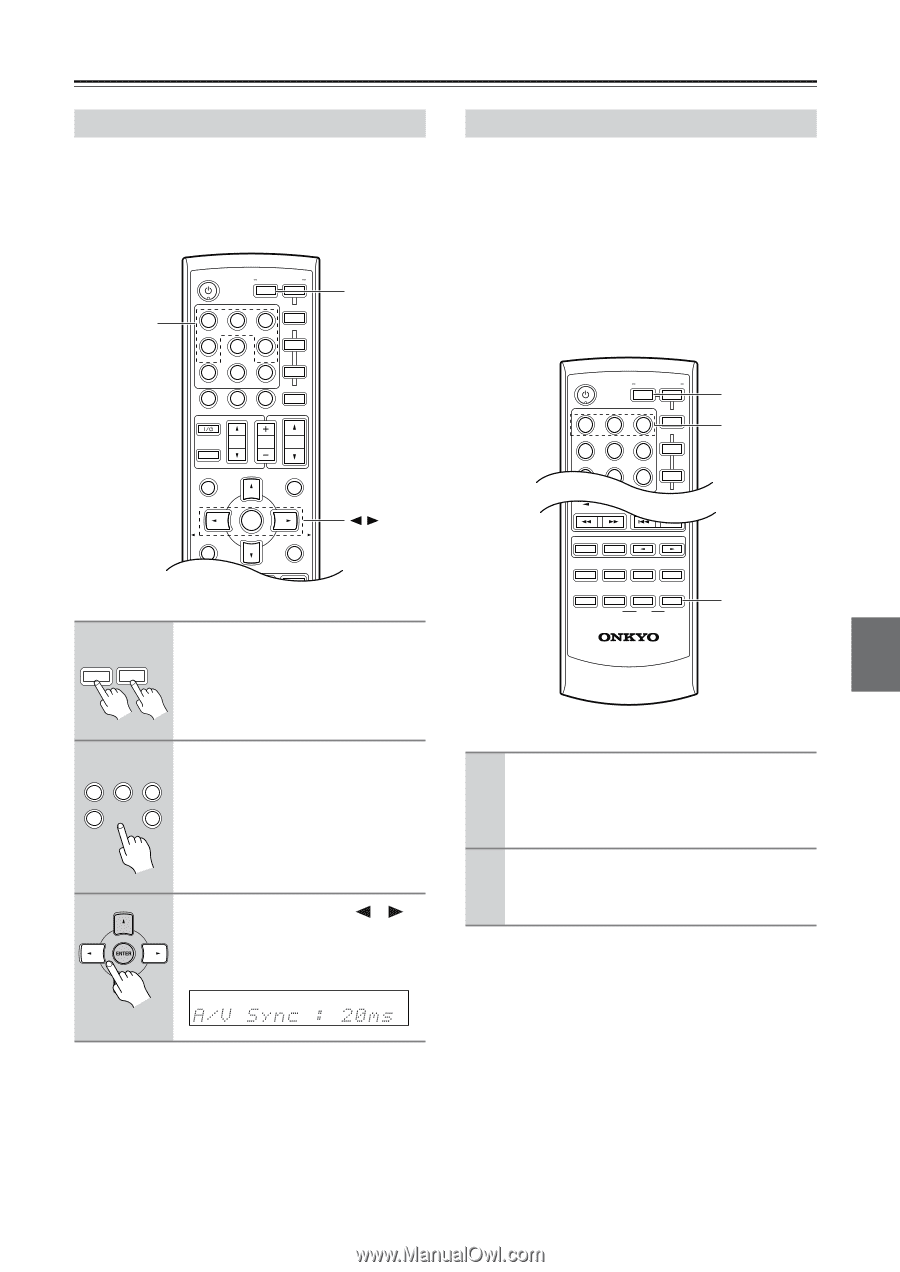
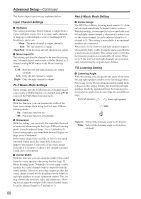
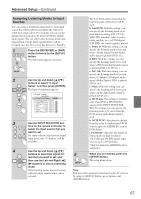
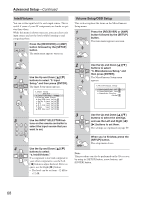
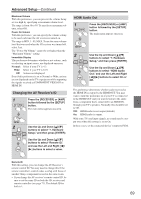
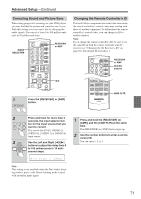
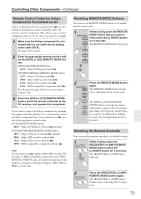
Advanced Setup-Continued Correcting Sound and Picture Sync When using progressive scanning on your DVD player, you may find that the picture and sound are out of sync. With this setting, you can correct this by delaying the audio signals. You can set it from 0 to 100 milliseconds (ms) in 10 millisecond steps. INPUT SELECTOR STANDBY/ON REMOTE MODE RECEIVER DVD TAPE/AMP INPUT SELECTOR M D/CDR 1 2 3 C D HDD V1 V2 V3 4 5 6 TV V4 MULTI CH DVD 7 8 9 VCR TAPE TUNER 10 11 +10 0 C D 12 CABLE CLR SAT D TUN --/--- ENT DIMMER SLEEP TV VOL INPUT GUIDE TOP MENU CH DISC ALBUM VOL PREVIOUS MENU PLAYLIST/CAT ENTER MUTING PLAYLIST/CAT RETURN SETUP RECEIVER or AMP 1 AMP RECEIVER Press the [RECEIVER] or [AMP] button. Changing the Remote Controller's ID If several Onkyo components are used in the same room, the remote controller's control codes may overlap with those of another component. To differentiate the remote controller's control codes, you can change its ID to another number. Note: If you change the remote controller's ID, be sure to set the same ID on both the remote controller and AV receiver (see "Changing the AV Receiver's ID" on page 69). The default ID for both is 1. TV VOL INPUT CH DISC ALBUM VOL GUIDE STTOAPNDMBEYN/OUN PREVIOUS MENU REMOTE MODE RECEIVER DVD TAPE/AMP MUTING INPUT SELECTOR M D/CDR 1 PLAYVL1IST/CAT 2 ENTER 3 V2 V3 C D HDD PLAYLIST/CAT 4 5 6 TV V4 MULTI CH RETURN 7 8 DVD 9 SETUP VCR TAPE TUNER 10 11 C D 12 CABLE RECEIVER or AMP Number buttons LISTENING MODE STEREO SURROUND AUDIO SUBTITLE RANDOM REPEAT TEST TONE CH SEL LEVEL- LEVEL+ PLAY MODE DISPLAY AUDYSSEY L NIGHT VCR DVD CINE FLTR HDD RC-668M CINE FLTR 2 Press and hold, for more than 4 seconds, the input selector but- 1 2 3 ton for the input source that you V1 V2 V3 4 6 want to correct. V4 DVD This can be the [DVD], [VIDEO 1], [VIDEO 2], [VIDEO 3] or [VIDEO 4] input source. 3 Use the Left and Right [ ]/[ ] buttons to adjust the delay from 0 to 100 milliseconds in 10 milli- second steps. 1 Press and hold the [RECEIVER] (or [AMP]) and the [CINE FLTR] at the same time. The [RECEIVER] or [AMP] button lights up. 2 Use the number buttons to enter a remote control ID. You can enter 1, 2, or 3. Note: This setting is not available when the Pure Audio listening mode is used, or the Direct listening mode is used with an analog input signal. 71
-
 1
1 -
2
-
3
-
4
-
5
-
6
-
7
-
8
-
9
-
10
-
11
-
12
-
13
-
14
-
15
-
16
-
17
-
18
-
19
-
20
-
21
-
22
-
23
-
24
-
25
-
26
-
27
-
28
-
29
-
30
-
31
-
32
-
33
-
34
-
35
-
36
-
37
-
38
-
39
-
40
-
41
-
42
-
43
-
44
-
45
-
46
-
47
-
48
-
49
-
50
-
51
-
52
-
53
-
54
-
55
-
56
-
57
-
58
-
59
-
60
-
61
-
62
-
63
-
64
-
65
-
 66
66 -
 67
67 -
 68
68 -
 69
69 -
 70
70 -
 71
71 -
 72
72 -
 73
73 -
 74
74 -
 75
75 -
 76
76 -
77
-
78
-
79
-
80
 |
 |