Ricoh CL7200 Maintenance Manual - Page 82
Press # for Test, Print Bypass, Set Sheet, then, A4 297 x 210, Select Action, 1: Re-adjust, 1: Re- - fuser
 |
UPC - 026649024115
View all Ricoh CL7200 manuals
Add to My Manuals
Save this manual to your list of manuals |
Page 82 highlights
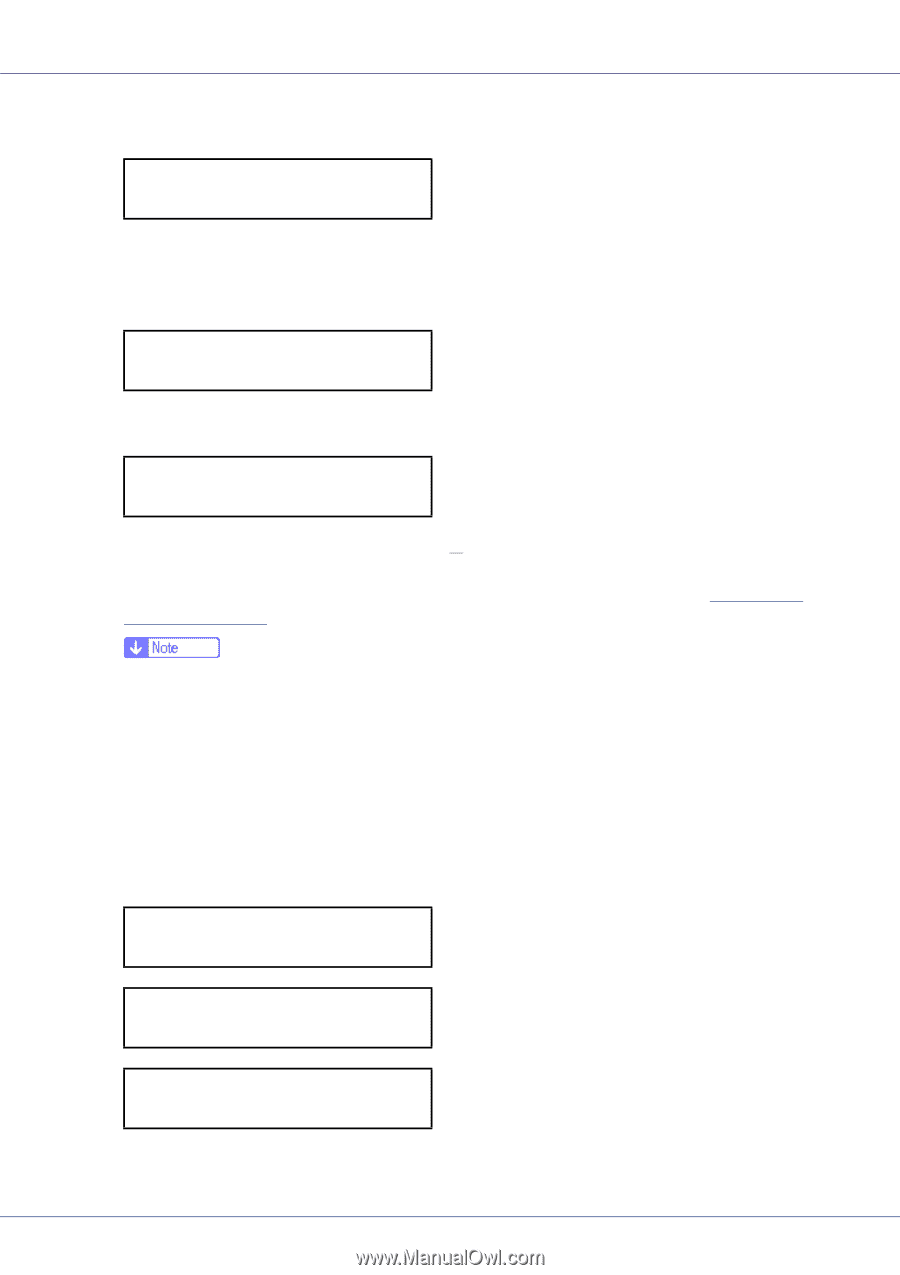
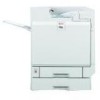
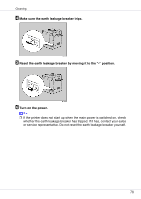
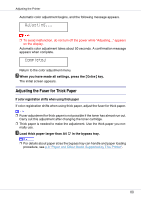
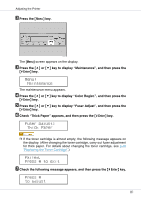
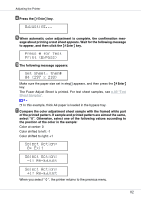
Adjusting the Printer H Press the {# Enter} key. Adjusting... I When automatic color adjustment is complete, the confirmation mes- sage about printing a test sheet appears. Wait for the following message to appear, and then click the {# Enter} key. Press # for Test Print (Bypass) J The following message appears: Set Sheet, then# A4 (297 x 210) Make sure the paper size set in stepH appears, and then press the {# Enter} key. The Fuser Adjust Sheet is printed. For test sheet samples, see p.83 "Test Sheet Samples". ❒ In this example, thick A4 paper is loaded in the bypass tray. K Compare the color adjustment sheet sample with the framed white part of the printed pattern. If sample and printed pattern are almost the same, select "0". Otherwise, select one of the following values according to the position of the color in the sample: Color at center: 0 Color shifted to left: -1 Color shifted to right: +1 Select Action: 0: Exit Select Action: -1: Re-adjust Select Action: +1: Re-adjust When you select " 0 ", the printer returns to the previous menu. 82
-
 1
1 -
2
-
3
-
4
-
5
-
6
-
7
-
8
-
9
-
10
-
11
-
12
-
13
-
14
-
15
-
16
-
17
-
18
-
19
-
20
-
21
-
22
-
23
-
24
-
25
-
26
-
27
-
28
-
29
-
30
-
31
-
32
-
33
-
34
-
35
-
36
-
37
-
38
-
39
-
40
-
41
-
42
-
43
-
44
-
45
-
46
-
47
-
48
-
49
-
50
-
51
-
52
-
53
-
54
-
55
-
56
-
57
-
58
-
59
-
60
-
61
-
62
-
63
-
64
-
65
-
66
-
67
-
68
-
69
-
70
-
71
-
72
-
73
-
74
-
75
-
76
-
 77
77 -
 78
78 -
 79
79 -
 80
80 -
 81
81 -
 82
82 -
 83
83 -
 84
84 -
 85
85 -
 86
86 -
 87
87 -
88
-
89
-
90
-
91
-
92
-
93
-
94
-
95
-
96
-
97
-
98
-
99
-
100
-
101
-
102
-
103
-
104
-
105
-
106
-
107
-
108
-
109
-
110
-
111
-
112
-
113
-
114
-
115
-
116
-
117
-
118
-
119
-
120
-
121
-
122
-
123
-
124
-
125
-
126
-
127
-
128
-
129
-
130
-
131
-
132
-
133
-
134
-
135
-
136
-
137
-
138
-
139
-
140
-
141
-
142
-
143
-
144
-
145
-
146
-
147
-
148
-
149
-
150
-
151
-
152
-
153
-
154
-
155
-
156
-
157
-
158
-
159
-
160
-
161
-
162
-
163
-
164
-
165
-
166
-
167
-
168
-
169
-
170
-
171
 |
 |