Samsung SCX 6555N User Manual (ENGLISH) - Page 69
Scanning to an USB memory device, Scanning, Scan to USB, Basic tab, Advanced tab, Image tab
 |
UPC - 635753610314
View all Samsung SCX 6555N manuals
Add to My Manuals
Save this manual to your list of manuals |
Page 69 highlights
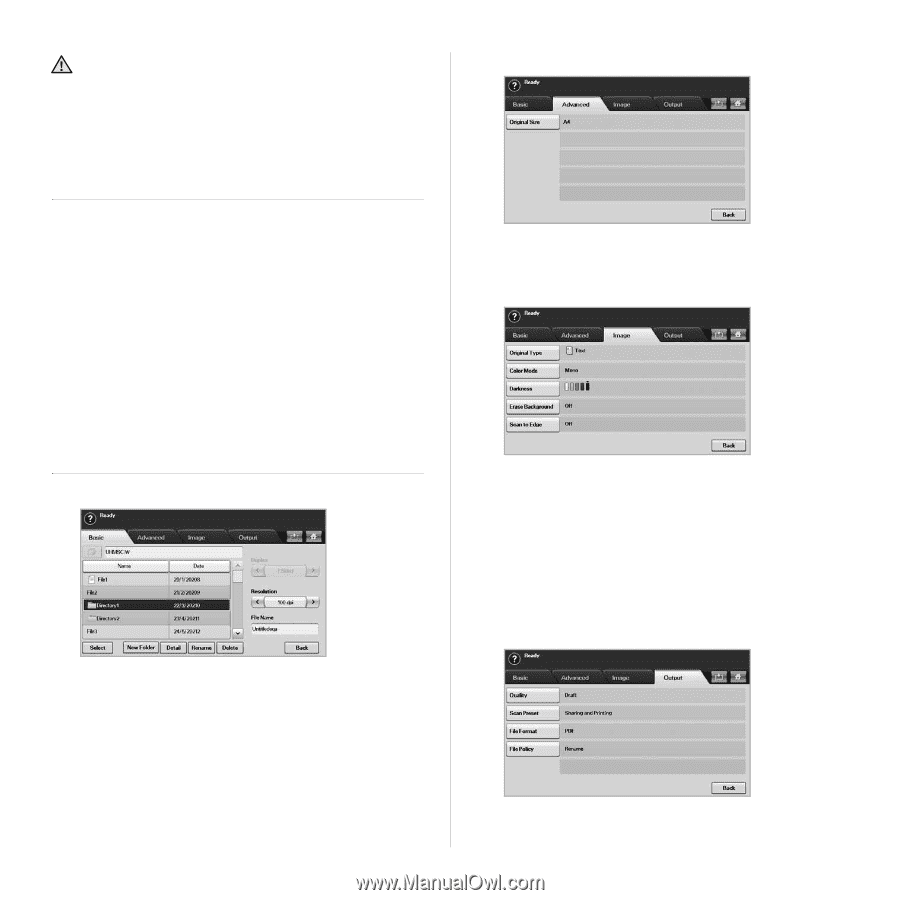
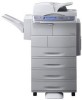
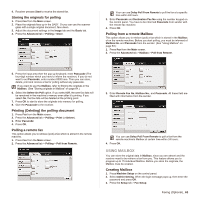
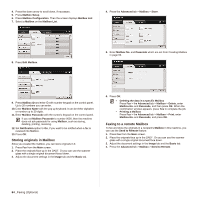
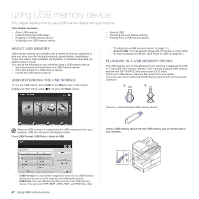
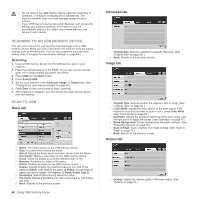
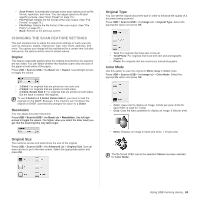
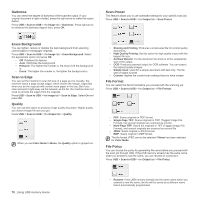
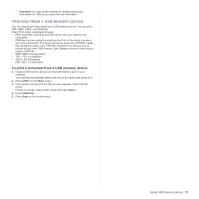
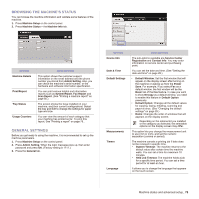
• Do not remove the USB memory device while the machine is in operation, or writing to or reading from USB memory. The machine warranty does not cover damage caused by use's misuse. • If your USB memory device has certain features, such as security settings and password settings, your machine may not automatically detect it. For details about these features, see device's User's Guide. SCANNING TO AN USB MEMORY DEVICE You can scan a document and save the scanned image onto a USB memory device. When you scan a document, the machine uses the default settings such as the resolution. You can also customize your own scan setting. (See "Changing the scan feature settings" on page 69.) Scanning 1. Insert a USB memory device into the USB memory port on your machine. 2. Place the originals face up in the DADF. Or you can use the scanner glass with a single original document, face down. 3. Press USB from the Main screen. 4. Press Scan to USB. 5. Set the scan features in the Advanced, Image, or Output tabs. (See "Changing the scan feature settings" on page 69.) 6. Press Start on the control panel to begin scanning. 7. After scanning is complete, you can remove the USB memory device from the machine. SCAN TO USB Basic tab • Name: The folder names on the USB memory device. • Date: Tha date which folders are made. • Select: Selects the folder which has been chosen from the Name. • New Folder: Makes a new folder on the USB memory device. • Detail: Views the details of currently selected folder or file. • Rename: Renames the folder or file name. • Delete: Deletes the folder on the USB memory device. • Duplex: Selects whether the machine scans on one side of the paper (1 Sided), both sides of the paper (2 Sided), or both sides of paper but back is rotated 180 degrees (2 Sided, Rotate Side 2). • Resolution: Selects the scanning resolution value. • File Name: Names a file before you scan a document by just clicking this field. • Back: Returns to the previous screen. 68 _Using USB memory device Advanced tab • Original Size: Sets the originals to a specific fixed size. (See "Original Size" on page 69. ) • Back: Returns to the previous screen. Image tab • Original Type: Selects whether the original is text or photo. (See "Original Type" on page 69.) • Color Mode: Adjusts the color options of the scan output. If the original is color and you want to scan in color, press Color Mode. (See "Color Mode" on page 69.) • Darkness: Adjusts the degree of darkness of the scan output. Use left/right arrow to adjust the values. (See "Darkness" on page 70.) • Erase Background: Erases backgrounds like paper patterns. (See "Erase Background" on page 70.) • Scan to Edge: Scans originals from edge-to-edge. (See "Scan to Edge" on page 70.) • Back: Returns to the previous screen. Output tab • Quality: Adjusts the display quality of the scan output. (See "Quality" on page 70.)
-
 1
1 -
2
-
3
-
4
-
5
-
6
-
7
-
8
-
9
-
10
-
11
-
12
-
13
-
14
-
15
-
16
-
17
-
18
-
19
-
20
-
21
-
22
-
23
-
24
-
25
-
26
-
27
-
28
-
29
-
30
-
31
-
32
-
33
-
34
-
35
-
36
-
37
-
38
-
39
-
40
-
41
-
42
-
43
-
44
-
45
-
46
-
47
-
48
-
49
-
50
-
51
-
52
-
53
-
54
-
55
-
56
-
57
-
58
-
59
-
60
-
61
-
62
-
63
-
 64
64 -
 65
65 -
 66
66 -
 67
67 -
 68
68 -
 69
69 -
 70
70 -
 71
71 -
 72
72 -
 73
73 -
 74
74 -
75
-
76
-
77
-
78
-
79
-
80
-
81
-
82
-
83
-
84
-
85
-
86
-
87
-
88
-
89
-
90
-
91
-
92
-
93
-
94
-
95
-
96
-
97
-
98
-
99
-
100
-
101
-
102
-
103
-
104
-
105
-
106
-
107
-
108
-
109
-
110
-
111
-
112
-
113
-
114
-
115
-
116
-
117
-
118
-
119
-
120
-
121
-
122
-
123
-
124
-
125
-
126
-
127
-
128
-
129
-
130
-
131
-
132
-
133
-
134
-
135
-
136
-
137
-
138
-
139
-
140
-
141
-
142
-
143
-
144
-
145
-
146
-
147
-
148
-
149
-
150
-
151
-
152
-
153
-
154
-
155
-
156
-
157
-
158
-
159
-
160
-
161
-
162
-
163
-
164
-
165
-
166
-
167
-
168
-
169
-
170
-
171
-
172
-
173
-
174
-
175
 |
 |