Toshiba 52HM95 Owner's Manual - English - Page 45
Setting up and using TheaterNet™ on-screen device control
 |
UPC - 022265251157
View all Toshiba 52HM95 manuals
Add to My Manuals
Save this manual to your list of manuals |
Page 45 highlights
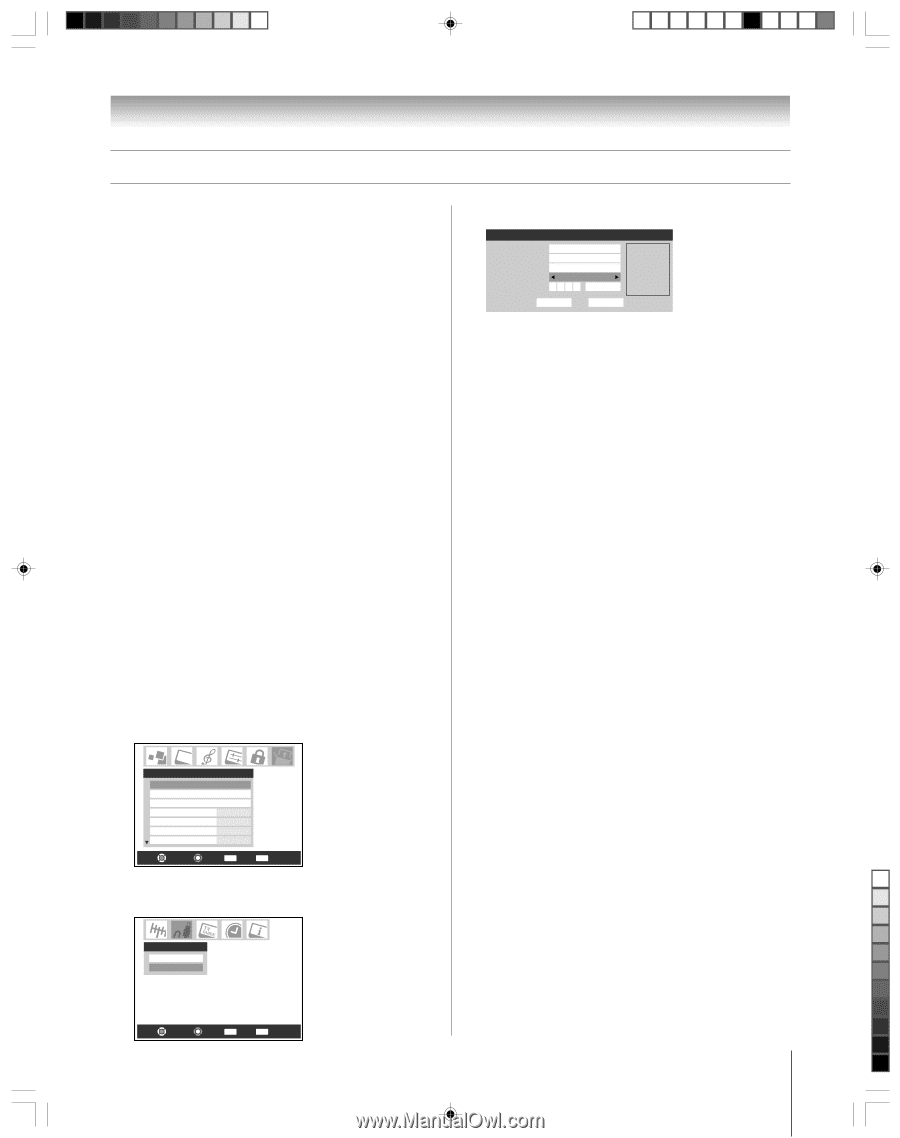
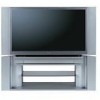
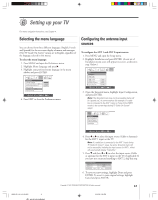
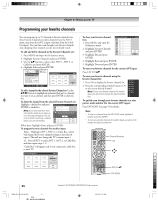
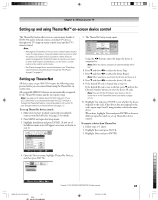
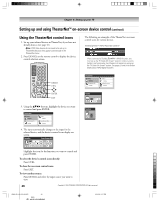
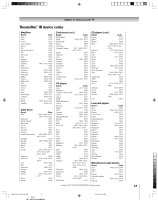
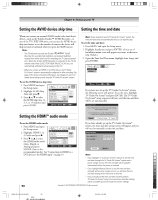
Chapter 6: Setting up your TV Setting up and using TheaterNet™ on-screen device control The TheaterNet feature allows you to control many brands of IEEE1394 and/or infrared remote-controlled A/V devices through your TV using on-screen control icons and the TV's remote control. Note: • Although the TheaterNet on-screen device control feature includes codes for many devices, it may not include codes for some or all of the features on certain devices you wish to control. If you are unable to program the TheaterNet feature to operate your device or some of the features on that device, use the device's remote control or the controls on the device. • For IR pass-through device control information, see "Controlling infrared remote-controlled devices through the TV (IR passthrough)" on page 21. Setting up TheaterNet All device types except IEEE1394 require the following setup process before you can control them using the TheaterNet onscreen icons. All compatible IEEE1394 devices are automatically recognized by the TheaterNet feature and do not require setup. Note: See page 22 for details about the IEEE1394 ports. If your IEEE1394 device is not recognized through the IEEE1394 port or through the TheaterNet feature, it may be possible to set it up for IR pass-through control as an infrared device (see page 21). To set up TheaterNet device control: 1. Make sure you have properly connected your infrared remote-controlled device(s). See page 21 for details. 2. Press MENU and open the Setup menu. 3. Highlight Installation and press ENTER. (A new set of Installation menu icons will appear on-screen, as shown in step 4). Setup Installation Sleep Timer On/Off Timer HDMI 1 Audio HDMI 2 Audio Slide Show Interval AVHD Skip Time Auto Auto 2 Sec 15 min Navigate Select CH RTN Back EXIT Exit 4. Open the Devices menu, highlight TheaterNet Devices, and then press ENTER. 5. The TheaterNet Setup menu opens. TheaterNet Setup Input Type Brand IR List IR Code Video 1 Cable General Instrum... 0000 0000 Test Reset Done Select device type, brand, and IR code from owners manual. Using the x • buttons, select the Input the device is connected to. Note: When the input is changed, all unsaved settings will be lost. 6. Press z and then x • to select the device Type. 7. Press z and then x • to select the device Brand. Note: When selecting a new brand, the IR code will be set to 0. 8. Press z and then x • to select the device's IR code. 9. If the desired IR code is found, skip to step 10. If the desired IR code is not in the list, press z and use the Channel Number buttons to enter the device IR code. Note: You can find the IR code for your device in the onscreen list or in the TheaterNet device code table on pages 47-49. 10. Highlight Test and press ENTER to test whether the device responds to the code. If the device does not respond to the code, repeat steps 8 and 9 using another code for the same device. When done, highlight Done and press ENTER or choose a different Input for which to set up TheaterNet device control. To remove a device from TheaterNet: 1. Follow steps 1-5 above. 2. Highlight Reset and press ENTER. 3. Highlight Done and press ENTER. Devices IEEE1394 Devices TheaterNet Devices Navigate Select CH RTN Back EXIT Exit HM95_R1_044-52_061505 45 Black Copyright © 2005 TOSHIBA CORPORATION. All rights reserved. 6/24/05, 9:47 PM 45
-
 1
1 -
2
-
3
-
4
-
5
-
6
-
7
-
8
-
9
-
10
-
11
-
12
-
13
-
14
-
15
-
16
-
17
-
18
-
19
-
20
-
21
-
22
-
23
-
24
-
25
-
26
-
27
-
28
-
29
-
30
-
31
-
32
-
33
-
34
-
35
-
36
-
37
-
38
-
39
-
 40
40 -
 41
41 -
 42
42 -
 43
43 -
 44
44 -
 45
45 -
 46
46 -
 47
47 -
 48
48 -
 49
49 -
 50
50 -
51
-
52
-
53
-
54
-
55
-
56
-
57
-
58
-
59
-
60
-
61
-
62
-
63
-
64
-
65
-
66
-
67
-
68
-
69
-
70
-
71
-
72
-
73
-
74
-
75
-
76
-
77
-
78
-
79
-
80
-
81
-
82
-
83
-
84
-
85
-
86
-
87
-
88
-
89
-
90
-
91
-
92
-
93
-
94
-
95
-
96
-
97
-
98
-
99
-
100
-
101
-
102
-
103
-
104
-
105
-
106
-
107
-
108
-
109
-
110
-
111
-
112
 |
 |