Brother International MFC 9420CN Network Users Manual - English - Page 42
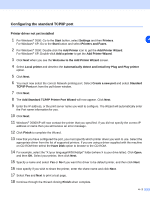
Browse, Start, Settings, Printers, Add Printer, Add Printer Wizard, Local Printer, Have Disk, Finish
 |
UPC - 012502614074
View all Brother International MFC 9420CN manuals
Add to My Manuals
Save this manual to your list of manuals |
Page 42 highlights
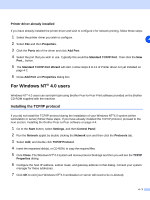
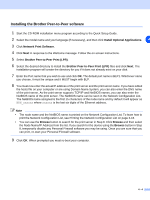
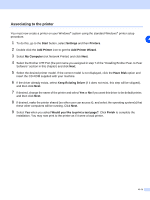
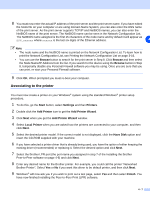
8 You must now enter the actual IP address of the print server and the print server name. If you have edited the hosts file on your computer or are using Domain Name System, you can also enter the DNS name of the print server. As the print server supports TCP/IP and NetBIOS names, you can also enter the NetBIOS name of the print server. The NetBIOS name can be seen in the Network Configuration List. The NetBIOS name assigned is the first 15 characters of the node name and by default it will appear as BRN_xxxxxx where xxxxxx is the last six digits of the Ethernet address. 4 Note • The node name and the NetBIOS name is printed on the Network Configuration List. To learn how to print the Network Configuration List, see Printing the Network Configuration List on page 3-16. • You can use the Browse button to search for the print server in Step 8. Click Browse and then select the Node Name/IP Address from the list. If you search for the device using the Browse button in Step 8, temporarily disable any Personal Firewall software you may be using. Once you are sure that you can print, re-start your Personal Firewall software. 9 Click OK. When prompted you must re-boot your computer. Associating to the printer You must now create a printer on your Windows® system using the standard Windows® printer setup procedure. 1 To do this, go the Start button, select Settings and then Printers. 2 Double click the Add Printer icon to get the Add Printer Wizard. 3 Click Next when you get the Add Printer Wizard window. 4 Select Local Printer when you are asked how the printers are connected to your computer, and then click Next. 5 Select the desired printer model. If the correct model is not displayed, click the Have Disk option and insert the CD-ROM supplied with your machine. 6 If you have selected a printer driver that is already being used, you have the option of either keeping the existing driver (recommended) or replacing it. Select the desired option and click Next. 7 Select the Brother LPR port (the port name you assigned in step 7 of the Installing the Brother Peer-to-Peer software on page 4-6) and click Next. 8 Enter any desired name for the Brother printer. For example, you could call the printer "Networked Brother Printer". Select Yes or No if you want this driver to be default printer, and then click Next. 9 Windows® will now ask you if you wish to print out a test page, select Yes and then select Finish. You have now finished installing the Peer-to-Peer Print (LPR) software. 4 - 7
-
 1
1 -
2
-
3
-
4
-
5
-
6
-
7
-
8
-
9
-
10
-
11
-
12
-
13
-
14
-
15
-
16
-
17
-
18
-
19
-
20
-
21
-
22
-
23
-
24
-
25
-
26
-
27
-
28
-
29
-
30
-
31
-
32
-
33
-
34
-
35
-
36
-
 37
37 -
 38
38 -
 39
39 -
 40
40 -
 41
41 -
 42
42 -
 43
43 -
 44
44 -
 45
45 -
 46
46 -
 47
47 -
48
-
49
-
50
-
51
-
52
-
53
-
54
-
55
-
56
-
57
-
58
-
59
-
60
-
61
-
62
-
63
-
64
-
65
-
66
-
67
-
68
-
69
-
70
-
71
-
72
-
73
-
74
-
75
-
76
-
77
-
78
-
79
-
80
-
81
-
82
-
83
-
84
-
85
-
86
-
87
-
88
-
89
-
90
-
91
-
92
-
93
-
94
 |
 |
