Canon EOS-1D X EOS-1D Instructions - Page 47
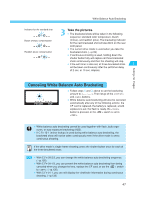
Canceling White Balance Auto Bracketing - delay
 |
View all Canon EOS-1D X manuals
Add to My Manuals
Save this manual to your list of manuals |
Page 47 highlights
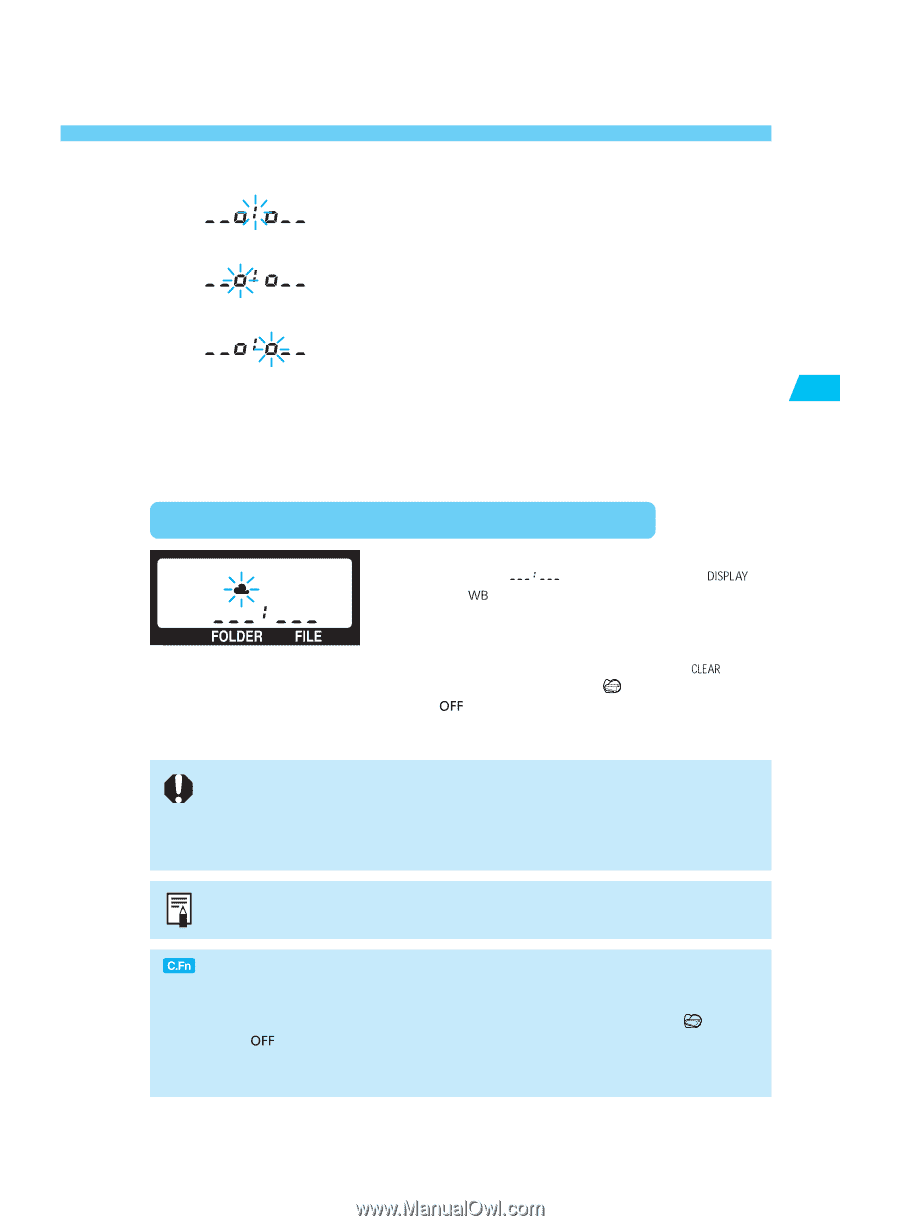
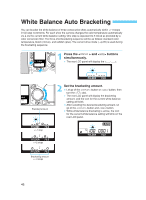
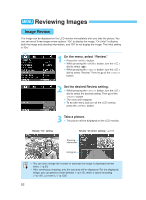
White Balance Auto Bracketing Indicator for the standard shot Bluish (minus) compensation Reddish (plus) compensation 3 Take the pictures. s The bracketed shots will be taken in the following sequence: standard color temperature, bluish (minus), and reddish (plus). The bracketing indicator for the next bracketed shot will also blink on the rear LCD panel. • The current drive mode is used when you take the bracketed shots. (→p.99) • If continuous shooting is used, holding down the shutter button fully will capture all three bracketed shots continuously and then the shooting will stop. • If the self-timer is also set, all three bracketed shots 2 will be taken continuously after the self-timer delay of 2 sec. or 10 sec. elapses. Settings for Images Canceling White Balance Auto Bracketing • Follow steps 1 and 2 above to set the bracketing amount to < >. Then let go of the < > and < > buttons. • White balance auto bracketing will also be canceled automatically after any of the following actions: the CF card is replaced, the battery is replaced, a bulb exposure is set, the flash is ready, the < > button is pressed, or the < > switch is set to < >. • White balance auto bracketing cannot be used together with flash, bulb exposures, or auto exposure bracketing (AEB). • If C.Fn-12-1 (mirror lockup) is used during white balance auto bracketing, the bracketed shots will not be taken continuously even if the drive mode is set to continuous shooting. If the drive mode is single-frame shooting, press the shutter button once for each of the three bracketed shots. • With C.Fn-09-2/3, you can change the white balance auto bracketing sequence. (→p.135) • With C.Fn-09-1/3, you can prevent the white balance auto bracketing from being canceled when you change the lens, replace the CF card, or set the < > switch to < >. (→p.135) • With C.Fn-01-1, you can still display the viewfinder information during continuous shooting. (→p.133) 47
-
 1
1 -
2
-
3
-
4
-
5
-
6
-
7
-
8
-
9
-
10
-
11
-
12
-
13
-
14
-
15
-
16
-
17
-
18
-
19
-
20
-
21
-
22
-
23
-
24
-
25
-
26
-
27
-
28
-
29
-
30
-
31
-
32
-
33
-
34
-
35
-
36
-
37
-
38
-
39
-
40
-
41
-
 42
42 -
 43
43 -
 44
44 -
 45
45 -
 46
46 -
 47
47 -
 48
48 -
 49
49 -
 50
50 -
 51
51 -
 52
52 -
53
-
54
-
55
-
56
-
57
-
58
-
59
-
60
-
61
-
62
-
63
-
64
-
65
-
66
-
67
-
68
-
69
-
70
-
71
-
72
-
73
-
74
-
75
-
76
-
77
-
78
-
79
-
80
-
81
-
82
-
83
-
84
-
85
-
86
-
87
-
88
-
89
-
90
-
91
-
92
-
93
-
94
-
95
-
96
-
97
-
98
-
99
-
100
-
101
-
102
-
103
-
104
-
105
-
106
-
107
-
108
-
109
-
110
-
111
-
112
-
113
-
114
-
115
-
116
-
117
-
118
-
119
-
120
-
121
-
122
-
123
-
124
-
125
-
126
-
127
-
128
-
129
-
130
-
131
-
132
-
133
-
134
-
135
-
136
-
137
-
138
-
139
-
140
-
141
-
142
-
143
-
144
-
145
-
146
-
147
-
148
-
149
-
150
-
151
-
152
-
153
-
154
-
155
-
156
-
157
-
158
-
159
-
160
-
161
-
162
-
163
-
164
-
165
-
166
-
167
-
168
-
169
-
170
-
171
-
172
-
173
-
174
-
175
-
176
 |
 |