Dell P703w User Guide - Page 55
Modify List
 |
View all Dell P703w manuals
Add to My Manuals
Save this manual to your list of manuals |
Page 55 highlights
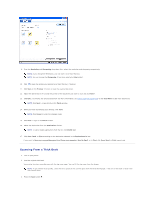
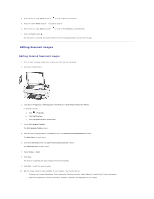
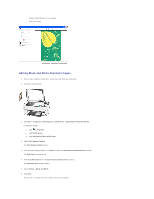
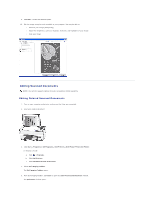
9. From the Resolution and Sharpening drop-down lists, select the resolution and sharpening. 10. Select the Color restoration, Red eye reduction, and Kodak Perfect Touch technology check box, if you want to scan with enhancements. 11. Click to save the options you selected as a Scan Shortcut, if desired. 12. Click Scan or click Preview > button to view the scanned image. 13. Adjust the dotted box to fit around the portion of the image you want to scan and click Next>. 14. Click Edit... to enhance the selected photo (for more information, see Editing Scanned Images) or click Scan More to add more photos to the picture tray. NOTE: Click Next > to go directly to the Finish window. 15. When you finish customizing your settings, click Save to File... to save the enhanced picture at new file, or Save to save it to the scanned file. NOTE: Click Cancel to undo the changes made. 16. Click Next > to go to the Finish window. 17. Select the destination from the Destinations list box. NOTE: To add or delete applications from the list, click Modify List.
-
 1
1 -
2
-
3
-
4
-
5
-
6
-
7
-
8
-
9
-
10
-
11
-
12
-
13
-
14
-
15
-
16
-
17
-
18
-
19
-
20
-
21
-
22
-
23
-
24
-
25
-
26
-
27
-
28
-
29
-
30
-
31
-
32
-
33
-
34
-
35
-
36
-
37
-
38
-
39
-
40
-
41
-
42
-
43
-
44
-
45
-
46
-
47
-
48
-
49
-
 50
50 -
 51
51 -
 52
52 -
 53
53 -
 54
54 -
 55
55 -
 56
56 -
 57
57 -
 58
58 -
 59
59 -
 60
60 -
61
-
62
-
63
-
64
-
65
-
66
-
67
-
68
-
69
-
70
-
71
-
72
-
73
-
74
-
75
-
76
-
77
-
78
-
79
-
80
-
81
-
82
-
83
-
84
-
85
-
86
-
87
-
88
-
89
-
90
 |
 |
