Dell P703w User Guide - Page 64
Scan Document Settings
 |
View all Dell P703w manuals
Add to My Manuals
Save this manual to your list of manuals |
Page 64 highlights
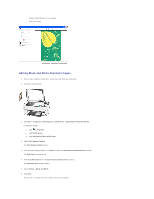
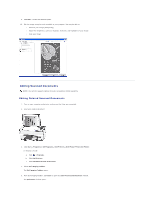
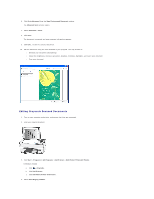
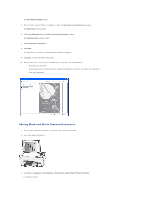
b. Click Dell Printers. c. Click Dell Photo P703w AIO Printer. 2. Select Dell Imaging Toolbox. The Dell Imaging Toolbox opens. 3. From the Dell Imaging Toolbox, select Settings. 4. Click Scan. 5. Click the General tab. 6. Select the Default item type, Documents or Pictures. 7. From the Default scan drop-down list, select the Default scan destination. 8. Click the Applications list button, if you want to add or delete any application. 9. Click OK or Apply. Scan Document Settings
-
 1
1 -
2
-
3
-
4
-
5
-
6
-
7
-
8
-
9
-
10
-
11
-
12
-
13
-
14
-
15
-
16
-
17
-
18
-
19
-
20
-
21
-
22
-
23
-
24
-
25
-
26
-
27
-
28
-
29
-
30
-
31
-
32
-
33
-
34
-
35
-
36
-
37
-
38
-
39
-
40
-
41
-
42
-
43
-
44
-
45
-
46
-
47
-
48
-
49
-
50
-
51
-
52
-
53
-
54
-
55
-
56
-
57
-
58
-
 59
59 -
 60
60 -
 61
61 -
 62
62 -
 63
63 -
 64
64 -
 65
65 -
 66
66 -
 67
67 -
 68
68 -
 69
69 -
70
-
71
-
72
-
73
-
74
-
75
-
76
-
77
-
78
-
79
-
80
-
81
-
82
-
83
-
84
-
85
-
86
-
87
-
88
-
89
-
90
 |
 |

b.
Click
Dell Printers
.
c.
Click
Dell Photo P703w AIO Printer
.
2.
Select
Dell Imaging Toolbox
.
The
Dell Imaging Toolbox
opens.
3.
From the Dell Imaging Toolbox, select
Settings
.
4.
Click
Scan
.
5.
Click the
General
tab
.
6.
Select the
Default item type,
Documents
or
Pictures.
7.
From the
Default scan
drop-down list, select the Default scan destination.
8.
Click the
Applications list
button, if you want to add or delete any application.
9.
Click
OK or Apply
.
Scan Document Settings