Dell Studio Hybrid D140G Studio Hybrid Service Manual - Page 22
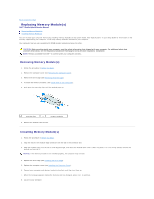
Replacing the Front I/O Panel
 |
View all Dell Studio Hybrid D140G manuals
Add to My Manuals
Save this manual to your list of manuals |
Page 22 highlights
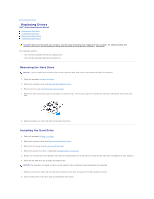
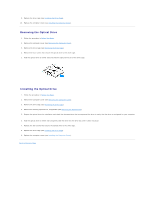
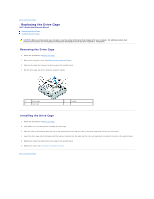
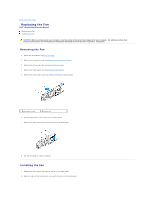
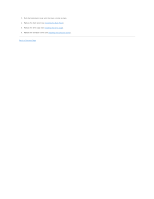
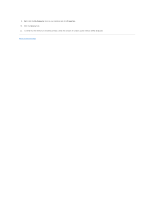
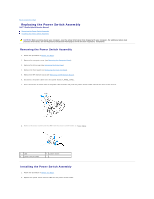
Back to Contents Page Replacing the Front I/O Panel Dell™ Studio Hybrid Service Manual Removing the Front I/O Panel Installing the Front I/O Panel CAUTION: Before working inside your computer, read the safety information that shipped with your computer. For additional safety best practices information, see the Regulatory Compliance Homepage at www.dell.com/regulatory_compliance. Removing the Front I/O Panel 1. Follow the procedures in Before You Begin. 2. Remove the computer cover (see Removing the Computer Cover). 3. Remove the drive cage (see Removing the Drive Cage). NOTICE: Carefully note the routing of each cable before you disconnect it, so that you re-route the cable correctly. An incorrectly routed or a disconnected cable could lead to computer problems. 4. Disconnect the flex-cable from the system board, then press the two tabs located on the top and gently pull the front panel away from the chassis. 1 front panel 3 top tabs (2) 2 bottom tabs (2) 4 flex-cable Installing the Front I/O Panel 1. Follow the procedures in Before You Begin. 2. Connect the flex-cable to the system board (TPB_CON1). 3. Align the four tabs with the corresponding slots on the chassis and gently push the front panel until it snaps into place.
-
 1
1 -
2
-
3
-
4
-
5
-
6
-
7
-
8
-
9
-
10
-
11
-
12
-
13
-
14
-
15
-
16
-
 17
17 -
 18
18 -
 19
19 -
 20
20 -
 21
21 -
 22
22 -
 23
23 -
 24
24 -
 25
25 -
 26
26 -
 27
27 -
28
-
29
-
30
-
31
-
32
-
33
-
34
-
35
-
36
-
37
-
38
-
39
-
40
-
41
-
42
 |
 |
