Epson 2450 Scanner Basics - Page 17
Scanning to E-mail
 |
UPC - 010343837836
View all Epson 2450 manuals
Add to My Manuals
Save this manual to your list of manuals |
Page 17 highlights
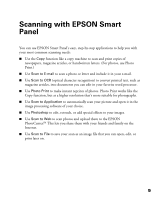
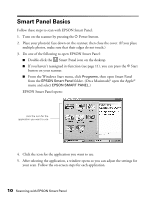
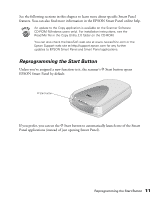
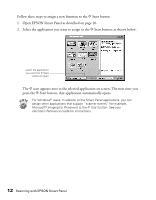
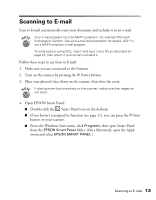
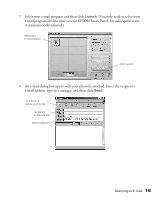
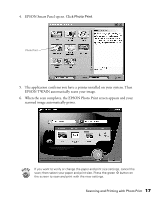
Scanning to E-mail Scan to E-mail automatically scans your document and includes it in an e-mail. Your e-mail program must be MAPI-compliant-for example Microsoft Exchange or Outlook. See your e-mail documentation for details. AOL® is not a MAPI-compliant e-mail program. To send a photo using AOL, scan it and save it as a file as described on page 24, then attach it to an e-mail and send it. Follow these steps to use Scan to E-mail: 1. Make sure you are connected to the Internet. 2. Turn on the scanner by pressing the P Power button. 3. Place your photo(s) face down on the scanner, then close the cover. If placing more than one photo on the scanner, make sure their edges do not touch. 4. Open EPSON Smart Panel: I Double-click the Smart Panel icon on the desktop. I If you haven't reassigned its function (see page 11), you can press the ] Start button on your scanner. I From the Windows Start menu, click Programs, then open Smart Panel from the EPSON Smart Panel folder. (On a Macintosh, open the Apple menu and select EPSON SMART PANEL.) Scanning to E-mail 13
-
 1
1 -
2
-
3
-
4
-
5
-
6
-
7
-
8
-
9
-
10
-
11
-
 12
12 -
 13
13 -
 14
14 -
 15
15 -
 16
16 -
 17
17 -
 18
18 -
 19
19 -
 20
20 -
 21
21 -
 22
22 -
23
-
24
-
25
-
26
-
27
-
28
-
29
-
30
-
31
-
32
-
33
-
34
-
35
-
36
-
37
-
38
-
39
-
40
-
41
-
42
-
43
-
44
-
45
-
46
-
47
-
48
-
49
-
50
-
51
-
52
-
53
-
54
-
55
-
56
-
57
-
58
 |
 |
