HP 170X HP JetDirect 170X - Installation and Configuration Guide - Page 16
Where Do I Begin - driver
 |
UPC - 882780300699
View all HP 170X manuals
Add to My Manuals
Save this manual to your list of manuals |
Page 16 highlights
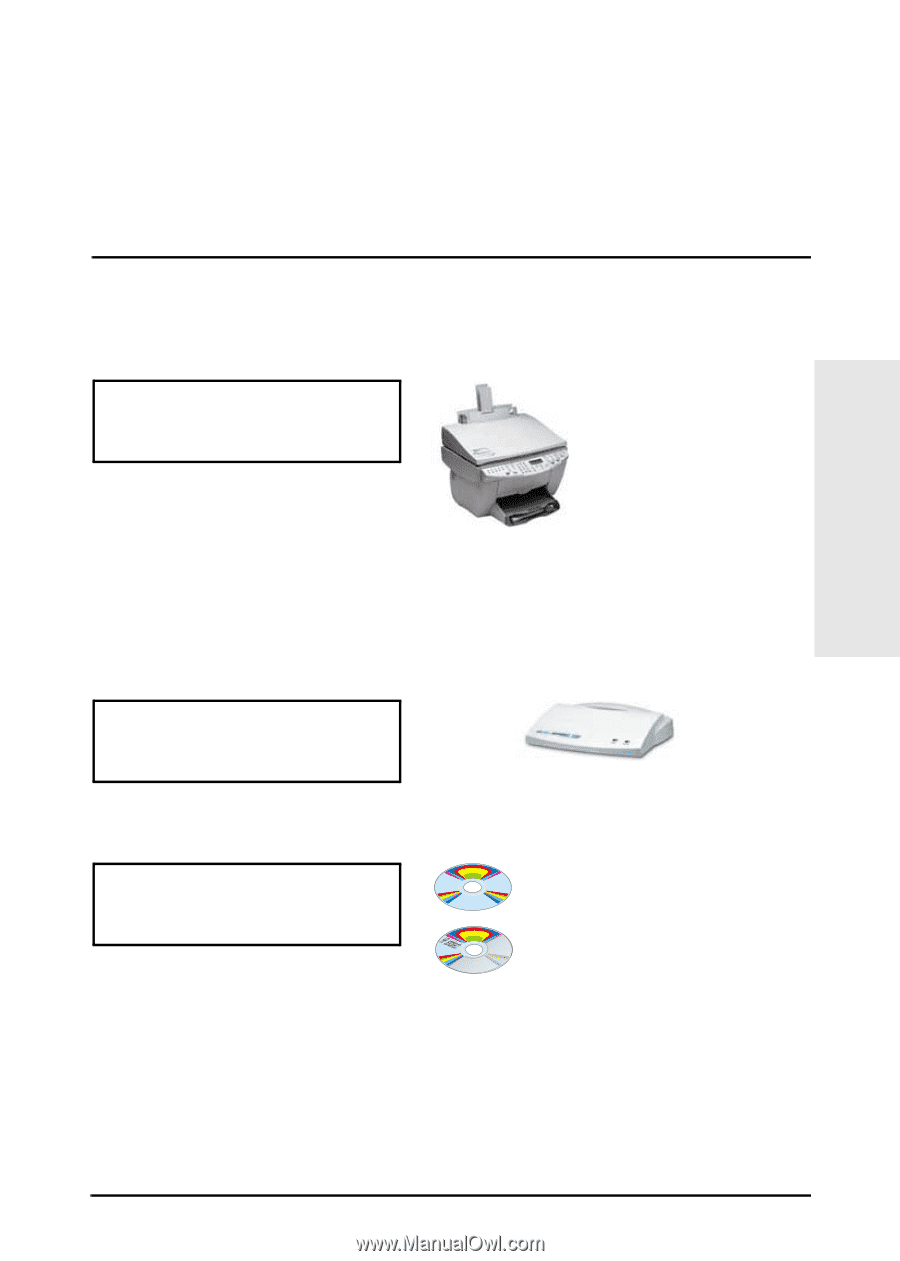
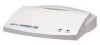
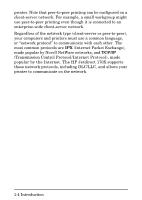
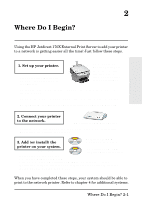
2 Where Do I Begin? 2 Where Do I Begin? Using the HP Jetdirect 170X External Print Server to add your printer to a network is getting easier all the time! Just follow these steps. 1. Set up your printer. Assemble your printer (using the instructions supplied with your printer). For example, you may need to unpack the printer, install and load paper trays, and install ink or toner cartridges. Do not attach the printer to your computer. (Or detach the printer if it is already set up.) Switch on the printer. Print a test page if this is included in the instructions. Do not perform any printer software installation yet; proceed with step 2. 2. Connect your printer to the network. HP Jetdirect 170X Print Server Install the HP Jetdirect 170X and connect the cables. The installation instructions are detailed in chapter 3. 3. Add (or install) the Printer's CD-ROM (supplied with printer) printer on your system. HP Jetdirect CD-ROM (supplied with print server) If your printer is listed on page 1-2, use the printer's CD-ROM. Otherwise, use the HP Jetdirect CD-ROM. For Windows systems, the printer's software driver may be required if it is not already installed. Instructions are detailed in chapter 4. When you have completed these steps, your system should be able to print to the network printer. Refer to chapter 4 for additional systems. Where Do I Begin? 2-1
-
 1
1 -
2
-
3
-
4
-
5
-
6
-
7
-
8
-
9
-
10
-
 11
11 -
 12
12 -
 13
13 -
 14
14 -
 15
15 -
 16
16 -
 17
17 -
 18
18 -
 19
19 -
 20
20 -
 21
21 -
22
-
23
-
24
-
25
-
26
-
27
-
28
-
29
-
30
-
31
-
32
-
33
-
34
-
35
-
36
-
37
-
38
-
39
-
40
-
41
-
42
-
43
-
44
-
45
-
46
-
47
-
48
-
49
-
50
-
51
-
52
-
53
-
54
-
55
-
56
-
57
-
58
-
59
-
60
-
61
-
62
-
63
-
64
-
65
-
66
-
67
-
68
-
69
-
70
-
71
-
72
-
73
-
74
-
75
-
76
-
77
-
78
-
79
-
80
-
81
-
82
-
83
-
84
-
85
-
86
-
87
-
88
-
89
-
90
-
91
-
92
 |
 |