HP Deskjet 840/842/843c HP DeskJet 840C Series - (English) Windows Connect Use - Page 12
Install HP DeskJet, 840C Series Printer Software, Accept, Make diskettes of your, printer software
 |
View all HP Deskjet 840/842/843c manuals
Add to My Manuals
Save this manual to your list of manuals |
Page 12 highlights
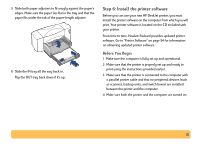
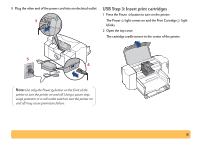
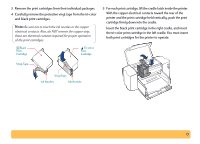
2 When the opening screen appears, click Install HP DeskJet 840C Series Printer Software. (Your printer model number will be on the install button.) 3 When the HP License Agreement box appears, read the agreement and click Accept. 4 Do one of the following: • If the printer is turned on and is connected to the computer with the parallel printer cable, the setup program automatically detects the printer and the port to which it is connected. Then, proceed to step 5. OR • If the printer is turned off or if the connection to the computer has not yet been made with the parallel printer cable, the setup program asks you to specify which port to use for the printer. Select an LPT-type port; the default setting of LPT1 is appropriate for most computers. Click Next and proceed to step 5. 5 Follow the instructions on the screen. If something goes wrong, go to "If you have problems installing" on page 13. Note: The HP DeskJet 840C Series printer is automatically set as the default Windows printer. If you find that it is not the default Windows printer, go to "Setting the HP DeskJet Printer as the Default" on page 26. Note: If you need the printer software on floppy disks: • Contact your local HP Customer Care Center, listed on page 55. OR • If you have access to a computer with a CD-ROM drive, insert the printer software CD in this computer's CD-ROM drive and begin the software installation. When the opening screen appears, select Make diskettes of your printer software. 12
-
 1
1 -
2
-
3
-
4
-
5
-
6
-
 7
7 -
 8
8 -
 9
9 -
 10
10 -
 11
11 -
 12
12 -
 13
13 -
 14
14 -
 15
15 -
 16
16 -
 17
17 -
18
-
19
-
20
-
21
-
22
-
23
-
24
-
25
-
26
-
27
-
28
-
29
-
30
-
31
-
32
-
33
-
34
-
35
-
36
-
37
-
38
-
39
-
40
-
41
-
42
-
43
-
44
-
45
-
46
-
47
-
48
-
49
-
50
-
51
-
52
-
53
-
54
-
55
-
56
-
57
-
58
-
59
-
60
-
61
-
62
-
63
-
64
-
65
-
66
-
67
-
68
-
69
-
70
-
71
-
72
-
73
-
74
 |
 |