HP LaserJet Pro P1102 HP LaserJet Professional P1100 Printer series - User Gui - Page 98
Moisture, Optimize and improve image quality, Change print density
 |
View all HP LaserJet Pro P1102 manuals
Add to My Manuals
Save this manual to your list of manuals |
Page 98 highlights
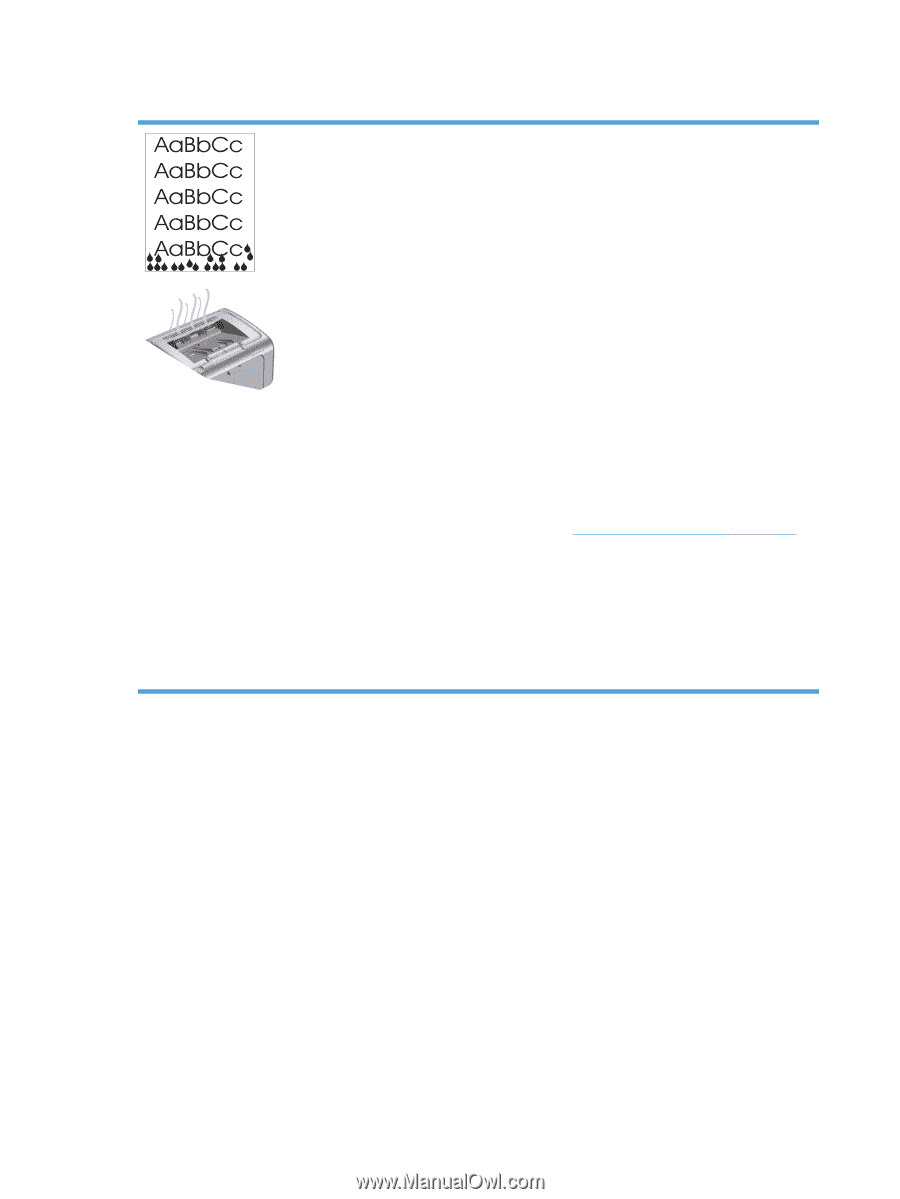
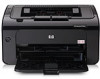
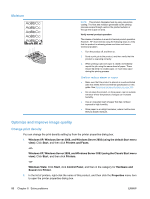
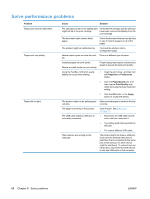
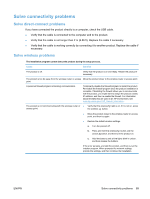
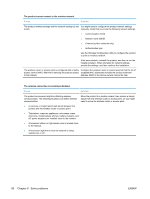
Moisture NOTE: This product dissipates heat by using convective cooling. The heat and moisture generated by the printing process escape through vents in the product exterior or through the output bin area. Verify normal product operation The release of moisture is a result of normal product operation. However, HP recommends using the following steps to verify that the product is releasing steam and does not have a functional problem. 1. Turn the product off, and then on. 2. Send a print job to the product, and then verify that the product is operating correctly. 3. When printing a job and vapor is visible, immediately reprint the job using the same sheet of paper. There should be either no visible vapor, or much less vapor during the printing process. Limit or reduce steam or vapor ● Make sure that the product is placed in a well-ventilated area that meets the environmental specifications in this guide. See Environmental specifications on page 106. ● Do not place the product, or store paper, near an outside entrance where temperature changes can increase humidity. ● Use an unopened ream of paper that has not been exposed to high humidity. ● Store paper in an airtight container, where it will be less likely to absorb moisture. Optimize and improve image quality Change print density You can change the print density setting by from the printer properties dialog box. 1. Windows XP, Windows Server 2008, and Windows Server 2003 (using the default Start menu view): Click Start, and then click Printers and Faxes. -or- Windows XP, Windows Server 2008, and Windows Server 2003 (using the Classic Start menu view): Click Start, and then click Printers. -or- Windows Vista: Click Start, click Control Panel, and then in the category for Hardware and Sound click Printer. 2. In the list of printers, right-click the name of this product, and then click the Properties menu item to open the printer properties dialog box. 86 Chapter 8 Solve problems ENWW
-
 1
1 -
2
-
3
-
4
-
5
-
6
-
7
-
8
-
9
-
10
-
11
-
12
-
13
-
14
-
15
-
16
-
17
-
18
-
19
-
20
-
21
-
22
-
23
-
24
-
25
-
26
-
27
-
28
-
29
-
30
-
31
-
32
-
33
-
34
-
35
-
36
-
37
-
38
-
39
-
40
-
41
-
42
-
43
-
44
-
45
-
46
-
47
-
48
-
49
-
50
-
51
-
52
-
53
-
54
-
55
-
56
-
57
-
58
-
59
-
60
-
61
-
62
-
63
-
64
-
65
-
66
-
67
-
68
-
69
-
70
-
71
-
72
-
73
-
74
-
75
-
76
-
77
-
78
-
79
-
80
-
81
-
82
-
83
-
84
-
85
-
86
-
87
-
88
-
89
-
90
-
91
-
92
-
 93
93 -
 94
94 -
 95
95 -
 96
96 -
 97
97 -
 98
98 -
 99
99 -
 100
100 -
 101
101 -
 102
102 -
 103
103 -
104
-
105
-
106
-
107
-
108
-
109
-
110
-
111
-
112
-
113
-
114
-
115
-
116
-
117
-
118
-
119
-
120
-
121
-
122
-
123
-
124
-
125
-
126
-
127
-
128
-
129
-
130
-
131
-
132
-
133
-
134
-
135
-
136
 |
 |