HP OmniBook xt6200 HP Omnibook xt6200 & vt6200 Notebook PCs - Reference Gu - Page 74
To connect the floppy disk drive to the parallel port, To insert or remove a CD or DVD
 |
View all HP OmniBook xt6200 manuals
Add to My Manuals
Save this manual to your list of manuals |
Page 74 highlights
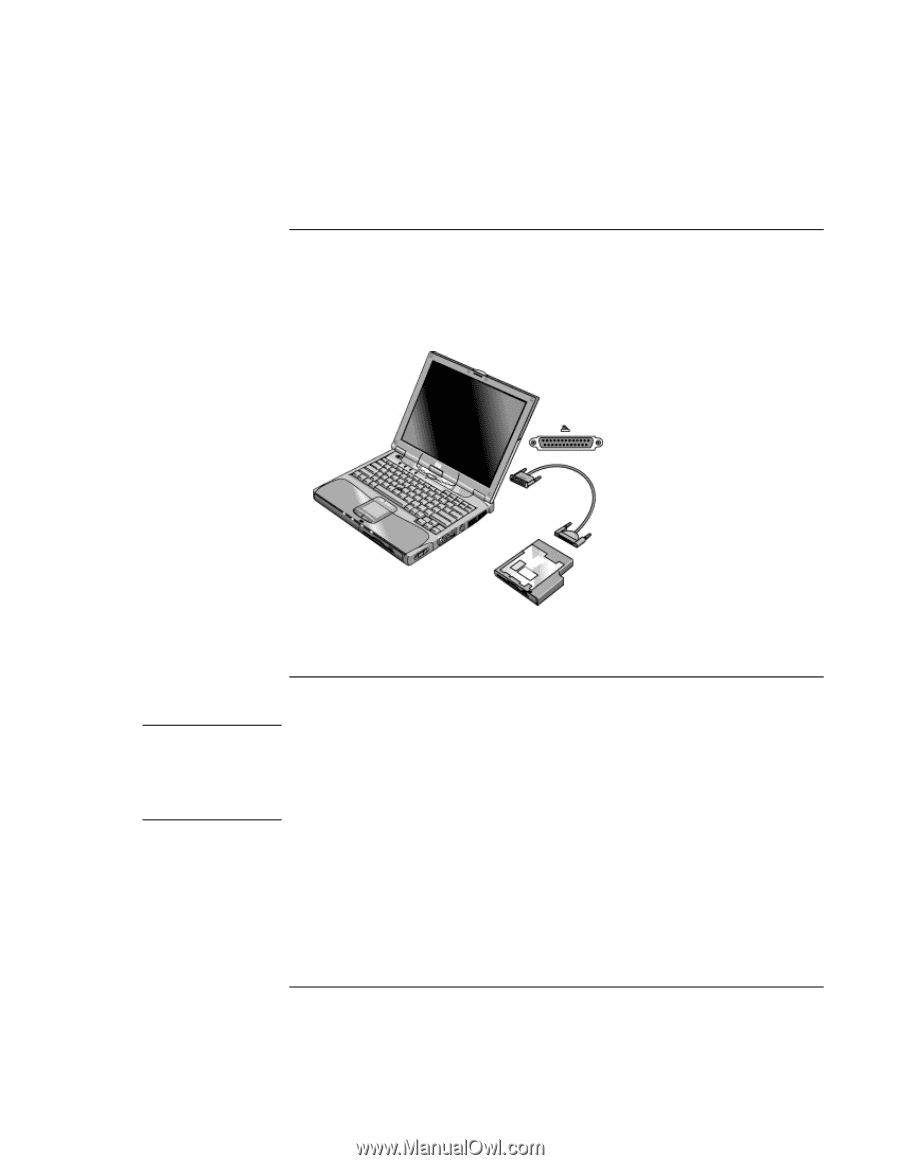
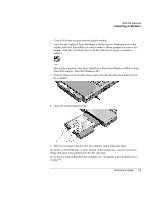
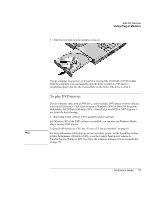
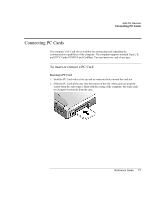
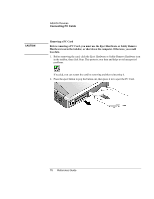
Add-On Devices Using Plug-In Modules To connect the floppy disk drive to the parallel port If you prefer, you can connect the floppy disk drive to your computer's parallel port using an external floppy drive cable, available from HP. • Connect the F2008 cable directly to the floppy drive and to the computer parallel port. CAUTION Before disconnecting the floppy disk drive, use the icon in the taskbar to stop the drive, or else shut down the computer. See "To replace a plug-in module" on page 72. To insert or remove a CD or DVD Do not remove a CD or DVD while the computer is reading it. Otherwise, the computer could stop responding and you could lose data. Be sure to press the CD or DVD onto the spindle. You can damage the disk or drive if you just lay it on the tray. 1. Press the button on the face of the CD-ROM or DVD drive. If you are using this drive for the first time, be sure to remove the cardboard packing insert. 2. Place the CD into the drive (label facing up) and gently press down to seat it on the spindle. -or- Remove the CD. 74 Reference Guide
-
 1
1 -
2
-
3
-
4
-
5
-
6
-
7
-
8
-
9
-
10
-
11
-
12
-
13
-
14
-
15
-
16
-
17
-
18
-
19
-
20
-
21
-
22
-
23
-
24
-
25
-
26
-
27
-
28
-
29
-
30
-
31
-
32
-
33
-
34
-
35
-
36
-
37
-
38
-
39
-
40
-
41
-
42
-
43
-
44
-
45
-
46
-
47
-
48
-
49
-
50
-
51
-
52
-
53
-
54
-
55
-
56
-
57
-
58
-
59
-
60
-
61
-
62
-
63
-
64
-
65
-
66
-
67
-
68
-
 69
69 -
 70
70 -
 71
71 -
 72
72 -
 73
73 -
 74
74 -
 75
75 -
 76
76 -
 77
77 -
 78
78 -
 79
79 -
80
-
81
-
82
-
83
-
84
-
85
-
86
-
87
-
88
-
89
-
90
-
91
-
92
-
93
-
94
-
95
-
96
-
97
-
98
-
99
-
100
-
101
-
102
-
103
-
104
-
105
-
106
-
107
-
108
-
109
-
110
-
111
-
112
-
113
-
114
-
115
-
116
-
117
-
118
-
119
-
120
-
121
-
122
-
123
-
124
-
125
-
126
-
127
-
128
-
129
-
130
-
131
-
132
-
133
-
134
-
135
-
136
-
137
-
138
-
139
-
140
-
141
-
142
-
143
-
144
-
145
-
146
-
147
-
148
-
149
-
150
-
151
-
152
-
153
-
154
-
155
-
156
-
157
-
158
-
159
-
160
-
161
 |
 |