HP PSC 2350 Users Guide - Page 117
HP Quick Exchange Service (Japan), Prepare your HP all-in-one for shipment
 |
View all HP PSC 2350 manuals
Add to My Manuals
Save this manual to your list of manuals |
Page 117 highlights
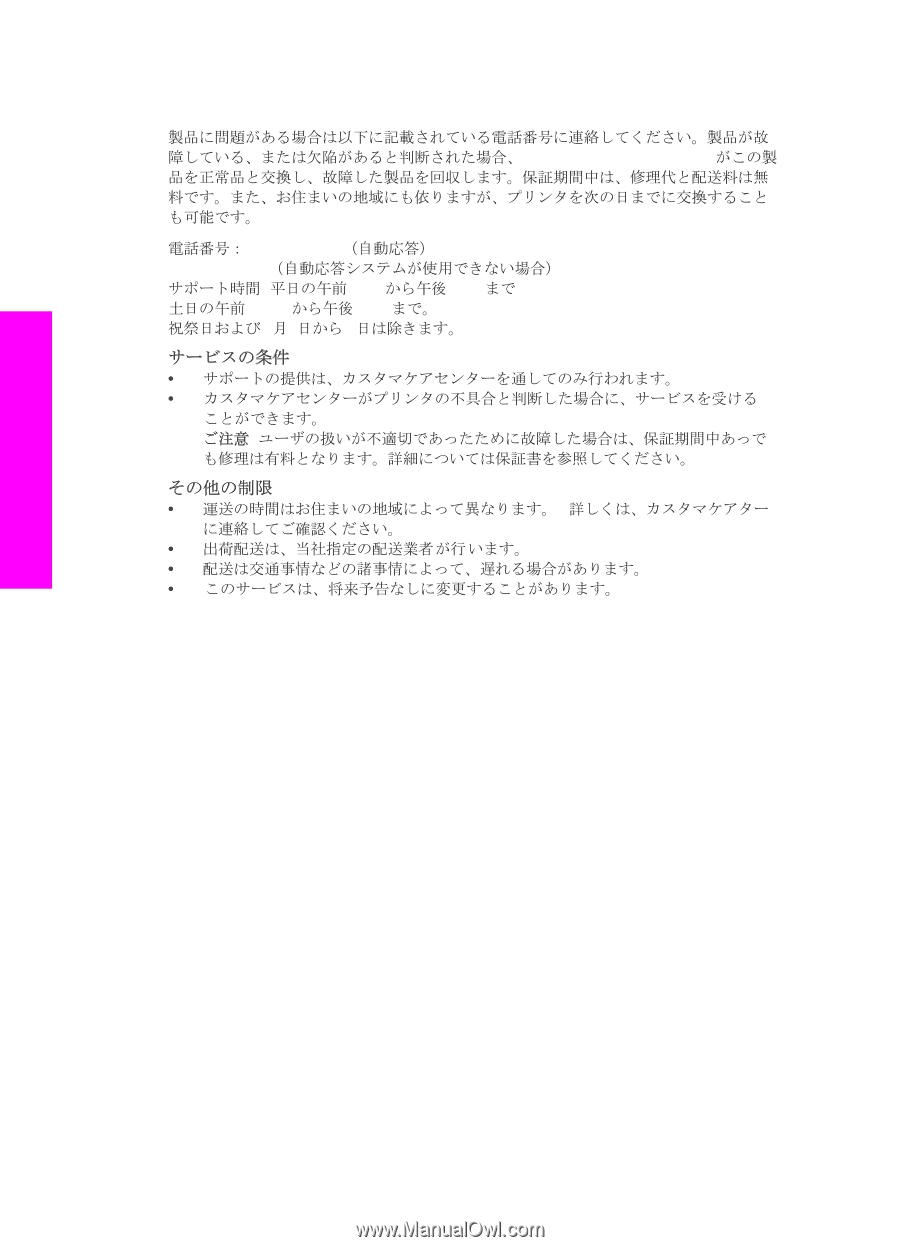
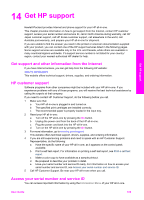
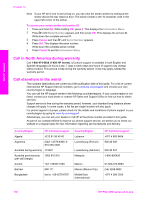
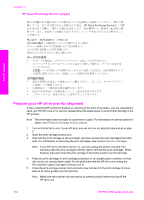
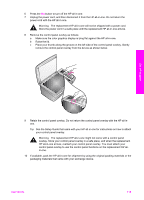
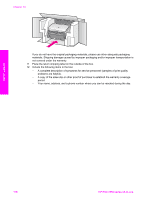
Chapter 14 HP Quick Exchange Service (Japan) HP Quick Exchange Service 0570-000511 :03-3335 -9800 : 9:00 5:00 10:00 5:00 11 3 : Get HP support Prepare your HP all-in-one for shipment If after contacting HP Customer Support or returning to the point of purchase, you are requested to send your HP all-in-one in for service, please follow the steps below to avoid further damage to the HP product. Note This information does not apply to customers in Japan. For information on service options in Japan, see HP Quick Exchange Service (Japan). 1 Turn on the HP all-in-one. If your HP all-in-one will not turn on, skip this step and go to step 2. 2 Open the print-carriage access door. 3 Wait until the print carriage is idle and silent, and then remove the print cartridges from their slots. For information on removing the print cartridges, see Replace the print cartridges. Note If your HP all-in-one does not turn on, you can unplug the power cord and then manually slide the print carriage to the far right to remove the print cartridges. When finished, manually move the print carriage to the home position (on the left side). 4 Place the print cartridges in print cartridge protectors or an airtight plastic container so they will not dry out, and put them aside. Do not send them with the HP all-in-one unless the HP customer support call agent instructs you to. 5 Close the print-carriage access door and wait a few minutes for the print carriage to move back to its home position (on the left side). Note Make sure the scanner has returned to its parked position before turning off the HP all-in-one. 114 HP PSC 2350 series all-in-one
-
 1
1 -
2
-
3
-
4
-
5
-
6
-
7
-
8
-
9
-
10
-
11
-
12
-
13
-
14
-
15
-
16
-
17
-
18
-
19
-
20
-
21
-
22
-
23
-
24
-
25
-
26
-
27
-
28
-
29
-
30
-
31
-
32
-
33
-
34
-
35
-
36
-
37
-
38
-
39
-
40
-
41
-
42
-
43
-
44
-
45
-
46
-
47
-
48
-
49
-
50
-
51
-
52
-
53
-
54
-
55
-
56
-
57
-
58
-
59
-
60
-
61
-
62
-
63
-
64
-
65
-
66
-
67
-
68
-
69
-
70
-
71
-
72
-
73
-
74
-
75
-
76
-
77
-
78
-
79
-
80
-
81
-
82
-
83
-
84
-
85
-
86
-
87
-
88
-
89
-
90
-
91
-
92
-
93
-
94
-
95
-
96
-
97
-
98
-
99
-
100
-
101
-
102
-
103
-
104
-
105
-
106
-
107
-
108
-
109
-
110
-
111
-
 112
112 -
 113
113 -
 114
114 -
 115
115 -
 116
116 -
 117
117 -
 118
118 -
 119
119 -
 120
120 -
 121
121 -
 122
122 -
123
-
124
-
125
-
126
-
127
-
128
-
129
-
130
-
131
-
132
-
133
-
134
-
135
-
136
 |
 |