HP Pavilion a400 HP Pavilion Desktop PC - (English) Users Guide PAV SEA/ANZ/IN - Page 125
Linstalling a second hard drive
 |
View all HP Pavilion a400 manuals
Add to My Manuals
Save this manual to your list of manuals |
Page 125 highlights
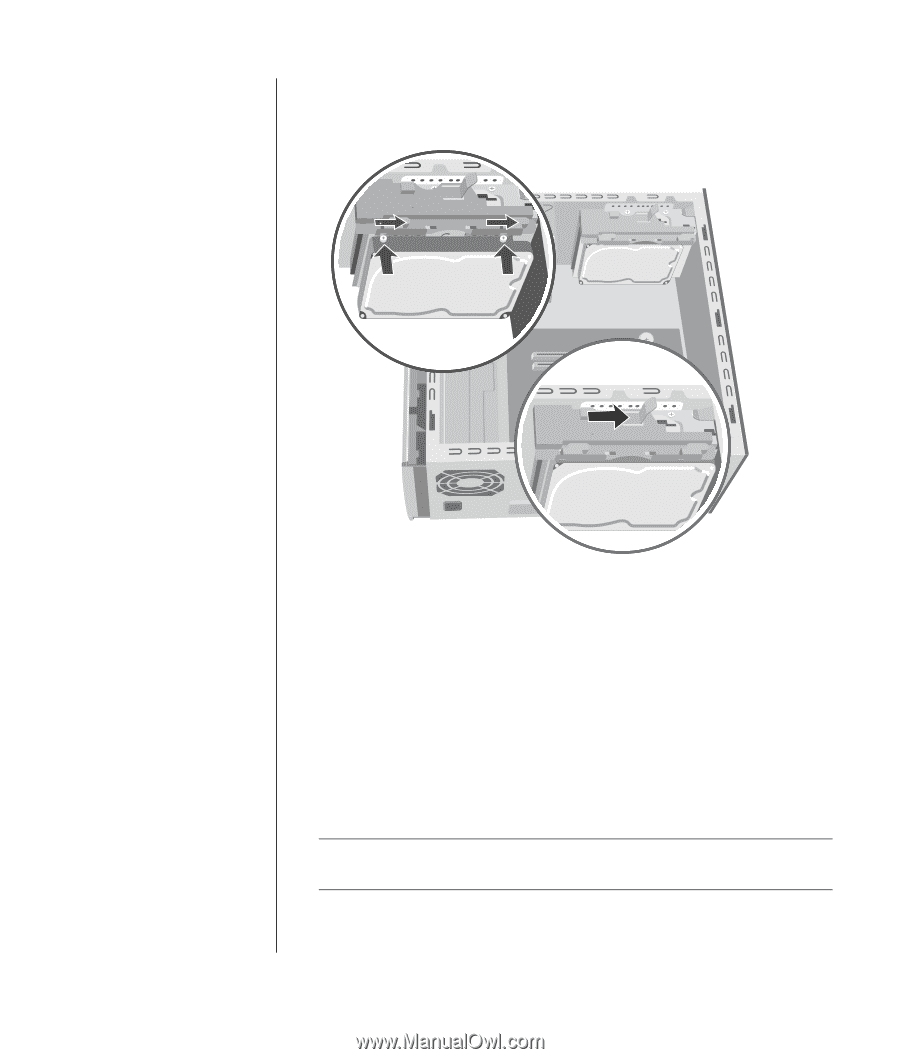
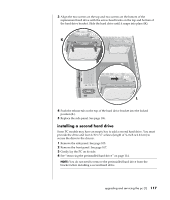
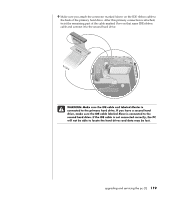
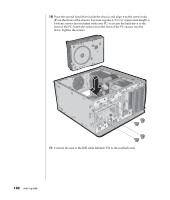
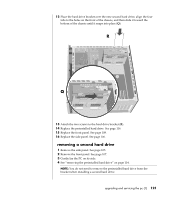
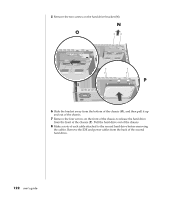
3 Align the two screws on the top and two screws on the bottom of the replacement hard drive with the screw head tracks on the top and bottom of the hard drive bracket. Slide the hard drive until it snaps into place (K). K L 4 Push the release tab on the top of the hard drive bracket into the locked position (L). 5 Replace the side panel. See page 106. installing a second hard drive Some PC models may have an empty bay to add a second hard drive. You must provide the drive and four 6/32 x ¼" screws (length of ¼-inch is 0.64 cm) to secure the drive to the chassis. 1 Remove the side panel. See page 105. 2 Remove the front panel. See page 107. 3 Gently lay the PC on its side. 4 See "removing the preinstalled hard drive" on page 114. NOTE: You do not need to remove the preinstalled hard drive from the bracket when installing a second hard drive. upgrading and servicing the pc (1) 117
-
 1
1 -
2
-
3
-
4
-
5
-
6
-
7
-
8
-
9
-
10
-
11
-
12
-
13
-
14
-
15
-
16
-
17
-
18
-
19
-
20
-
21
-
22
-
23
-
24
-
25
-
26
-
27
-
28
-
29
-
30
-
31
-
32
-
33
-
34
-
35
-
36
-
37
-
38
-
39
-
40
-
41
-
42
-
43
-
44
-
45
-
46
-
47
-
48
-
49
-
50
-
51
-
52
-
53
-
54
-
55
-
56
-
57
-
58
-
59
-
60
-
61
-
62
-
63
-
64
-
65
-
66
-
67
-
68
-
69
-
70
-
71
-
72
-
73
-
74
-
75
-
76
-
77
-
78
-
79
-
80
-
81
-
82
-
83
-
84
-
85
-
86
-
87
-
88
-
89
-
90
-
91
-
92
-
93
-
94
-
95
-
96
-
97
-
98
-
99
-
100
-
101
-
102
-
103
-
104
-
105
-
106
-
107
-
108
-
109
-
110
-
111
-
112
-
113
-
114
-
115
-
116
-
117
-
118
-
119
-
 120
120 -
 121
121 -
 122
122 -
 123
123 -
 124
124 -
 125
125 -
 126
126 -
 127
127 -
 128
128 -
 129
129 -
 130
130 -
131
-
132
-
133
-
134
-
135
-
136
-
137
-
138
-
139
-
140
-
141
-
142
-
143
-
144
-
145
-
146
-
147
-
148
-
149
-
150
-
151
-
152
-
153
-
154
-
155
-
156
-
157
-
158
-
159
-
160
-
161
-
162
-
163
-
164
-
165
-
166
-
167
-
168
 |
 |