HP Pavilion v2000 Media Center Software Guide - Page 59
Adding music, Selecting the style, Changing the settings, User Defined.
 |
View all HP Pavilion v2000 manuals
Add to My Manuals
Save this manual to your list of manuals |
Page 59 highlights
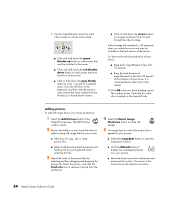
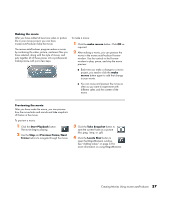
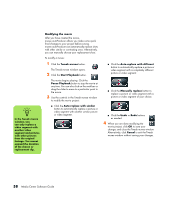
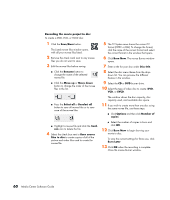
Adding music To add music files to your movie production soundtrack on the desktop: 1 Select the Add Music button in the music area. The Add Music window opens. 2 Browse the folders, as required. 3 Select existing music files on your hard disk drive, if desired for your movie: ■ Add up to three .mp3, .m4a, .wav, or .wma files. ■ Select multiple music files by pressing and holding Ctrl on your keyboard while selecting the files. 4 Adjust the order of the music files by selecting and then dragging and dropping the file. Select the music, and click the trash can icon to remove a music clip from the production. Selecting the style The muvee autoProducer program comes with a set of style templates for setting the pace, scene transition effects, and caption fonts. The style you use also affects how muvee autoProducer combines the video, picture, and music files in your movie project to produce the final movie. For example, using the Cinema style results in a movie that is moderately paced, color enhanced, and in a wide-screen format. To select a style, just click a style from the list. A sample of the style displays in the Preview window. Changing the settings You can adjust audio and video production settings for your movie: 1 Select the Change Settings button. The muvee Settings window opens. 2 Select the Duration tab to set the length of your video production and preferences. Click one of the following duration settings: ■ Fit to music. The produced version may reuse or drop some video and pictures. ■ Best fit for videos and pictures. The produced version may repeat or trim music. ■ User Defined. Select the duration in minutes and seconds: ■ If the duration of your music is longer than the duration of video and pictures, place a check in the Allow video and pictures to repeat check box to repeat video clips and pictures for the full duration of your music files. ■ If the total duration of your video and picture files is longer than the duration of your music, place a check in the Allow music to repeat check box to repeat music for the duration of the video clips. Creating Movies Using muvee autoProducer 55
-
 1
1 -
2
-
3
-
4
-
5
-
6
-
7
-
8
-
9
-
10
-
11
-
12
-
13
-
14
-
15
-
16
-
17
-
18
-
19
-
20
-
21
-
22
-
23
-
24
-
25
-
26
-
27
-
28
-
29
-
30
-
31
-
32
-
33
-
34
-
35
-
36
-
37
-
38
-
39
-
40
-
41
-
42
-
43
-
44
-
45
-
46
-
47
-
48
-
49
-
50
-
51
-
52
-
53
-
 54
54 -
 55
55 -
 56
56 -
 57
57 -
 58
58 -
 59
59 -
 60
60 -
 61
61 -
 62
62 -
 63
63 -
 64
64 -
65
-
66
-
67
-
68
-
69
-
70
-
71
-
72
-
73
-
74
-
75
 |
 |
