HP T5125 Administrator's Guide: HP Compaq t5125/t5135 Thin Clients, build S1ST - Page 27
Network Login Timeout, Network Tools
 |
UPC - 082960980097
View all HP T5125 manuals
Add to My Manuals
Save this manual to your list of manuals |
Page 27 highlights
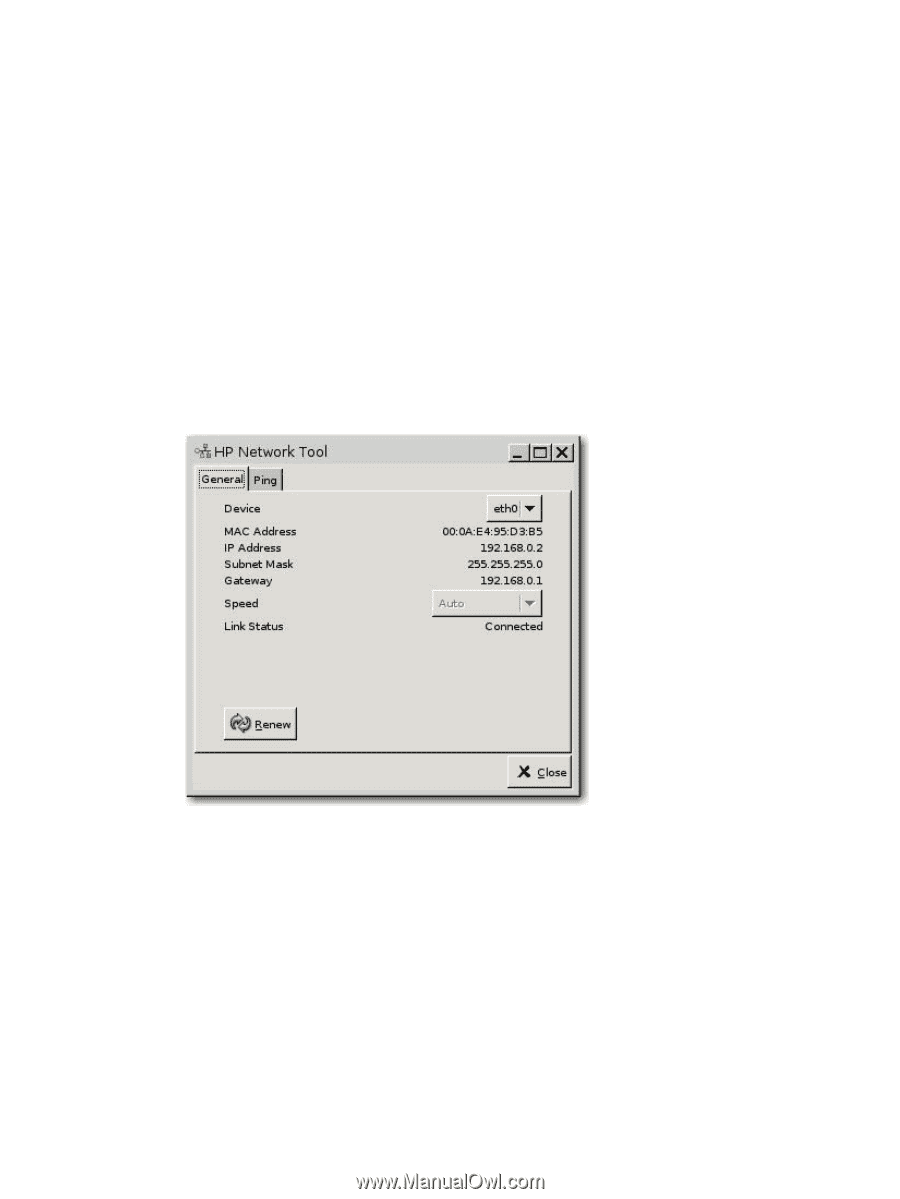
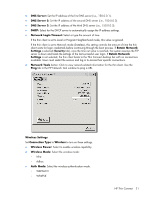
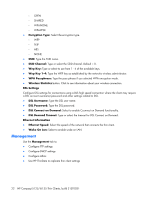
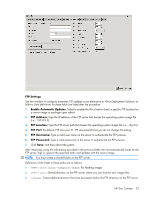
● DNS Server: Set the IP address of the first DNS server (i.e., 150.0.0.1). ● DNS Server 2: Set the IP address of the second DNS server (i.e., 150.0.0.2). ● DNS Server 3: Set the IP address of the third DNS server (i.e., 150.0.0.3). ● DHCP: Select for the DHCP server to automatically assign the IP address settings. ● Network Login Timeout: Select or type the amount of time. If the thin client is set to Local or Program Neighborhood mode, this value is ignored. If the thin client is set to Network mode (Stateless), this setting controls the amount of time the thin client waits for login credentials before continuing through the boot process. If Retain Network Settings is selected (Security tab), once the time out value is reached, the system assumes the FTP server is down and loads the settings of the last successful user login. If Retain Network Settings is not selected, the thin client boots to the Thin Connect desktop but with no connections available. Users must restart the session and log in to access their specific connections. ● Network Tools button: Click to view network-related information for the thin client. Use the Ping tab in the HP Network Tool window to ping a URL. Wireless Settings Set Connection Type to Wireless to turn on these settings. ● Wireless Power: Select to enable wireless capability. ● Wireless Mode: Select the wireless mode: ◦ Infra ◦ Adhoc ● Auth Mode: Select the wireless authentication mode. ◦ WEPAUTO ◦ WPAPSK HP Thin Connect 21
-
 1
1 -
2
-
3
-
4
-
5
-
6
-
7
-
8
-
9
-
10
-
11
-
12
-
13
-
14
-
15
-
16
-
17
-
18
-
19
-
20
-
21
-
 22
22 -
 23
23 -
 24
24 -
 25
25 -
 26
26 -
 27
27 -
 28
28 -
 29
29 -
 30
30 -
 31
31 -
 32
32 -
33
-
34
-
35
-
36
-
37
-
38
-
39
-
40
-
41
-
42
-
43
-
44
-
45
-
46
-
47
-
48
-
49
 |
 |