Lenovo ThinkCentre M76 Hardware Maintenance Manual for ThinkCentre M76 - Page 122
Before you replace a new part, touch the static-protective package containing the new part to a metal
 |
View all Lenovo ThinkCentre M76 manuals
Add to My Manuals
Save this manual to your list of manuals |
Page 122 highlights
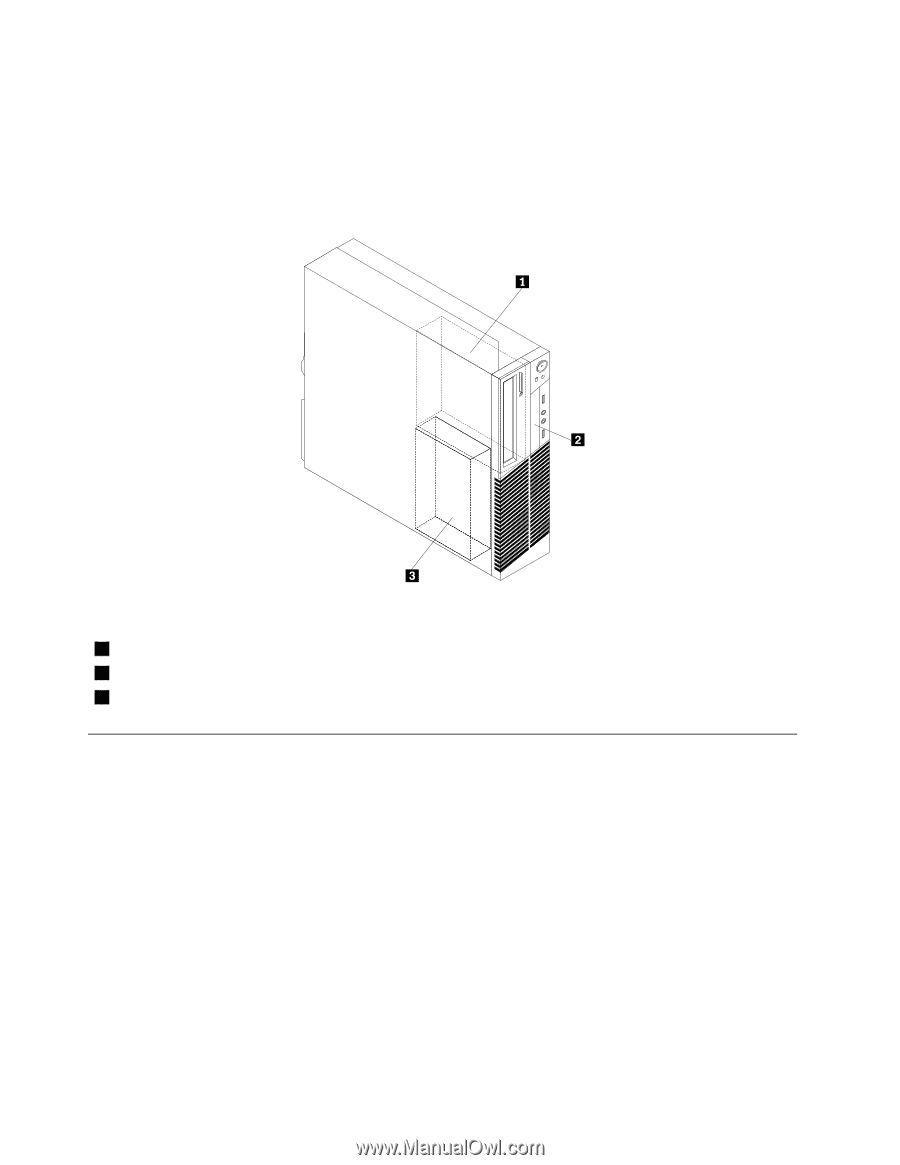
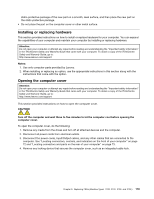
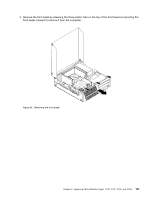
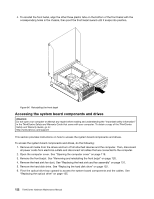
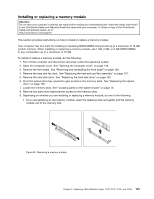
When installing or replacing an internal drive, it is important to note the type and size of the drive that you can install or replace in each bay and correctly connect the cables to the drive installed. Refer to the appropriate section in "Installing or replacing hardware" on page 119 for instructions on how to install or replace internal drives for your computer. Figure 51 "Drive bay locations" on page 118 shows the locations of the drive bays. Figure 51. Drive bay locations 1 Bay 1 - Optical drive bay (with an optical drive installed) 2 Bay 2 - Card reader drive bay 2 Bay 3 - SATA hard disk drive bay (with a 3.5-inch hard disk drive installed) Handling static-sensitive devices Do not open the static-protective package containing the new part until the defective part has been removed from the computer and you are ready to install the new part. Static electricity, although harmless to you, can seriously damage computer components and parts. When you handle computer parts and components, take these precautions to avoid static-electricity damage: • Limit your movement. Movement can cause static electricity to build up around you. • Always carefully handle the parts and other computer components. Handle PCI cards, memory modules, system boards, and microprocessors by the edges. Never touch exposed circuitry. • Prevent others from touching the parts and other computer components. • Before you replace a new part, touch the static-protective package containing the new part to a metal expansion-slot cover or other unpainted metal surface on the computer for at least two seconds. This reduces static electricity from the package and your body. • Remove the new part from the static-protective package and directly install it in the computer without placing it on any other surface. If it is hard for you to do this in your specific situation, place the 118 ThinkCentre Hardware Maintenance Manual
-
 1
1 -
2
-
3
-
4
-
5
-
6
-
7
-
8
-
9
-
10
-
11
-
12
-
13
-
14
-
15
-
16
-
17
-
18
-
19
-
20
-
21
-
22
-
23
-
24
-
25
-
26
-
27
-
28
-
29
-
30
-
31
-
32
-
33
-
34
-
35
-
36
-
37
-
38
-
39
-
40
-
41
-
42
-
43
-
44
-
45
-
46
-
47
-
48
-
49
-
50
-
51
-
52
-
53
-
54
-
55
-
56
-
57
-
58
-
59
-
60
-
61
-
62
-
63
-
64
-
65
-
66
-
67
-
68
-
69
-
70
-
71
-
72
-
73
-
74
-
75
-
76
-
77
-
78
-
79
-
80
-
81
-
82
-
83
-
84
-
85
-
86
-
87
-
88
-
89
-
90
-
91
-
92
-
93
-
94
-
95
-
96
-
97
-
98
-
99
-
100
-
101
-
102
-
103
-
104
-
105
-
106
-
107
-
108
-
109
-
110
-
111
-
112
-
113
-
114
-
115
-
116
-
 117
117 -
 118
118 -
 119
119 -
 120
120 -
 121
121 -
 122
122 -
 123
123 -
 124
124 -
 125
125 -
 126
126 -
 127
127 -
128
-
129
-
130
-
131
-
132
-
133
-
134
-
135
-
136
-
137
-
138
-
139
-
140
-
141
-
142
-
143
-
144
-
145
-
146
-
147
-
148
-
149
-
150
-
151
-
152
-
153
-
154
-
155
-
156
-
157
-
158
-
159
-
160
-
161
-
162
-
163
-
164
-
165
-
166
-
167
-
168
-
169
-
170
-
171
-
172
-
173
-
174
-
175
-
176
-
177
-
178
-
179
-
180
-
181
-
182
-
183
-
184
-
185
-
186
-
187
-
188
-
189
-
190
-
191
-
192
-
193
-
194
-
195
-
196
-
197
-
198
-
199
-
200
-
201
-
202
-
203
-
204
-
205
-
206
-
207
-
208
-
209
-
210
-
211
-
212
-
213
-
214
 |
 |