Maytag MGR5875QDW Use and Care Guide - Page 24
Remova, of Gas Appmiance
 |
View all Maytag MGR5875QDW manuals
Add to My Manuals
Save this manual to your list of manuals |
Page 24 highlights
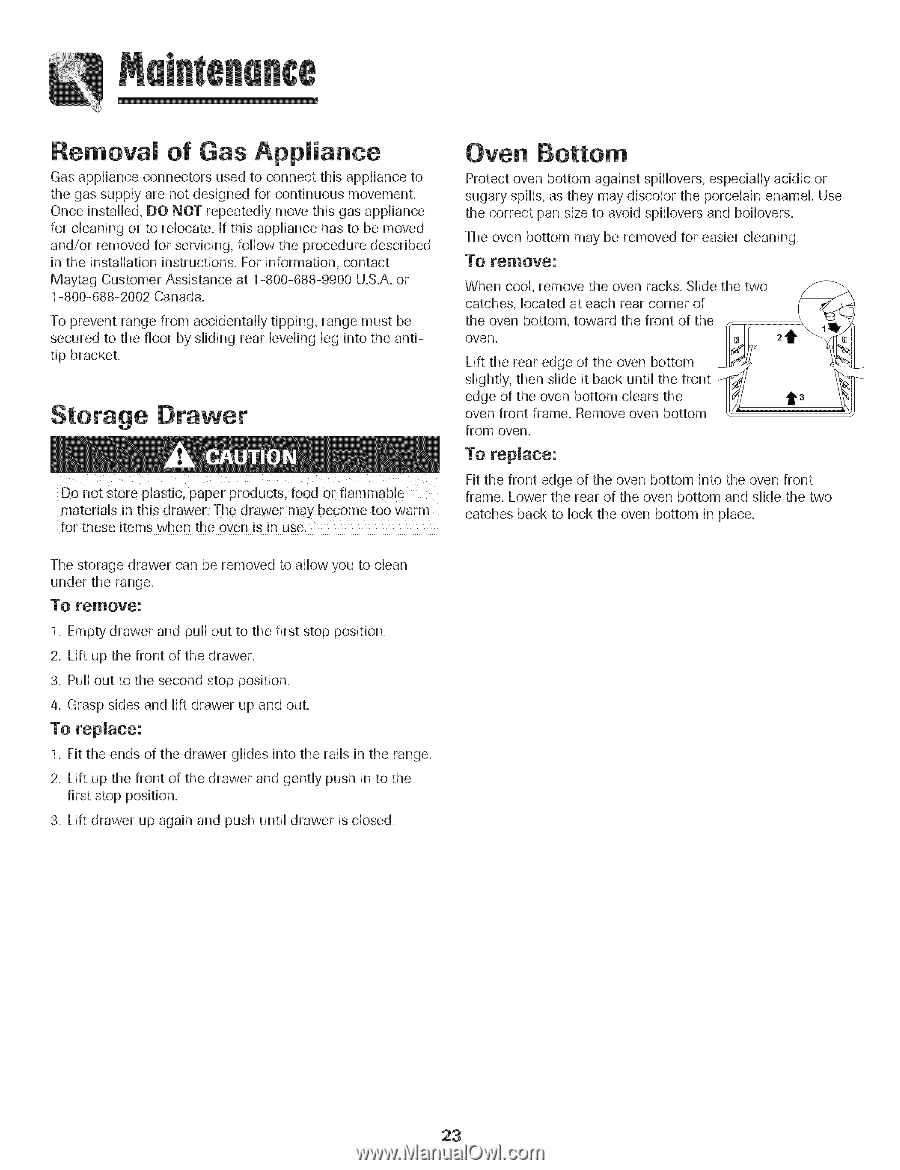
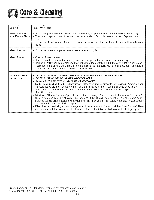
Remova of Gas Appmiance Gas appHiance connectors used to connect this appHianceto the gas suppHyare not designed for continuous movement. Once instaHHedD, O NOT repeatedHymove this gas appHiance for cHeaningor to reHocate.If this appHiancehas to be moved and/or removed for servicing, foHHowthe procedure described in the instaHHationinstructions. For information, contact Maytag Customer Assistance at 1-800-688-9900 U.S.A.or 1-800-688-2002 Canada. To prevent range from accidentally tipping, range must be secured to the floor by sliding rear leveling leg into the antitip bracket. Oven Bottom Protect oven bottom agahst spiHHoverse,speciaHHaycidic or sugary spills, as they may discolor the porcelain enamel. Use the correct pan size to avoid spiiiovers and boiiovers. The oven bottom may be removed for easier cleaning. To remove: Storage [}rawer Do not store pHastic,paper products, food or fiammabHe materials in this drawer. The drawer may become too warm for these items when the oven is in use. The storage drawer can be removed to allow you to clean "[0 remove: 1. Empty drawer and pull out to the first stop position. 2. Lift up the front of the drawer. 3. Puil out to the second stop position. 4. Grasp sides and lift drawer up and out. To replace: 1. Fit the ends of the drawer gHidesinto the raiHsin the range. 2. Lift up the front of the drawer and gentHypush in to the first stop position. 3. Lift drawer up again and push untiHdrawer is dosed. from oven. To replace: Fit the front edge of the oven bottom into the oven front frame. Lower the rear of the oven bottom and sHidethe two catches back to Hockthe oven bottom in pHace. 23
-
 1
1 -
2
-
3
-
4
-
5
-
6
-
7
-
8
-
9
-
10
-
11
-
12
-
13
-
14
-
15
-
16
-
17
-
18
-
 19
19 -
 20
20 -
 21
21 -
 22
22 -
 23
23 -
 24
24 -
 25
25 -
 26
26 -
 27
27 -
 28
28 -
 29
29 -
30
-
31
-
32
-
33
-
34
-
35
-
36
-
37
-
38
-
39
-
40
-
41
-
42
-
43
-
44
-
45
-
46
-
47
-
48
-
49
-
50
-
51
-
52
-
53
-
54
-
55
-
56
-
57
-
58
-
59
-
60
-
61
-
62
-
63
-
64
-
65
-
66
-
67
-
68
-
69
-
70
-
71
-
72
-
73
-
74
-
75
-
76
-
77
-
78
-
79
-
80
-
81
-
82
-
83
-
84
 |
 |