Oki C5300n OKI C5300 User's Guide: Mac (Am English) - Page 140
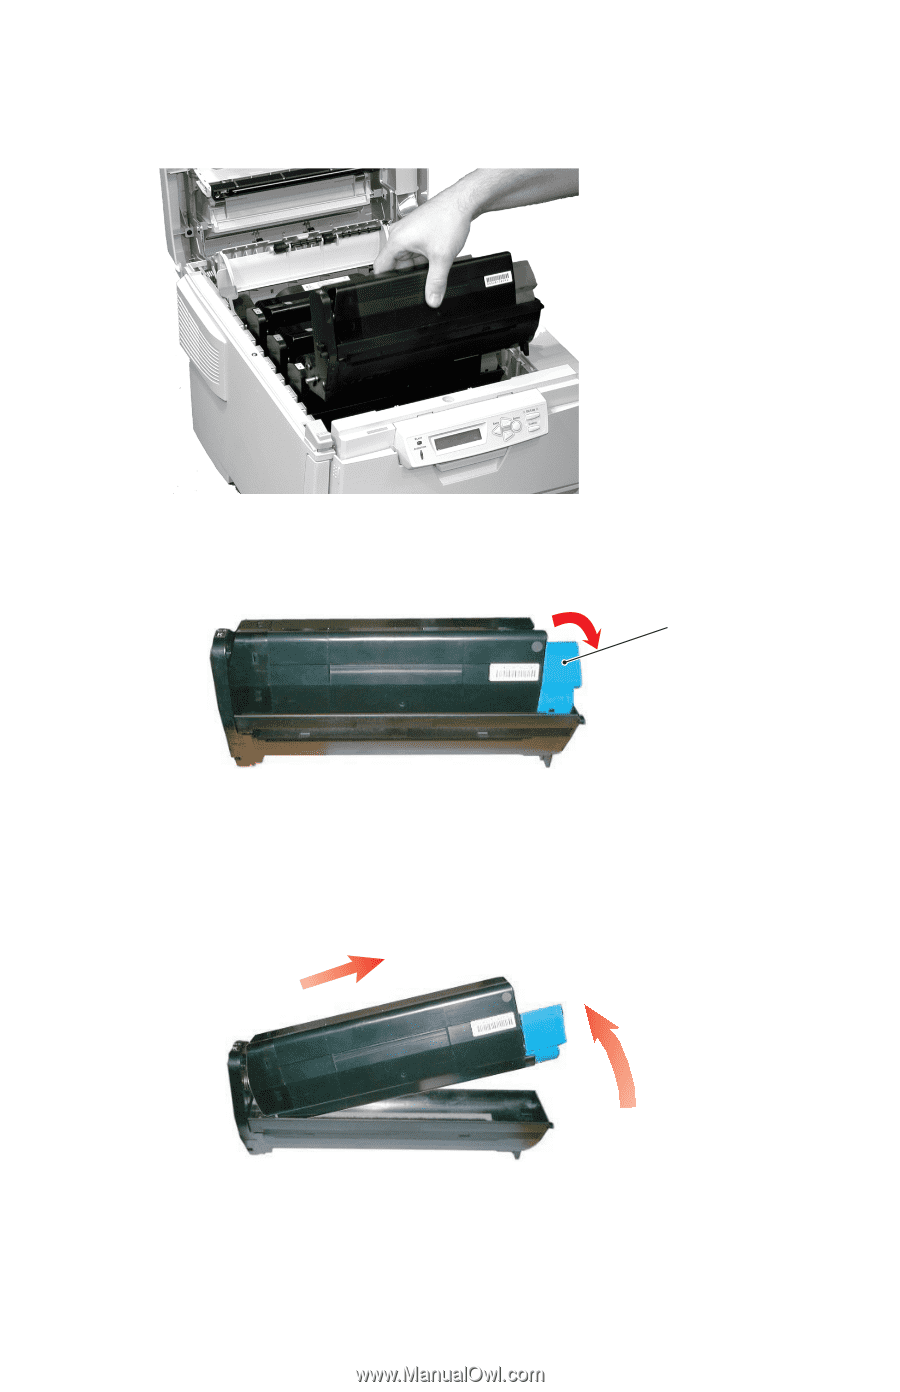
Lift the right-hand end of the toner cartridge, move the cartridge, cartridge and the image drum.
 |
View all Oki C5300n manuals
Add to My Manuals
Save this manual to your list of manuals |
Page 140 highlights
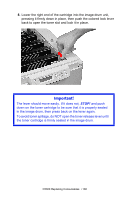
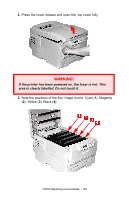
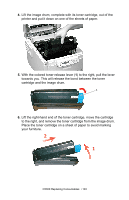
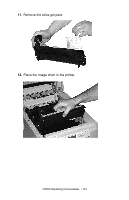
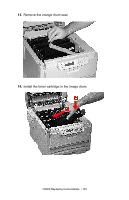
4. Lift the image drum, complete with its toner cartridge, out of the printer and put it down on one of the sheets of paper. 5. With the colored toner release lever (1) to the right, pull the lever towards you. This will release the bond between the toner cartridge and the image drum. 1 6. Lift the right-hand end of the toner cartridge, move the cartridge to the right, and remove the toner cartridge from the image drum. Place the toner cartridge on a sheet of paper to avoid marking your furniture. 2 1 C5300 Replacing Consumables • 140
-
 1
1 -
2
-
3
-
4
-
5
-
6
-
7
-
8
-
9
-
10
-
11
-
12
-
13
-
14
-
15
-
16
-
17
-
18
-
19
-
20
-
21
-
22
-
23
-
24
-
25
-
26
-
27
-
28
-
29
-
30
-
31
-
32
-
33
-
34
-
35
-
36
-
37
-
38
-
39
-
40
-
41
-
42
-
43
-
44
-
45
-
46
-
47
-
48
-
49
-
50
-
51
-
52
-
53
-
54
-
55
-
56
-
57
-
58
-
59
-
60
-
61
-
62
-
63
-
64
-
65
-
66
-
67
-
68
-
69
-
70
-
71
-
72
-
73
-
74
-
75
-
76
-
77
-
78
-
79
-
80
-
81
-
82
-
83
-
84
-
85
-
86
-
87
-
88
-
89
-
90
-
91
-
92
-
93
-
94
-
95
-
96
-
97
-
98
-
99
-
100
-
101
-
102
-
103
-
104
-
105
-
106
-
107
-
108
-
109
-
110
-
111
-
112
-
113
-
114
-
115
-
116
-
117
-
118
-
119
-
120
-
121
-
122
-
123
-
124
-
125
-
126
-
127
-
128
-
129
-
130
-
131
-
132
-
133
-
134
-
 135
135 -
 136
136 -
 137
137 -
 138
138 -
 139
139 -
 140
140 -
 141
141 -
 142
142 -
 143
143 -
 144
144 -
 145
145 -
146
-
147
-
148
-
149
-
150
-
151
-
152
-
153
-
154
-
155
-
156
-
157
-
158
-
159
-
160
-
161
-
162
-
163
-
164
-
165
-
166
-
167
-
168
-
169
-
170
-
171
-
172
-
173
-
174
-
175
-
176
-
177
-
178
-
179
-
180
-
181
-
182
-
183
-
184
-
185
-
186
-
187
-
188
-
189
-
190
-
191
-
192
-
193
-
194
-
195
-
196
-
197
-
198
-
199
-
200
-
201
-
202
-
203
-
204
-
205
-
206
-
207
-
208
-
209
-
210
-
211
 |
 |
C5300 Replacing Consumables
• 140
4.
Lift the image drum, complete with its toner cartridge, out of the
printer and put it down on one of the sheets of paper.
5.
With the colored toner release lever (
1
) to the right, pull the lever
towards you. This will release the bond between the toner
cartridge and the image drum.
6.
Lift the right-hand end of the toner cartridge, move the cartridge
to the right, and remove the toner cartridge from the image drum.
Place the toner cartridge on a sheet of paper to avoid marking
your furniture.
1
1
2