WestBend 41087 Instruction Manual - Page 32
Dough, Setting
 |
View all WestBend 41087 manuals
Add to My Manuals
Save this manual to your list of manuals |
Page 32 highlights
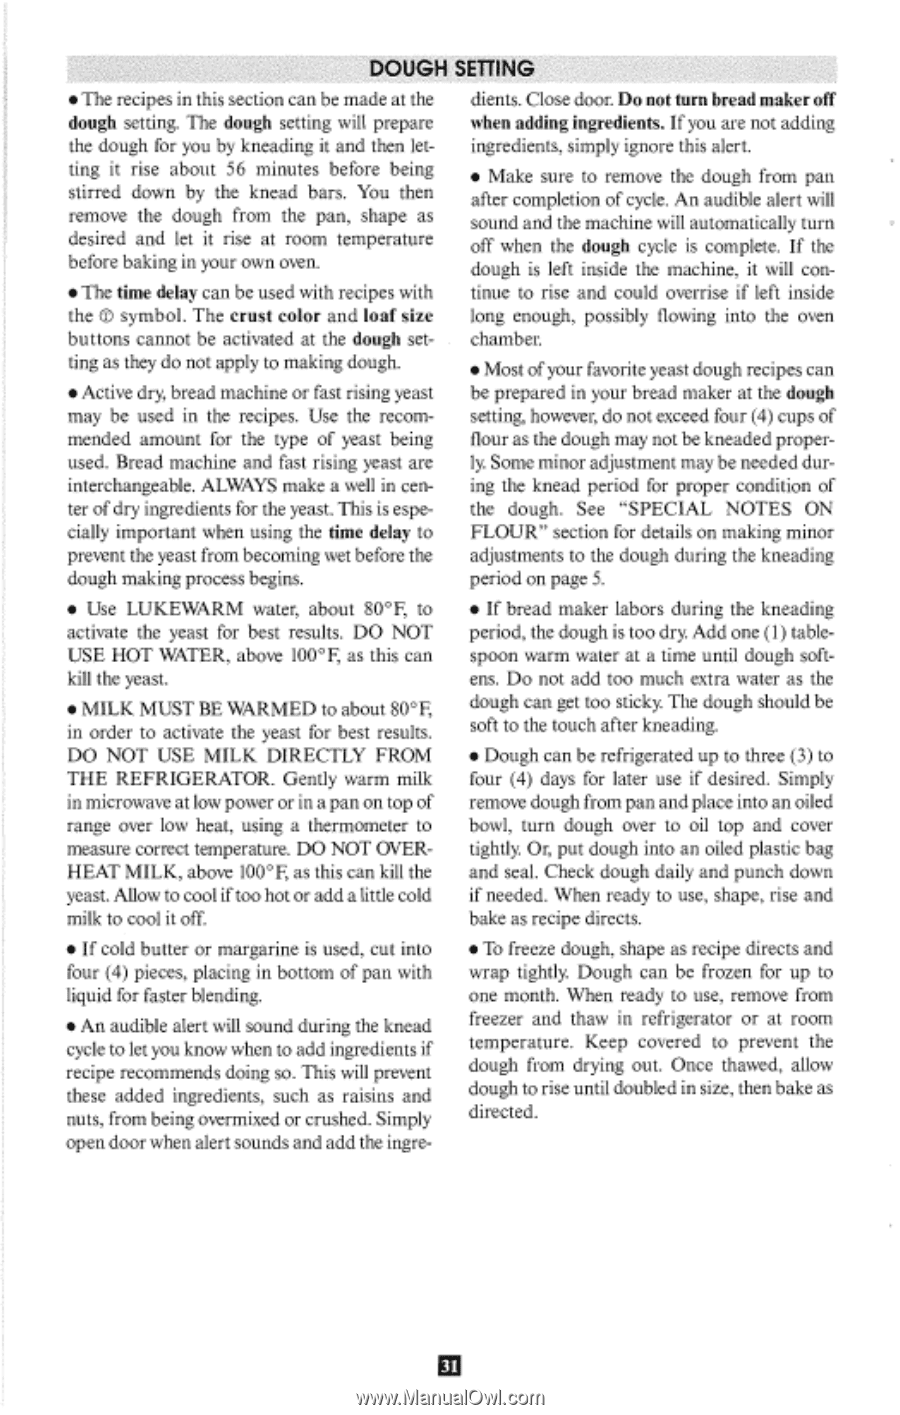
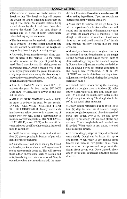
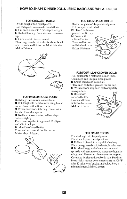
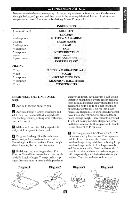
DOUGH SETTING • The recipes in this section can be made at the dough setting. The dough setting will prepare the dough for you by kneading it and then letting it rise about 56 minutes before being stirred down by the knead bars. You then remove the dough from the pan, shape as desired and let it rise at room temperature before baking in your own oven. • The time delay can be used with recipes with the CI symbol. The crust color and loaf size buttons cannot be activated at the dough setting as they do not apply to making dough. • Active dry, bread machine or fast rising yeast may be used in the recipes. Use the recommended amount for the type of yeast being used. Bread machine and fast rising yeast are interchangeable. ALWAYS make a well in center of dry ingredients for the yeast. This is especially important when using the time delay to prevent the yeast from becoming wet before the dough making process begins. dients. Close door. Do not turn bread maker off when adding ingredients. If you are not adding ingredients, simply ignore this alert. • Make sure to remove the dough from pan after completion of cycle. An audible alert will sound and the machine will automatically turn off when the dough cycle is complete. If the dough is left inside the machine, it will continue to rise and could overrise if left inside long enough, possibly flowing into the oven chamber. • Most of your favorite yeast dough recipes can be prepared in your bread maker at the dough setting, however, do not exceed four (4) cups of flour as the dough may not be kneaded properly. Some minor adjustment may be needed during the knead period for proper condition of the dough. See "SPECIAL NOTES ON FLOUR" section for details on making minor adjustments to the dough during the kneading period on page 5. • Use LUKEWARM water, about 80°F, to activate the yeast for best results. DO NOT USE HOT WATER, above 100°F, as this can kill the yeast. • MILK MUST BE WARMED to about 80°F, in order to activate the yeast for best results. DO NOT USE MILK DIRECTLY FROM THE REFRIGERATOR. Gently warm milk in microwave at low power or in a pan on top of range over low heat, using a thermometer to measure correct temperature. DO NOT OVERHEAT MILK, above 100°F, as this can kill the yeast. Allow to cool if too hot or add a little cold milk to cool it off. • If bread maker labors during the kneading period, the dough is too dry. Add one (1) tablespoon warm water at a time until dough softens. Do not add too much extra water as the dough can get too sticky. The dough should be soft to the touch after kneading. • Dough can be refrigerated up to three (3) to four (4) days for later use if desired. Simply remove dough from pan and place into an oiled bowl, turn dough over to oil top and cover tightly. Or, put dough into an oiled plastic bag and seal. Check dough daily and punch down if needed. When ready to use, shape, rise and bake as recipe directs. • If cold butter or margarine is used, cut into four (4) pieces, placing in bottom of pan with liquid for faster blending. • An audible alert will sound during the knead cycle to let you know when to add ingredients if recipe recommends doing so. This will prevent these added ingredients, such as raisins and nuts, from being overmixed or crushed. Simply open door when alert sounds and add the ingre- • To freeze dough, shape as recipe directs and wrap tightly. Dough can be frozen for up to one month. When ready to use, remove from freezer and thaw in refrigerator or at room temperature. Keep covered to prevent the dough from drying out. Once thawed, allow dough to rise until doubled in size, then bake as directed.
-
 1
1 -
2
-
3
-
4
-
5
-
6
-
7
-
8
-
9
-
10
-
11
-
12
-
13
-
14
-
15
-
16
-
17
-
18
-
19
-
20
-
21
-
22
-
23
-
24
-
25
-
26
-
 27
27 -
 28
28 -
 29
29 -
 30
30 -
 31
31 -
 32
32 -
 33
33 -
 34
34 -
 35
35 -
 36
36 -
 37
37 -
38
-
39
-
40
-
41
-
42
-
43
-
44
-
45
-
46
-
47
-
48
-
49
-
50
-
51
-
52
-
53
-
54
-
55
-
56
-
57
-
58
-
59
-
60
-
61
-
62
-
63
-
64
-
65
-
66
-
67
-
68
 |
 |