Yamaha REV7 REV7 Owners Manual Image - Page 9
Basic, Operations
 |
View all Yamaha REV7 manuals
Add to My Manuals
Save this manual to your list of manuals |
Page 9 highlights
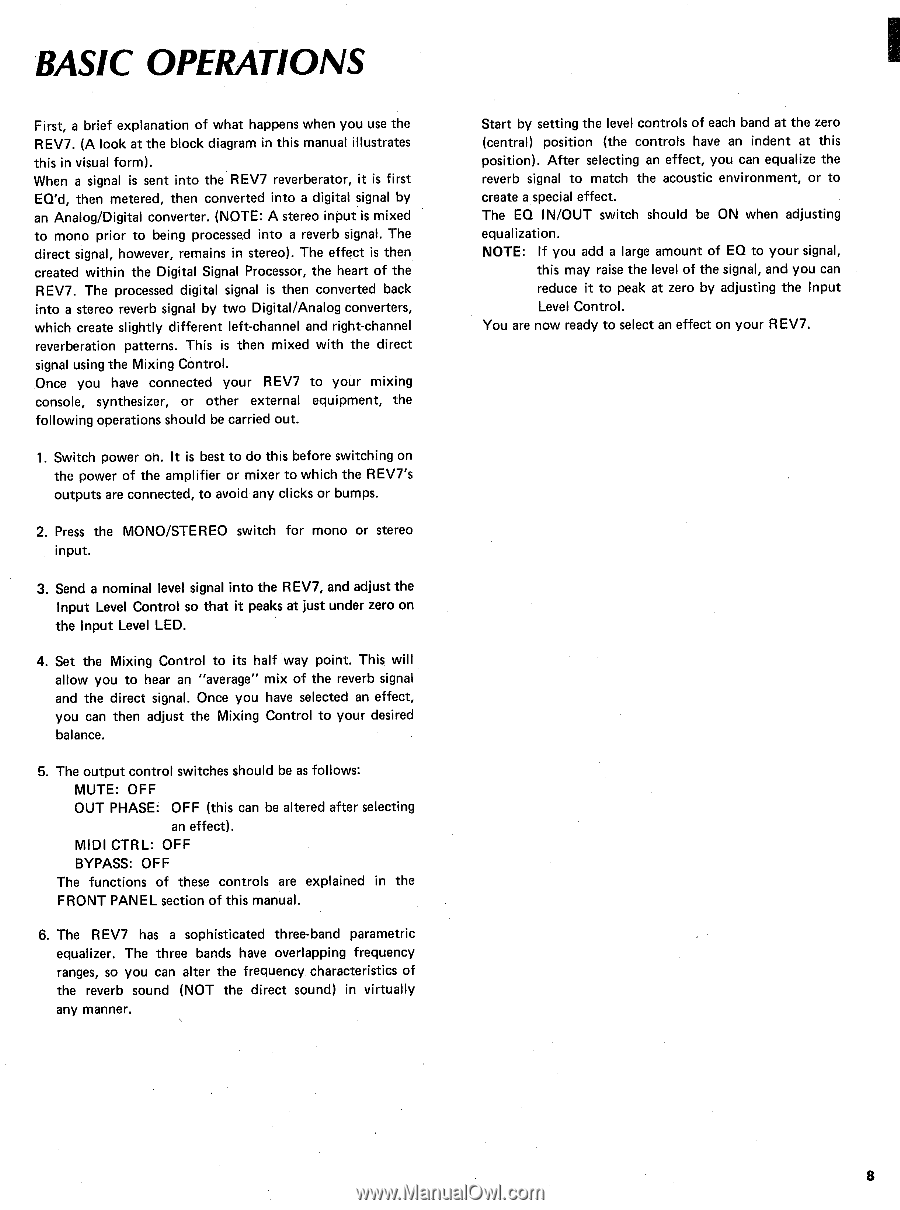
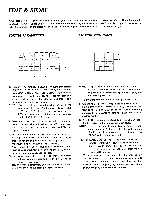
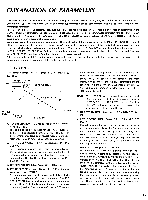
BASIC OPERATIONS First, a brief explanation of what happens when you use the REV7. (A look at the block diagram in this manual illustrates this in visual form). When a signal is sent into the REV7 reverberator, it is first EQ'd, then metered, then converted into a digital signal by an Analog/Digital converter. (NOTE: A stereo input is mixed to mono prior to being processed into a reverb signal. The direct signal, however, remains in stereo). The effect is then created within the Digital Signal Processor, the heart of the REV7. The processed digital signal is then converted back into a stereo reverb signal by two Digital/Analog converters, which create slightly different left-channel and right-channel reverberation patterns. This is then mixed with the direct signal using the Mixing Control. Once you have connected your REV7 to your mixing console, synthesizer, or other external equipment, the following operations should be carried out. 1. Switch power on. It is best to do this before switching on the power of the amplifier or mixer to which the REV7's outputs are connected, to avoid any clicks or bumps. 2. Press the MONO/STEREO switch for mono or stereo input. 3. Send a nominal level signal into the REV7, and adjust the Input Level Control so that it peaks at just under zero on the Input Level LED. 4. Set the Mixing Control to its half way point. This will allow you to hear an "average" mix of the reverb signal and the direct signal. Once you have selected an effect, you can then adjust the Mixing Control to your desired balance. 5. The output control switches should be as follows: MUTE: OFF OUT PHASE: OFF (this can be altered after selecting an effect). MIDI CTRL: OFF BYPASS: OF F The functions of these controls are explained in the FRONT PANEL section of this manual. 6. The REV7 has a sophisticated three-band parametric equalizer. The three bands have overlapping frequency ranges, so you can alter the frequency characteristics of the reverb sound (NOT the direct sound) in virtually any manner. Start by setting the level controls of each band at the zero (central) position (the controls have an indent at this position). After selecting an effect, you can equalize the reverb signal to match the acoustic environment, or to create a special effect. The EQ IN/OUT switch should be ON when adjusting equalization. NOTE: If you add a large amount of EQ to your signal, this may raise the level of the signal, and you can reduce it to peak at zero by adjusting the Input Level Control. You are now ready to select an effect on your REV7. 8
-
 1
1 -
2
-
3
-
 4
4 -
 5
5 -
 6
6 -
 7
7 -
 8
8 -
 9
9 -
 10
10 -
 11
11 -
 12
12 -
 13
13 -
 14
14 -
15
-
16
-
17
-
18
-
19
-
20
-
21
-
22
-
23
-
24
-
25
-
26
-
27
-
28
-
29
-
30
-
31
-
32
-
33
-
34
-
35
-
36
-
37
-
38
-
39
-
40
-
41
-
42
-
43
-
44
-
45
-
46
-
47
-
48
-
49
-
50
-
51
-
52
-
53
-
54
-
55
-
56
-
57
-
58
-
59
-
60
-
61
-
62
-
63
-
64
-
65
-
66
-
67
-
68
-
69
-
70
-
71
-
72
-
73
-
74
-
75
-
76
-
77
-
78
-
79
-
80
-
81
-
82
-
83
-
84
-
85
-
86
-
87
-
88
-
89
-
90
-
91
-
92
 |
 |