Bernina Bernette 56 Instruction Manual - Page 73
Preparation avant
 |
View all Bernina Bernette 56 manuals
Add to My Manuals
Save this manual to your list of manuals |
Page 73 highlights
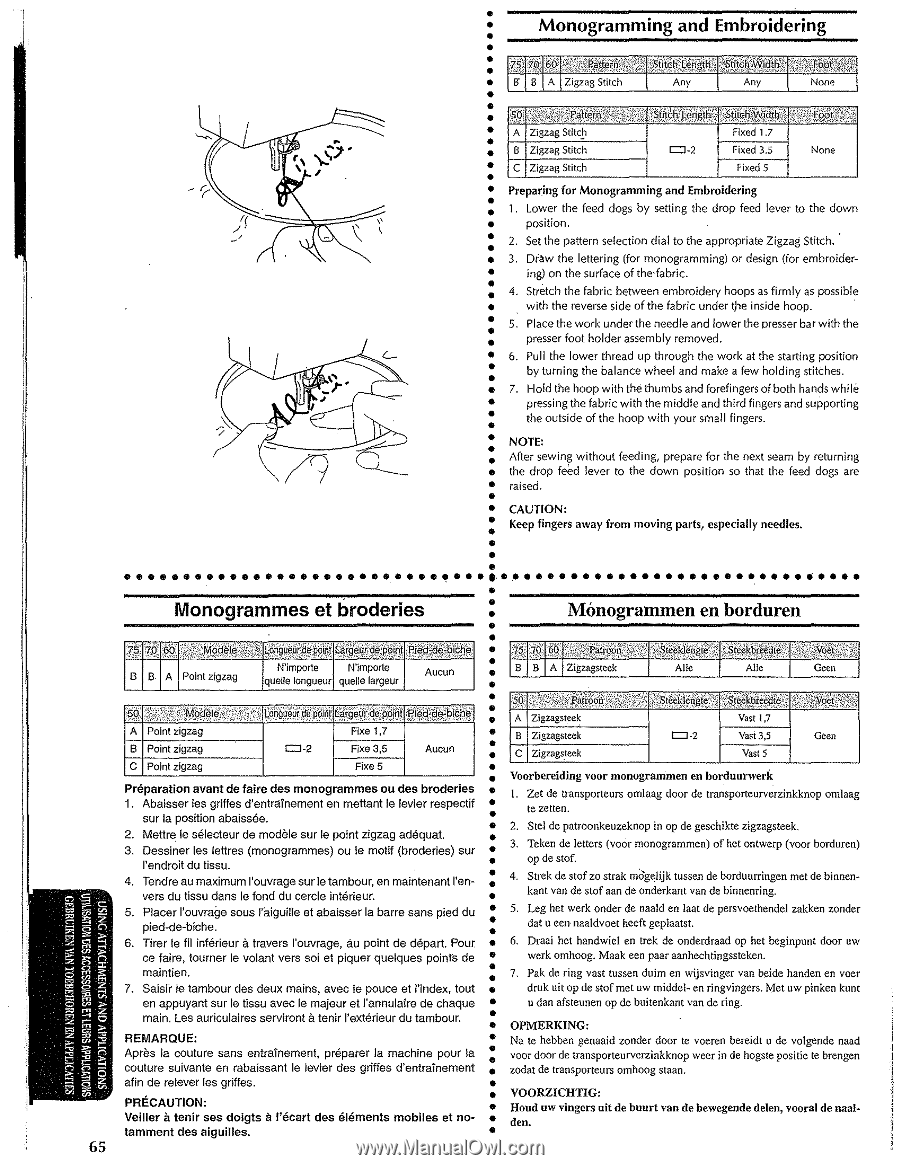
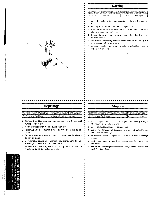
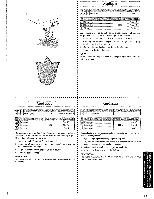
Prepar_ing for Monogramming and Embroidering 1. Lower the feed dogs by setting the drop feed lever to the down position . 2. Set the pattern selection dial to the appropriate Zigzag Stitch. · 3. Diaw the lettering (for monogramming) or design (for embroidering) on the surface of the-fabric . 4. Stretch the fabric between embroidery hoops as firmly as possible with the reverse side of the fabric under t}le inside hoop. · 5. Place the work under the needle and lower the presser bar with the presser foot holder assembly removed . 6. Pull the lower thread up through the work at the starting position by turning the balance wheel and make a few holding stitChes . 7. Hold the hoop with the thumbs and forefingers of both hands while pressing the fabric with the middle and third fingers and supporting the outside of the hoop with your small fingers . NOTE: After sewing without feeding, prepare for the next seam by returning the drop feed lever to the down position so that the feed dogs are raised . CAUTION: Keep fingers away from moving parts, especially needles. Preparation avant de faire des monogrammes ou des broderies •• 1. Abaisser !es griffes d'entrainement en mettant le levier respectff • sur Ia position abaissee. • 2. Mettre.le s81ecteur de modele sur !e point zigzag adSquat. •• 3. Dessiner les lettres (monogrammes) ou le motif (broderies) sur • l'endrolt du tlssu. • 4. Tendre au maximum l'ouvrage surle tambour, en maintenant l'en- • vers du tissu dans le fond du cercle int€rleur. •• 5. Placer l'ouvra9e sous l'lliguille et abaisser Ia barre sans pied du • pied-de-biche. a • 6. Tirer le fil inf€rieur travers l'ouvrage, au point de depart. Pour •• ce faire, tourner le volant vers soi et piquer quelques points de • maintien. • 7. Saisir !e tambour des deux mains, avec !e pouce et !'index, tout •• en appuyant sur le tissu avec le majeur et J'annulafre de chaque a • main. Les auriculaires serviront tenir J'ext€rieur du tambour, • REMARQUE: •• Apres Ia couture sans entrainement, pn3parer Ia machine pour Ia • couture suivante en rabaissant le levier des griffes d'entrainement • afin de retever les griffes. •• PRECAUTION: a a • Veiller tenir ses doigts 1'8cart des 818ments mobiles et no•• tamment des aiguilles. Voorbereiding voor monogranlmen en borduurwerk I. Zet de transporteurs omlaag door de transporteurverzinkknop omlaag te zetten. 2. Stel de patroonkeuzeknop in op de geschikte zigzagsteek. 3. Teken de letters (voOr monogrammen) of het antwerp (voor borduren) op de stof. 4. Strek de stof zo strak mClg~lijk tussen de borduurringen met de binnen~ kant van de stof aan de onderkant van de binnenring. 5. Leg het werk onder de naald en laat de persvoethendel zakken zonder dat u een naaldvoet heeft geplaatst. 6. Draai het handwiel en trek de onderdraad op het beginpunt door uw werk omhoog. Maak een paar aanhechtingssteken. 7. Pak de ring vast tussen duim en wijsvinger van beide handen en voer druk uit op de stof met uw middel~ en ringvingers. Met uw pinken kunt u dan afsteunen op de buitenkant van de ring. OPMERKING: Na te hebben genaaid zonder door te voeren bereidt u de volgende naad voor door de transporteurverzinkknop weer in de hogste positie te brengen zodat de transporteurs omhoog staan . VOORZICHTIG: Houd uw vingers uit de buurt van de bewegende delen, vooral de naalden. 65
-
 1
1 -
2
-
3
-
4
-
5
-
6
-
7
-
8
-
9
-
10
-
11
-
12
-
13
-
14
-
15
-
16
-
17
-
18
-
19
-
20
-
21
-
22
-
23
-
24
-
25
-
26
-
27
-
28
-
29
-
30
-
31
-
32
-
33
-
34
-
35
-
36
-
37
-
38
-
39
-
40
-
41
-
42
-
43
-
44
-
45
-
46
-
47
-
48
-
49
-
50
-
51
-
52
-
53
-
54
-
55
-
56
-
57
-
58
-
59
-
60
-
61
-
62
-
63
-
64
-
65
-
66
-
67
-
 68
68 -
 69
69 -
 70
70 -
 71
71 -
 72
72 -
 73
73 -
 74
74 -
 75
75 -
 76
76 -
 77
77 -
 78
78 -
79
-
80
-
81
-
82
-
83
-
84
-
85
-
86
 |
 |