D-Link DES-3226SM Product Manual - Page 67
SNMP Host Table, SNMP Host Table - Add New
 |
UPC - 790069247118
View all D-Link DES-3226SM manuals
Add to My Manuals
Save this manual to your list of manuals |
Page 67 highlights
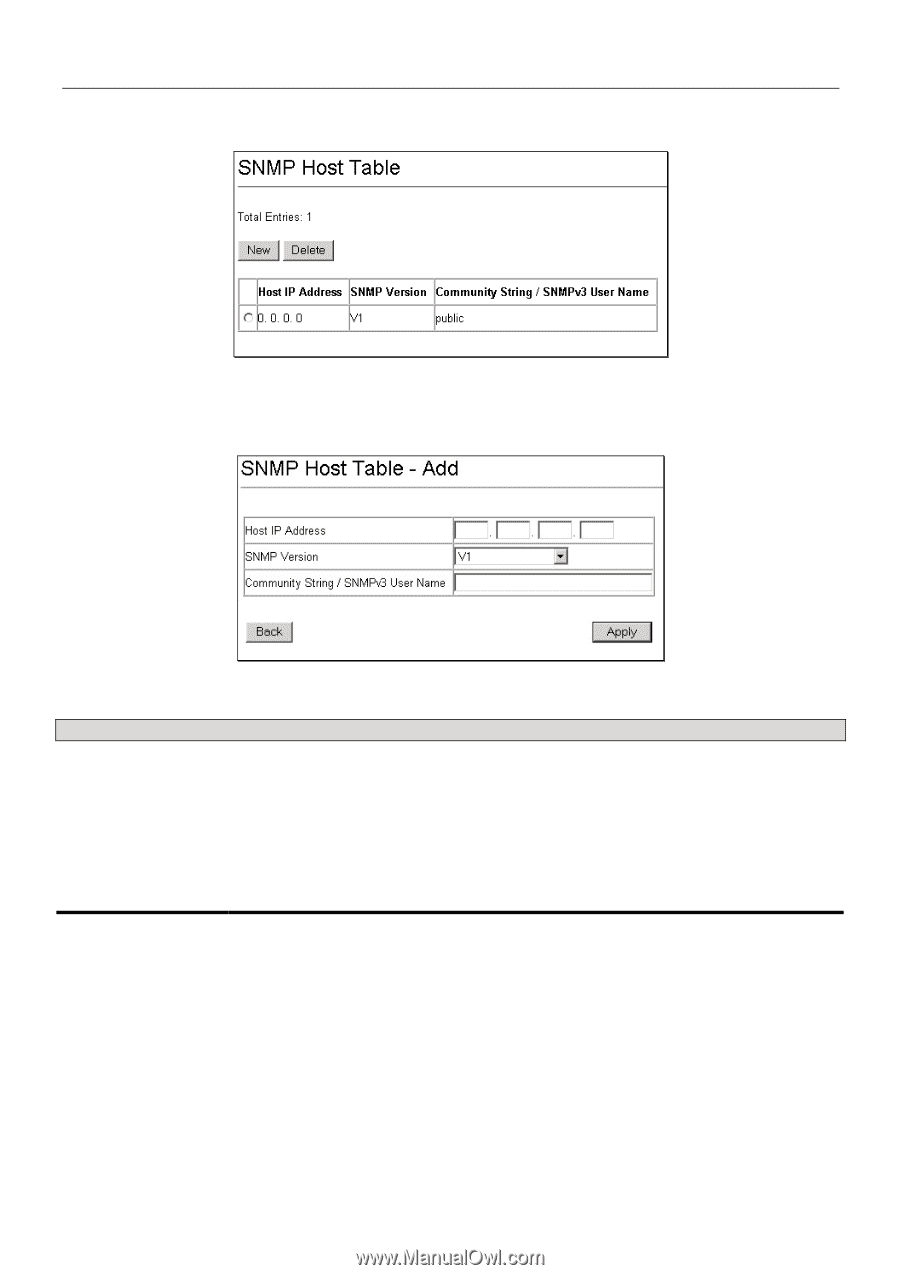
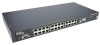
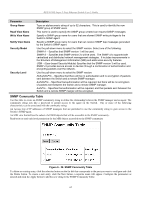
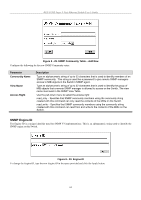
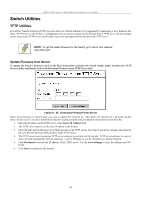
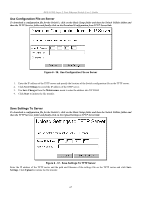
DES-3226S Layer 2 Fast Ethernet Switch User's Guide SNMP Host Table Use the SNMP Host Table to set up trap recipients. Figure 6 - 31. SNMP Host Table To delete an existing entry, click the selection button on the far left that corresponds to the port you want to configure and click the Delete button. To create a new entry, click the New button, a separate menu will appear. Figure 6 - 32. SNMP Host Table - Add New Parameter Description IP Address Type the IP address of the remote management station that will serve as the SNMP host for the Switch. SNMP Version From the pull-down menu select: V1 - To specifies that SNMP version 1 will be used. V2 - To specify that SNMP version 2 will be used. V3 - To specify that the SNMP version 3 will be used. Community String or Type in the community string or SNMP V3 user name as appropriate. SNMP V3 User Name 64
-
 1
1 -
2
-
3
-
4
-
5
-
6
-
7
-
8
-
9
-
10
-
11
-
12
-
13
-
14
-
15
-
16
-
17
-
18
-
19
-
20
-
21
-
22
-
23
-
24
-
25
-
26
-
27
-
28
-
29
-
30
-
31
-
32
-
33
-
34
-
35
-
36
-
37
-
38
-
39
-
40
-
41
-
42
-
43
-
44
-
45
-
46
-
47
-
48
-
49
-
50
-
51
-
52
-
53
-
54
-
55
-
56
-
57
-
58
-
59
-
60
-
61
-
 62
62 -
 63
63 -
 64
64 -
 65
65 -
 66
66 -
 67
67 -
 68
68 -
 69
69 -
 70
70 -
 71
71 -
 72
72 -
73
-
74
-
75
-
76
-
77
-
78
-
79
-
80
-
81
-
82
-
83
-
84
-
85
-
86
-
87
-
88
-
89
-
90
-
91
-
92
-
93
-
94
-
95
-
96
-
97
-
98
-
99
-
100
-
101
-
102
-
103
-
104
-
105
-
106
-
107
-
108
-
109
-
110
-
111
-
112
-
113
-
114
-
115
-
116
-
117
-
118
-
119
-
120
-
121
-
122
-
123
-
124
 |
 |