Garmin eTrex Legend C Owner's Manual - Page 49
Navigation The Map displays your movement - review
 |
UPC - 753759045555
View all Garmin eTrex Legend C manuals
Add to My Manuals
Save this manual to your list of manuals |
Page 49 highlights
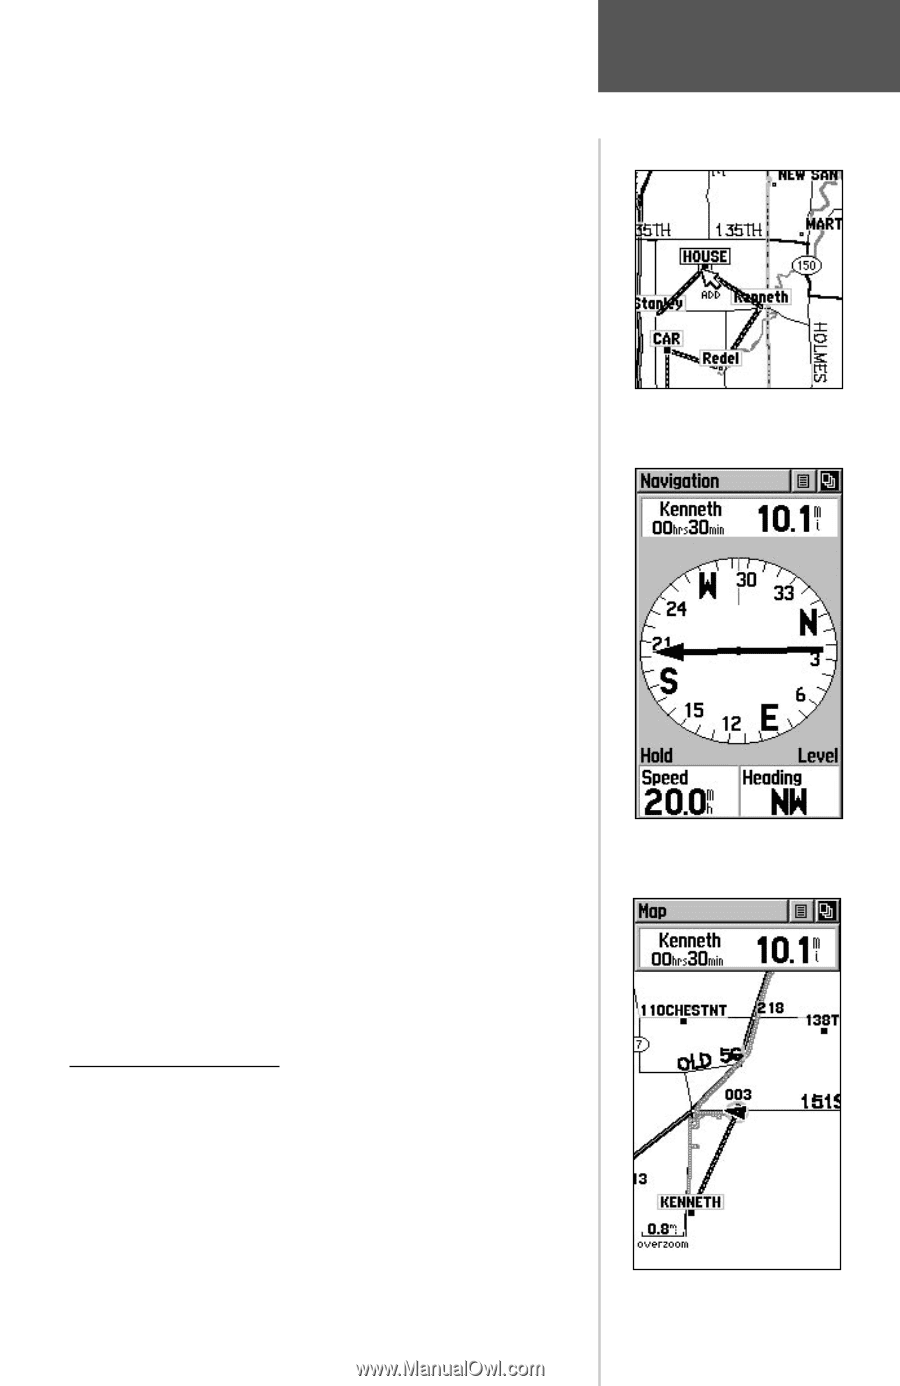
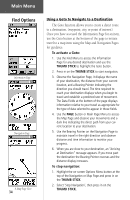
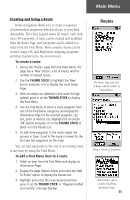
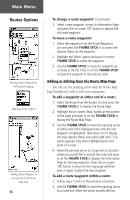
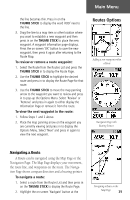
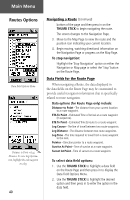
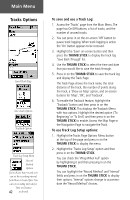
Main Menu the line becomes thin. Press in on the THUMB STICK to display the word 'ADD' next to the line. 3. Drag the line to a map item or other location where you want to establish a new waypoint and then press in on the THUMB STICK to place the new waypoint. A waypoint information page displays. Press the on-screen 'OK' button to save the new waypoint, then press it again after returning to the Route Map. To review or remove a route waypoint: 1. Select the Route from the Routes List and press the THUMB STICK in to display the Route Page. 2. Use the THUMB STICK to highlight the desired route and press in to display the Route Page for that route. 3. Use the THUMB STICK to move the map panning arrow to the waypoint you want to review and press in to pop-up the Options Menu. Select 'Review' or 'Remove' and press in again to either display the Information Page or remove it from the route. To view the next waypoint in the route: 1. Follow Steps 1 and 2 above. 2. Place the map panning arrow on the waypoint you are currently viewing and press in to display the Options Menu. Select 'Next' and press in again to view the next waypoint. Routes Options Adding a new waypoint within a Route Navigation Page with Bearing Pointer Navigating a Route A Route can be navigated using the Map Page or the Navigation Page. The Map Page displays your movement, the route line, and waypoints on the route. The Navigation Page shows compass direction and a bearing pointer. To navigate a route: 1. Select a route from the Routes List and then press in on the THUMB STICK to display the Route Page. 2. Highlight the on-screen 'Navigate' button at the Navigating a Route on the Map Page 39
-
 1
1 -
2
-
3
-
4
-
5
-
6
-
7
-
8
-
9
-
10
-
11
-
12
-
13
-
14
-
15
-
16
-
17
-
18
-
19
-
20
-
21
-
22
-
23
-
24
-
25
-
26
-
27
-
28
-
29
-
30
-
31
-
32
-
33
-
34
-
35
-
36
-
37
-
38
-
39
-
40
-
41
-
42
-
43
-
 44
44 -
 45
45 -
 46
46 -
 47
47 -
 48
48 -
 49
49 -
 50
50 -
 51
51 -
 52
52 -
 53
53 -
 54
54 -
55
-
56
-
57
-
58
-
59
-
60
-
61
-
62
-
63
-
64
-
65
-
66
-
67
-
68
-
69
-
70
-
71
-
72
-
73
-
74
-
75
-
76
 |
 |