HP 2100 Service Manual - Page 132
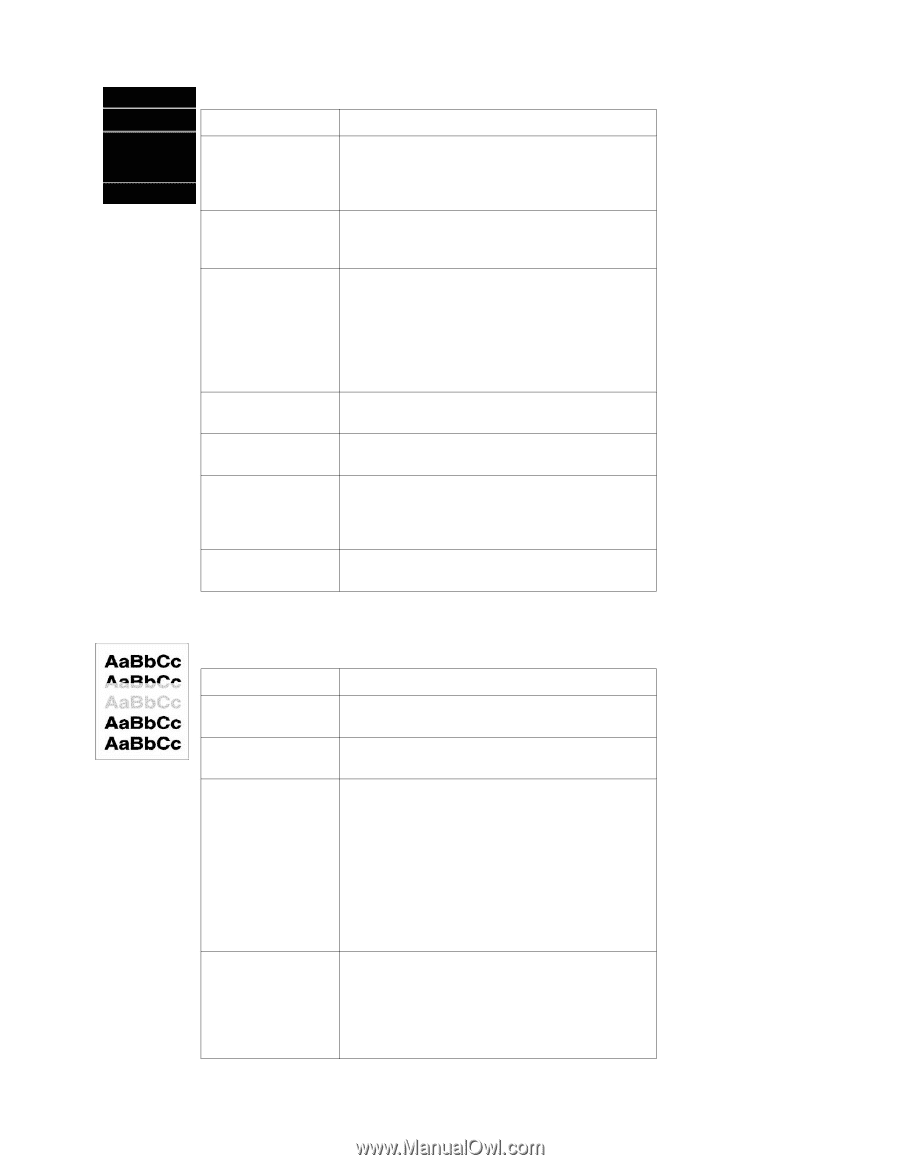
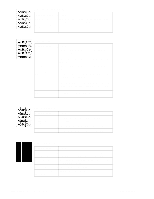
Horizontal White Lines, Possible Cause, Action, Light Print
 |
UPC - 873662008284
View all HP 2100 manuals
Add to My Manuals
Save this manual to your list of manuals |
Page 132 highlights
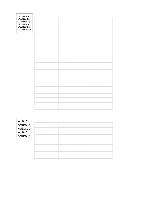
Horizontal White Lines Possible Cause Action Toner Cartridge is Remove the Toner Cartridge and shake it gently. The nearly empty. This can cartridge will soon require replacement. cause uneven toner distribution. Toner Cartridge has Store the Toner Cartridge in a darkened environment been exposed to too for several days. This may restore the photosensitive much light. potential. Foreign objects in Remove the Toner Cartridge and check for damage. beam path. Any Replace the Toner Cartridge if it is damaged. foreign objects will block the light from Remove the Printer Cover and inspect the path from developing an image the Laser Scanner to the Toner Cartridge drum, on the Photosensitive looking for foreign objects in the beam path. drum. Dirty or obstructed Clean the Fuser entrance guide fuser entrance guide Scared or obstructed Replace the Fuser film unit Fuser film unit surface Scarring on the photosensitive drum or defective developing cylinder Replace the Toner Cartridge Dirty mirror in Laser Replace the Laser Scanner Scanner Light Print Possible Cause Action Wrong toner density Adjust the toner density setting in the print driver. setting. Make sure EconoMode is off. Toner Cartridge requires cleaning See "Toner Cartridge Cleaning" (page 61) Paper does not meet printer specifications or is stored improperly. 1. Print a few more pages to see if the problem corrects itself. 2. Turn over the stack of paper in the tray. Also try rotating the paper 180 degrees. 3. Check the paper (or other print media) type and quality. Replace the paper, and advise the customer to use the recommended paper and store it properly. See "Media Troubleshooting" (page 129). Poor contact between 1. Clean the contacts if they are dirty. If the problem the Engine Controller remains after cleaning, or if parts are damaged or Assembly and the deformed, replace them. transfer roller shaft contact. 2. Replace the Engine Controller Assembly and the Intermediate PCB if necessary. 122 Chapter 6 Troubleshooting C4170-90959
-
 1
1 -
2
-
3
-
4
-
5
-
6
-
7
-
8
-
9
-
10
-
11
-
12
-
13
-
14
-
15
-
16
-
17
-
18
-
19
-
20
-
21
-
22
-
23
-
24
-
25
-
26
-
27
-
28
-
29
-
30
-
31
-
32
-
33
-
34
-
35
-
36
-
37
-
38
-
39
-
40
-
41
-
42
-
43
-
44
-
45
-
46
-
47
-
48
-
49
-
50
-
51
-
52
-
53
-
54
-
55
-
56
-
57
-
58
-
59
-
60
-
61
-
62
-
63
-
64
-
65
-
66
-
67
-
68
-
69
-
70
-
71
-
72
-
73
-
74
-
75
-
76
-
77
-
78
-
79
-
80
-
81
-
82
-
83
-
84
-
85
-
86
-
87
-
88
-
89
-
90
-
91
-
92
-
93
-
94
-
95
-
96
-
97
-
98
-
99
-
100
-
101
-
102
-
103
-
104
-
105
-
106
-
107
-
108
-
109
-
110
-
111
-
112
-
113
-
114
-
115
-
116
-
117
-
118
-
119
-
120
-
121
-
122
-
123
-
124
-
125
-
126
-
 127
127 -
 128
128 -
 129
129 -
 130
130 -
 131
131 -
 132
132 -
 133
133 -
 134
134 -
 135
135 -
 136
136 -
 137
137 -
138
-
139
-
140
-
141
-
142
-
143
-
144
-
145
-
146
-
147
-
148
-
149
-
150
-
151
-
152
-
153
-
154
-
155
-
156
-
157
-
158
-
159
-
160
-
161
-
162
-
163
-
164
-
165
-
166
-
167
-
168
-
169
-
170
-
171
-
172
-
173
-
174
-
175
-
176
-
177
-
178
-
179
-
180
-
181
-
182
-
183
-
184
-
185
-
186
-
187
-
188
-
189
-
190
-
191
-
192
-
193
-
194
-
195
-
196
-
197
-
198
-
199
-
200
-
201
-
202
-
203
-
204
-
205
-
206
-
207
-
208
-
209
-
210
-
211
-
212
-
213
-
214
-
215
-
216
-
217
-
218
-
219
-
220
-
221
-
222
-
223
-
224
-
225
-
226
-
227
-
228
-
229
-
230
-
231
-
232
-
233
-
234
-
235
-
236
-
237
-
238
-
239
-
240
-
241
-
242
-
243
-
244
-
245
-
246
-
247
-
248
-
249
-
250
-
251
-
252
-
253
-
254
-
255
-
256
-
257
-
258
-
259
-
260
-
261
-
262
-
263
-
264
-
265
-
266
-
267
-
268
-
269
-
270
-
271
-
272
-
273
-
274
-
275
-
276
-
277
-
278
-
279
-
280
-
281
-
282
-
283
-
284
-
285
-
286
-
287
-
288
-
289
-
290
-
291
-
292
-
293
-
294
-
295
-
296
-
297
-
298
-
299
-
300
-
301
-
302
-
303
-
304
-
305
-
306
-
307
-
308
-
309
-
310
 |
 |