HP LaserJet Pro 300 HP LaserJet Pro 300 and 400 Color M351 and M451 - Software - Page 117
Perform a custom installation with HP Smart Install or the CD, - reviews
 |
View all HP LaserJet Pro 300 manuals
Add to My Manuals
Save this manual to your list of manuals |
Page 117 highlights
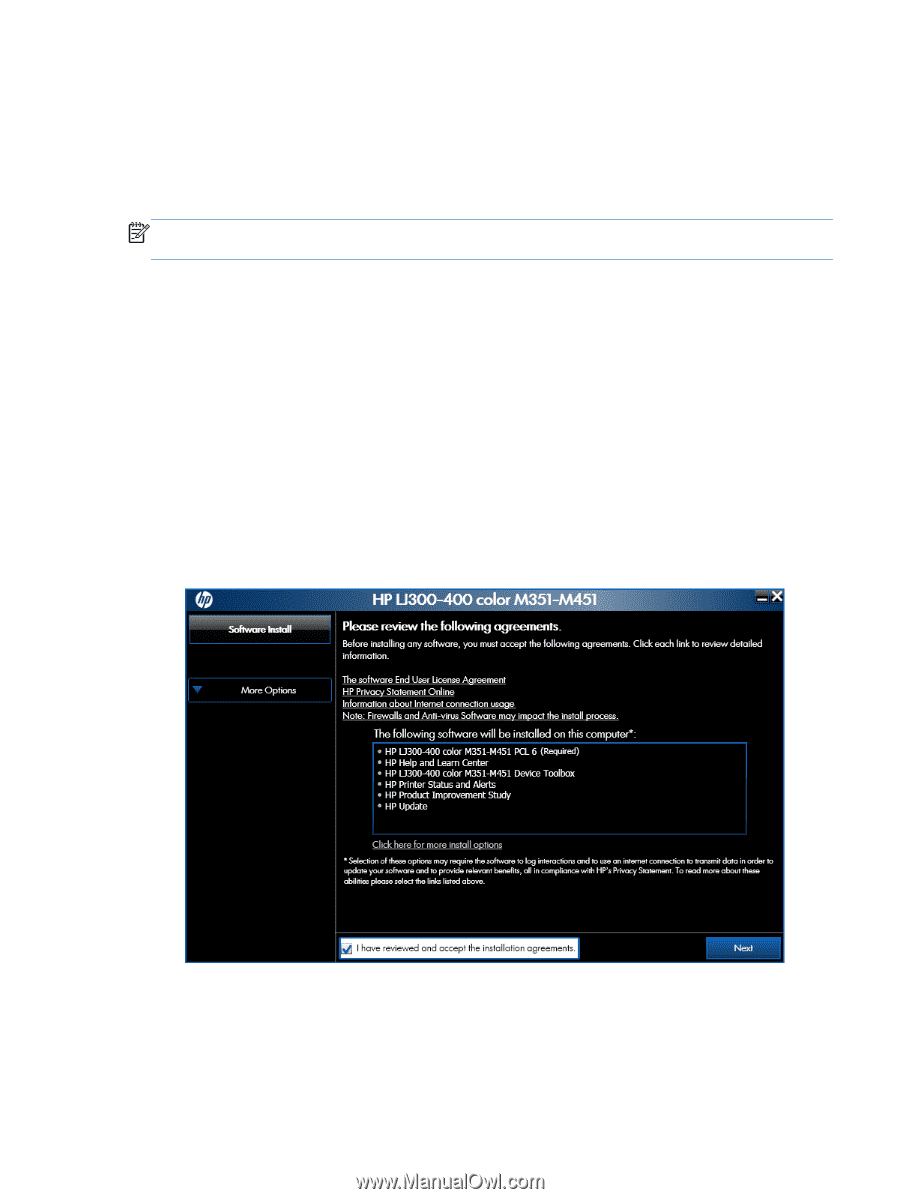
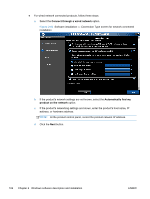
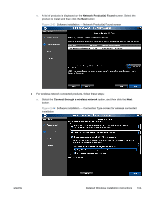
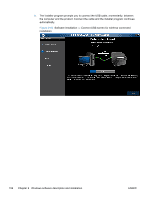
Perform a custom installation with HP Smart Install or the CD The custom installation allows you to customize the software installed with your product. The dialog boxes shown here appear in the Windows XP Professional installation sequence. The order and appearance of dialog boxes can vary among operating systems. NOTE: You can return to the previous dialog box by clicking the Back button, or exit the printingsystem software installation by clicking the Cancel button. 1. Close all programs. 2. Insert the printing system software CD into the CD-ROM drive. The software installer detects the language of the operating system, and then displays the main menu of the installation program in the same language. If the installer program has not started after 30 seconds, complete these steps: a. On the Start menu, click the Run option. b. Type the following: X:\SETUP.EXE (where X is the letter of the CD-ROM drive). c. Click the OK button. The installer program starts. 3. Read the license agreement, click the I have reviewed and accept the installation agreements check box. Figure 2-58 Software installation - License agreement screen ENWW Detailed Windows installation instructions 101
-
 1
1 -
2
-
3
-
4
-
5
-
6
-
7
-
8
-
9
-
10
-
11
-
12
-
13
-
14
-
15
-
16
-
17
-
18
-
19
-
20
-
21
-
22
-
23
-
24
-
25
-
26
-
27
-
28
-
29
-
30
-
31
-
32
-
33
-
34
-
35
-
36
-
37
-
38
-
39
-
40
-
41
-
42
-
43
-
44
-
45
-
46
-
47
-
48
-
49
-
50
-
51
-
52
-
53
-
54
-
55
-
56
-
57
-
58
-
59
-
60
-
61
-
62
-
63
-
64
-
65
-
66
-
67
-
68
-
69
-
70
-
71
-
72
-
73
-
74
-
75
-
76
-
77
-
78
-
79
-
80
-
81
-
82
-
83
-
84
-
85
-
86
-
87
-
88
-
89
-
90
-
91
-
92
-
93
-
94
-
95
-
96
-
97
-
98
-
99
-
100
-
101
-
102
-
103
-
104
-
105
-
106
-
107
-
108
-
109
-
110
-
111
-
 112
112 -
 113
113 -
 114
114 -
 115
115 -
 116
116 -
 117
117 -
 118
118 -
 119
119 -
 120
120 -
 121
121 -
 122
122 -
123
-
124
-
125
-
126
-
127
-
128
-
129
-
130
-
131
-
132
-
133
-
134
-
135
-
136
-
137
-
138
-
139
-
140
-
141
-
142
-
143
-
144
-
145
-
146
-
147
-
148
-
149
-
150
-
151
-
152
-
153
-
154
-
155
-
156
-
157
-
158
-
159
-
160
-
161
-
162
-
163
-
164
-
165
-
166
-
167
-
168
-
169
-
170
-
171
-
172
-
173
-
174
-
175
-
176
-
177
-
178
-
179
-
180
-
181
-
182
-
183
-
184
-
185
-
186
-
187
-
188
-
189
-
190
-
191
-
192
-
193
-
194
-
195
-
196
 |
 |