Konica Minolta bizhub C550 bizhub C451/C550/C650 Fax Driver Operations User Ma - Page 18
Installing the fax driver using the Add Printer Wizard, For Windows XP/Server 2003 - printer driver
 |
View all Konica Minolta bizhub C550 manuals
Add to My Manuals
Save this manual to your list of manuals |
Page 18 highlights
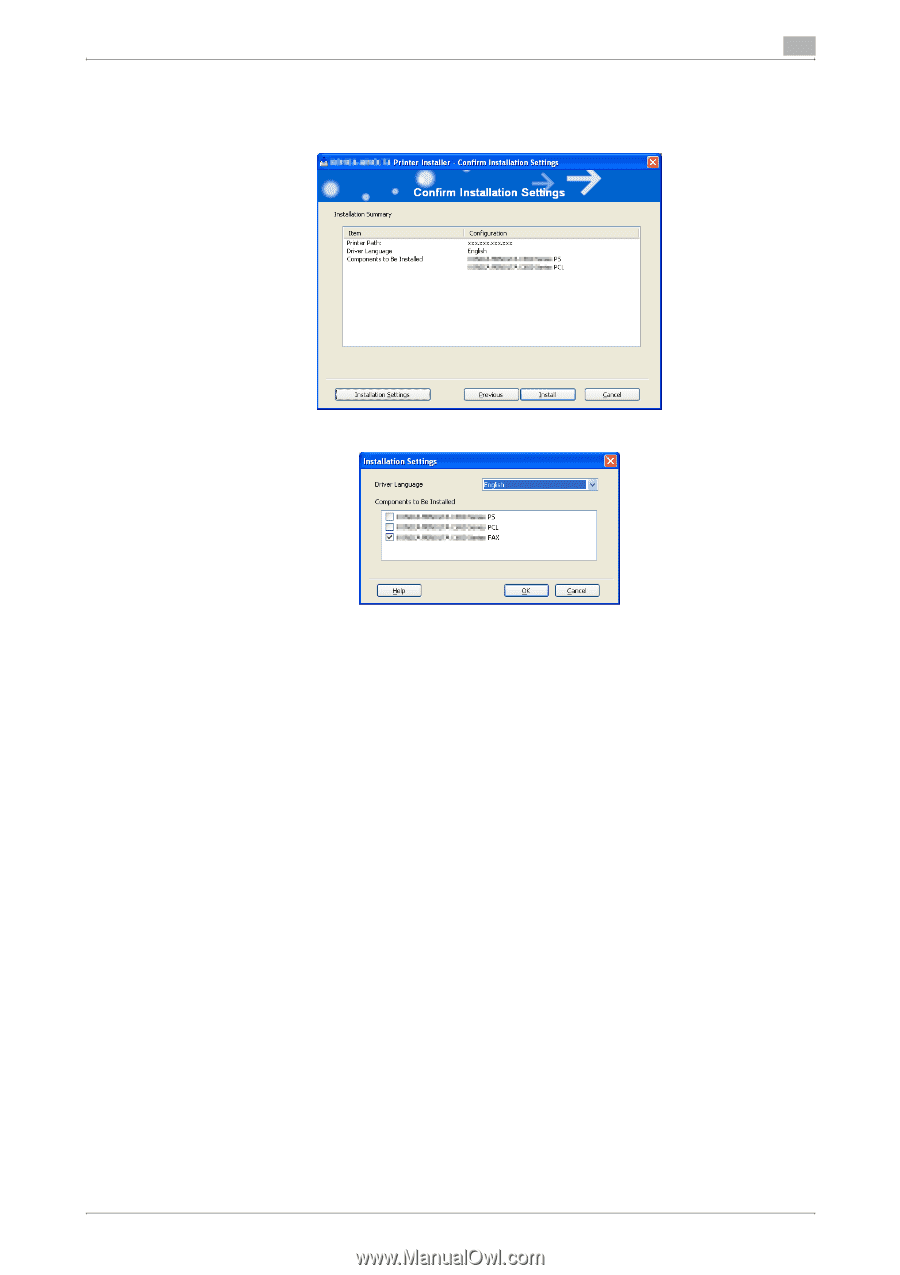
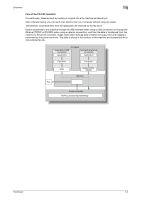
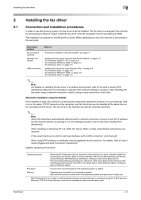
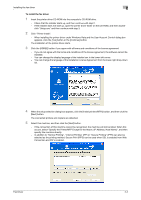
Installing the fax driver 2 - For Windows Vista, an IPPS connection (security printing) cannot be set up using the installer. To set up an IPPS connection, use the Add Printer Wizard. 6 Check the [Installation Settings] button. 7 Select the components to be installed, and then click the [OK] button. 8 In the Confirm Installation Settings dialog box, click the [Install] button. - If the Windows logo test, Windows security or digital signature warning message appears, click the [Continue] or [Yes] button. Follow the on-screen instructions to complete the installation. Installing the fax driver using the Add Printer Wizard For details on installing the fax driver in a network environment, refer to the User's Guide [Print Operations]. Because it is necessary to specify other network settings in advance when installing the fax driver using a network connection, install it using a local connection at this time. For Windows XP/Server 2003 1 Insert the printer driver CD-ROM into the computer's CD-ROM drive. 2 Click the [Start] button, and then click "Printers and Faxes". - If "Printers and Faxes" does not appear in the Start menu, open the Control Panel from the Start menu, select "Printers and Other Hardware", and then select "Printers and Faxes". Fax Driver 2-3
-
 1
1 -
2
-
3
-
4
-
5
-
6
-
7
-
8
-
9
-
10
-
11
-
12
-
 13
13 -
 14
14 -
 15
15 -
 16
16 -
 17
17 -
 18
18 -
 19
19 -
 20
20 -
 21
21 -
 22
22 -
 23
23 -
24
-
25
-
26
-
27
-
28
-
29
-
30
-
31
-
32
-
33
-
34
-
35
-
36
-
37
-
38
-
39
-
40
-
41
-
42
-
43
-
44
-
45
-
46
-
47
-
48
-
49
-
50
-
51
-
52
-
53
-
54
-
55
-
56
-
57
-
58
-
59
 |
 |