Samsung SC-D366 User Manual (ENGLISH) - Page 38
Setting the Self Timer SC-D364/D366 only
 |
View all Samsung SC-D366 manuals
Add to My Manuals
Save this manual to your list of manuals |
Page 38 highlights
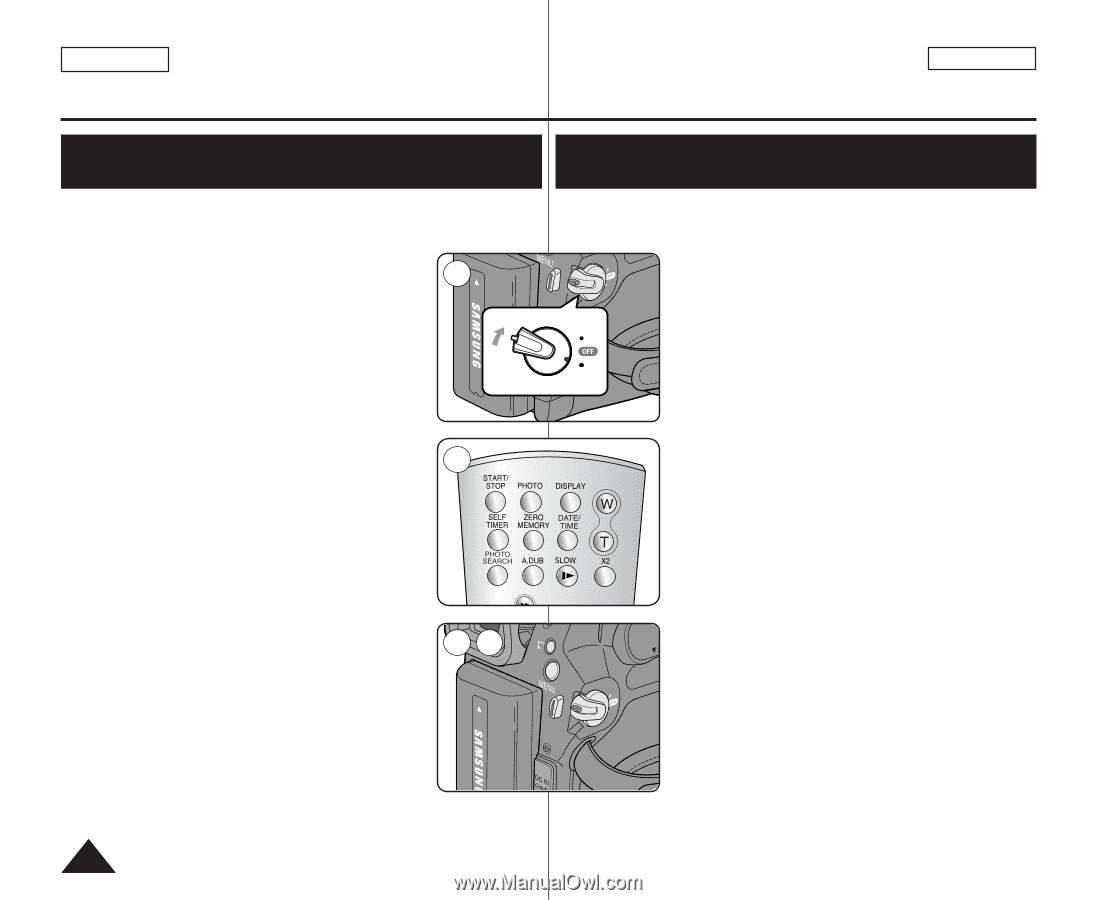
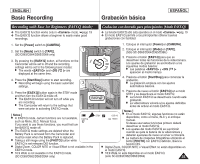
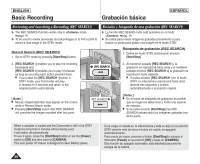
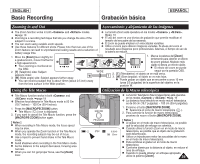
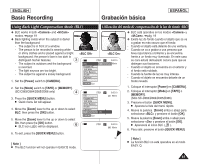
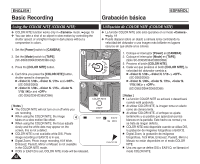
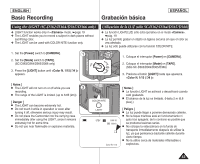
ENGLISH Basic Recording Grabación básica ESPAÑOL Self Record using the Remote Control (Setting the Self Timer) (SC-D364/D366 only) ✤ The SELF TIMER function works only in mode. ➥page 19 ✤ When you use the SELF TIMER function on the remote control, the recording begins automatically in 10 seconds. 1 1. Set the [Power] switch to [CAMERA]. 2. Set the [Mode] switch to [TAPE]. 3. Press the [SELF TIMER] button until the appropriate indicator is displayed. Auto grabación con el control remoto (ajuste de Self Timer (Temporizador)) (sólo SC-D364/D366) ✤ La función SELF TIMER (TEMPORIZADOR) sólo está operativa en el modo . ➥pág. 19 ✤ Cuando se emplea la función del temporizador del PLAYE control remoto, la grabación se pone en marcha automáticamente al cabo de 10 segundos. MERA CA PLAY 1. Coloque el interruptor [Power] en [CAMERA]. R ER 2. Coloque el interruptor [Mode] en [TAPE]. ERA CAM 3. Presione el botón [SELF TIMER] hasta que aparezca el indicador correspondiente. 4. Press the [Start/Stop] button to start the timer. ■ SELF TIMER starts counting down from 10 with a beep sound. ■ In the last one second of the countdown the beep sound gets faster, then recording starts automatically. ■ If you want to cancel the SELF TIMER function before recording, press the [SELF TIMER] button. 3 œ 4. Presione el botón [Start/Stop] para iniciar el temporizador. ■ El temporizador inicia la cuenta atrás desde 10 con un pitido. ■ En el último segundo de la cuenta atrás, el pitido se acelera y la grabación se inicia automáticamente. ■ Para cancelar la función de temporizador antes de grabar, presione el botón [SELF TIMER]. 5. Press the [Start/Stop] button again when you wish to stop recording. 45 QMUEINCUK [ Notes ] PLAYE ■ Do not obstruct the remote control sensor by putting obstacles between the remote control and CA Camcorder. ■ The remote control range is 4 ~5m (13 ~17 ft). ■ The effective remote control angle is up to 30 degrees left /right from the center line. ■ Using a tripod is recommended for delayed recording. 38 R œ MERA 5. Presione el botón [Start/Stop] de nuevo cuando desee detener la grabación. [ Notas ] ■ No obstaculice el sensor del control remoto colocando obstáculos entre el control remoto y la videocámara. ■ El alcance del control remoto es de 4 ~ 5 m (13 ~ 17 pies). ■ El ángulo eficaz del control remoto es de hasta 30 grados a la izquierda /derecha desde la línea central. ■ Para disparos con retardo se recomienda el uso de un trípode.
-
 1
1 -
2
-
3
-
4
-
5
-
6
-
7
-
8
-
9
-
10
-
11
-
12
-
13
-
14
-
15
-
16
-
17
-
18
-
19
-
20
-
21
-
22
-
23
-
24
-
25
-
26
-
27
-
28
-
29
-
30
-
31
-
32
-
 33
33 -
 34
34 -
 35
35 -
 36
36 -
 37
37 -
 38
38 -
 39
39 -
 40
40 -
 41
41 -
 42
42 -
 43
43 -
44
-
45
-
46
-
47
-
48
-
49
-
50
-
51
-
52
-
53
-
54
-
55
-
56
-
57
-
58
-
59
-
60
-
61
-
62
-
63
-
64
-
65
-
66
-
67
-
68
-
69
-
70
-
71
-
72
-
73
-
74
-
75
-
76
-
77
-
78
-
79
-
80
-
81
-
82
-
83
-
84
-
85
-
86
-
87
-
88
-
89
-
90
-
91
-
92
-
93
-
94
-
95
-
96
-
97
-
98
-
99
-
100
-
101
-
102
-
103
-
104
-
105
-
106
 |
 |