Sharp AR-M205 AR-M160 AR-M205 Operation Manual - Page 37
Using the SPF/RSPF, Setting the layout pattern
 |
View all Sharp AR-M205 manuals
Add to My Manuals
Save this manual to your list of manuals |
Page 37 highlights
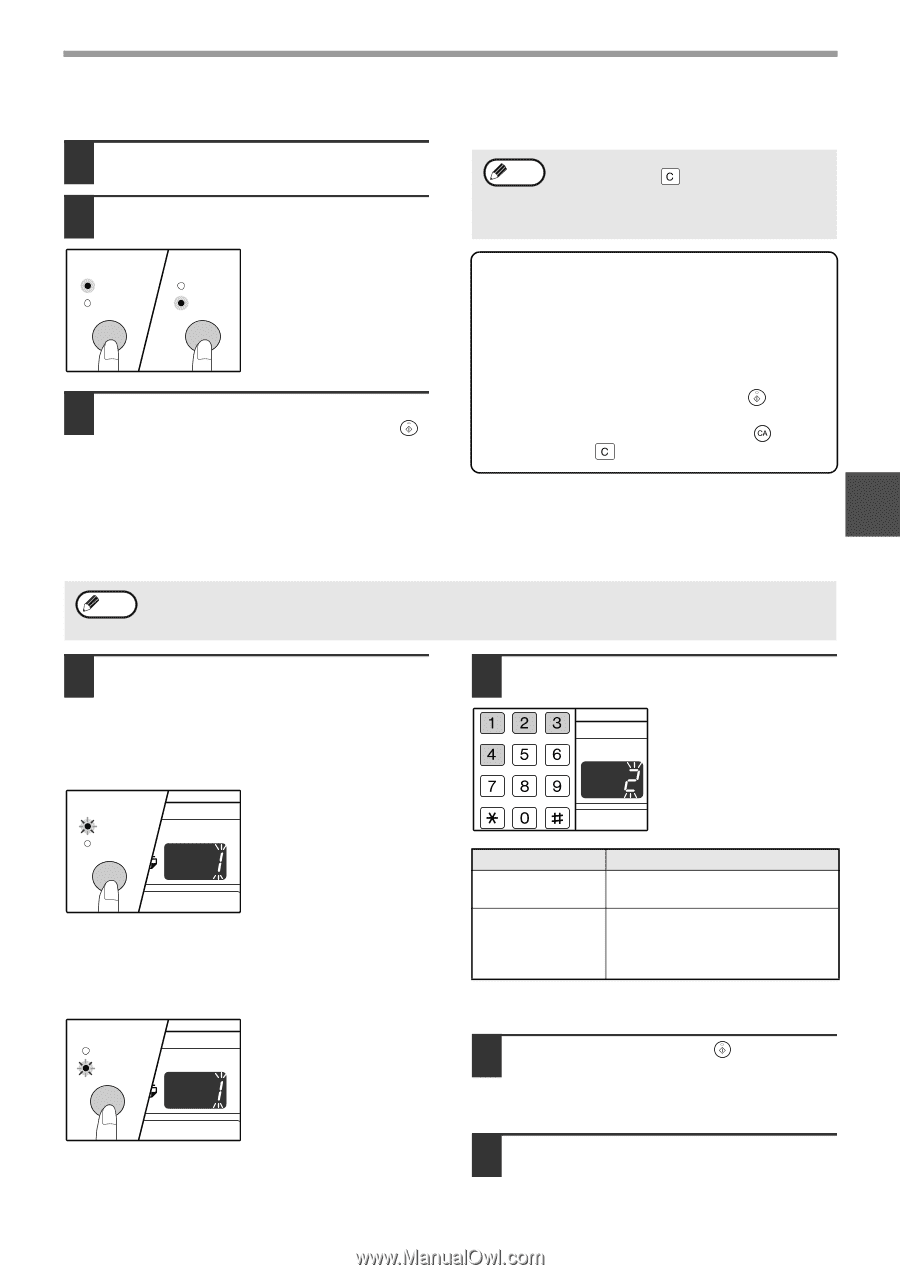
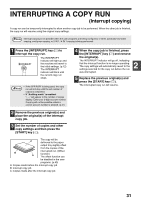
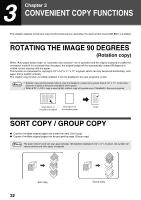
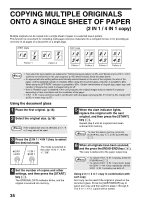
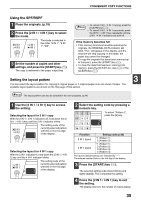
CONVENIENT COPY FUNCTIONS Using the SPF/RSPF 1 Place the originals. (p.19) 2 Press the [2 IN 1 / 4 IN 1] key to select the mode. 2 IN 1 4 IN 1 2 IN 1 4 IN 1 The mode is selected in the order "2 IN 1", "4 IN 1", "Off". 3 Set the number of copies and other settings, and press the [START] key ( ). The copy is delivered to the paper output tray. Note • To cancel 2 IN 1 / 4 IN 1 copying, press the [CLEAR] key ( ). • To cancel 2 IN 1 / 4 IN 1 copy mode, press the [2 IN 1 / 4 IN 1] key repeatedly until the 2 IN 1 / 4 IN 1 indicators are both off. If the memory becomes full • If the memory becomes full while scanning the originals, the ORIGINAL DATA indicator will blink, "FUL" will appear in the display, and the machine will stop copying. In this state, the paper tray cannot be changed. • To copy the originals that have been scanned up to that point, press the [START] key ( ). • To clear the data that has been scanned into memory, press the [CLEAR ALL] key ( ) or the [CLEAR] key ( ). Setting the layout pattern 3 You can select the layout pattern for copying 2 original pages or 4 original pages onto one sheet of paper. The available layout patterns are shown on the first page of this section. Note The layout pattern can also be selected in the user programs. (p.44) 1 Use the [2 IN 1 / 4 IN 1] key to access the setting. Selecting the layout for 2 IN 1 copy With the 2 IN 1 / 4 IN 1 indicators off, hold down the [2 IN 1 / 4 IN 1] key until the 2 IN 1 indicator blinks. 2 IN 1 4 IN 1 The setting code of the currently selected pattern will blink in the first digit of the display. Selecting the layout for 4 IN 1 copy With the 2 IN 1 indicator lit, hold down the [2 IN 1 / 4 IN 1] key until the 4 IN 1 indicator blinks. 2 IN 1 4 IN 1 The setting code of the currently selected pattern will blink in the first digit of the display. 2 Select the setting code by pressing a numeric key. To select "Pattern 2", press the [2] key. READ END Function 2 IN 1 layout 4 IN 1 layout Setting code (p.45) * 1 (Pattern 1) 2 (Pattern 2) * 1 (Pattern 1) 2 (Pattern 2) 3 (Pattern 3) 4 (Pattern 4) The factory default settings are indicated by " * ". The entered number blinks in the first digit of the display. 3 Press the [START] key ( ). The selected setting code stops blinking and lights steadily. This completes the setting. 4 Press the [2 IN 1 / 4 IN 1] key to exit the setting. The display returns to the number of copies display. 35
-
 1
1 -
2
-
3
-
4
-
5
-
6
-
7
-
8
-
9
-
10
-
11
-
12
-
13
-
14
-
15
-
16
-
17
-
18
-
19
-
20
-
21
-
22
-
23
-
24
-
25
-
26
-
27
-
28
-
29
-
30
-
31
-
 32
32 -
 33
33 -
 34
34 -
 35
35 -
 36
36 -
 37
37 -
 38
38 -
 39
39 -
 40
40 -
 41
41 -
 42
42 -
43
-
44
-
45
-
46
-
47
-
48
-
49
-
50
-
51
-
52
-
53
-
54
-
55
-
56
-
57
-
58
-
59
-
60
-
61
-
62
-
63
-
64
-
65
-
66
-
67
-
68
-
69
-
70
-
71
-
72
-
73
-
74
-
75
-
76
-
77
-
78
-
79
-
80
-
81
-
82
-
83
-
84
-
85
-
86
-
87
-
88
-
89
-
90
-
91
-
92
-
93
-
94
-
95
-
96
 |
 |