Yamaha AW4416 Version2.0 Manual Supplement - Page 18
byte, and use the [DATA/JOG] dial to, change the value
 |
View all Yamaha AW4416 manuals
Add to My Manuals
Save this manual to your list of manuals |
Page 18 highlights
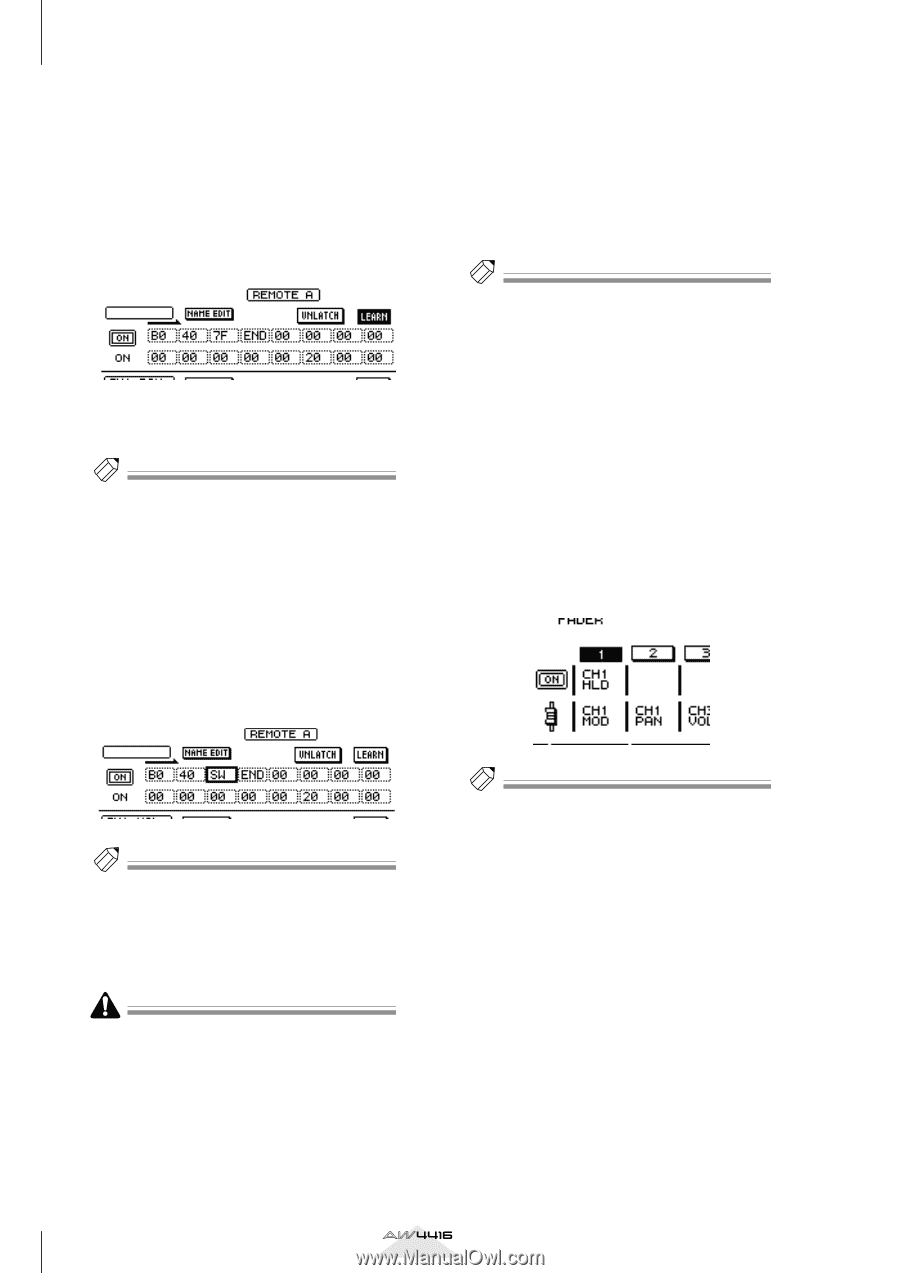
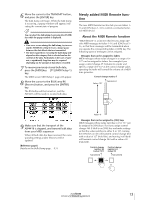
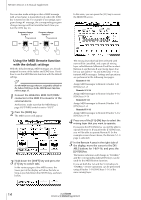
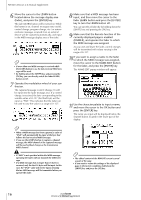
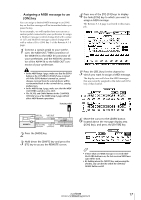
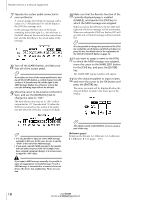
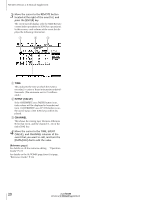
AW4416 Version 2.0 Manual Supplement 7 Operate the sustain pedal connected to your synthesizer. A control change #64 (Hold-on) message with a value of 127 (hexadecimal 7F) will be input in the [ON] key message area. In this message, the first value in the boxes extending toward the right (i.e., the first byte) is the MIDI channel, the second is the control number, and the third byte is the actual value of the message. 8 Turn off the LEARN button, and take your foot off of the sustain pedal. Tip! If you take your foot off the sustain pedal before turning off the LEARN button, a control change #64 with a value of 0 (hexadecimal 00) will be input in the MIDI message display area. However even in this case, the following steps will not be affected. 9 Move the cursor to the location of the third byte, and use the [DATA/JOG] dial to change the value to "SW." The byte whose value was set to "SW" will be transmitted as 127 (hexadecimal 7F) when the [ON] key is turned on (lit), and as 0 (hexadecimal 00) when the [ON] key is turned off (dark). 10 Make sure that the Remote function of the currently-displayed page is enabled (ENABLE), and operate the [ON] key to which the MIDI message was assigned. When you press the [ON] key, the key LED will light and a Hold-on message will be transmitted. When you release the [ON] key, the key LED will go dark and a Hold-off message will be transmitted. Tip! It is also possible to change the operation of the [ON] key so that the on/off status is switched each time you press the key. For details refer to the explanation of the LATCH/UNLATCH button on page 34. 11 If you want to assign a name to the [ON] to which the MIDI message was assigned, move the cursor to the NAME EDIT button for the [ON] key, and press the [ENTER] key. The NAME EDIT popup window will appear. 12 Use the character palette to input a name, and move the cursor to the OK button and press the [ENTER] key. The name you input will be displayed below the channel button located in the lower part of the display. Tip! • It is also possible to input an entire MIDI message manually in this way. In this case, be sure to specify "END" at the end of the MIDI message. • If you want a specific MIDI message to be transmitted each time you press [ON] (for example if you have assigned a program change), it is not necessary to input the "SW" value. If you input a MIDI message manually, it is possible to input an inappropriate or invalid message. If such a MIDI message is transmitted to a connected external device, the device may malfunction. Please use caution. Tip! The edited content of the REMOTE screen is saved as part of the song. [Reference pages] Details on the Remote A 1-8/Remote A 9-16/Remote B 1-8/Remote B 9-16 pages ¡ P.33 18 Version 2.0 Manual Supplement
-
 1
1 -
2
-
3
-
4
-
5
-
6
-
7
-
8
-
9
-
10
-
11
-
12
-
 13
13 -
 14
14 -
 15
15 -
 16
16 -
 17
17 -
 18
18 -
 19
19 -
 20
20 -
 21
21 -
 22
22 -
 23
23 -
24
-
25
-
26
-
27
-
28
-
29
-
30
-
31
-
32
-
33
-
34
-
35
-
36
-
37
-
38
-
39
-
40
-
41
-
42
-
43
-
44
-
45
-
46
-
47
-
48
 |
 |