Yamaha MOX8 Owner's Manual - Page 26
Using the Arpeggio function, Keyboard Octave/Transpose setting - manual pdf
 |
UPC - 086792950907
View all Yamaha MOX8 manuals
Add to My Manuals
Save this manual to your list of manuals |
Page 26 highlights
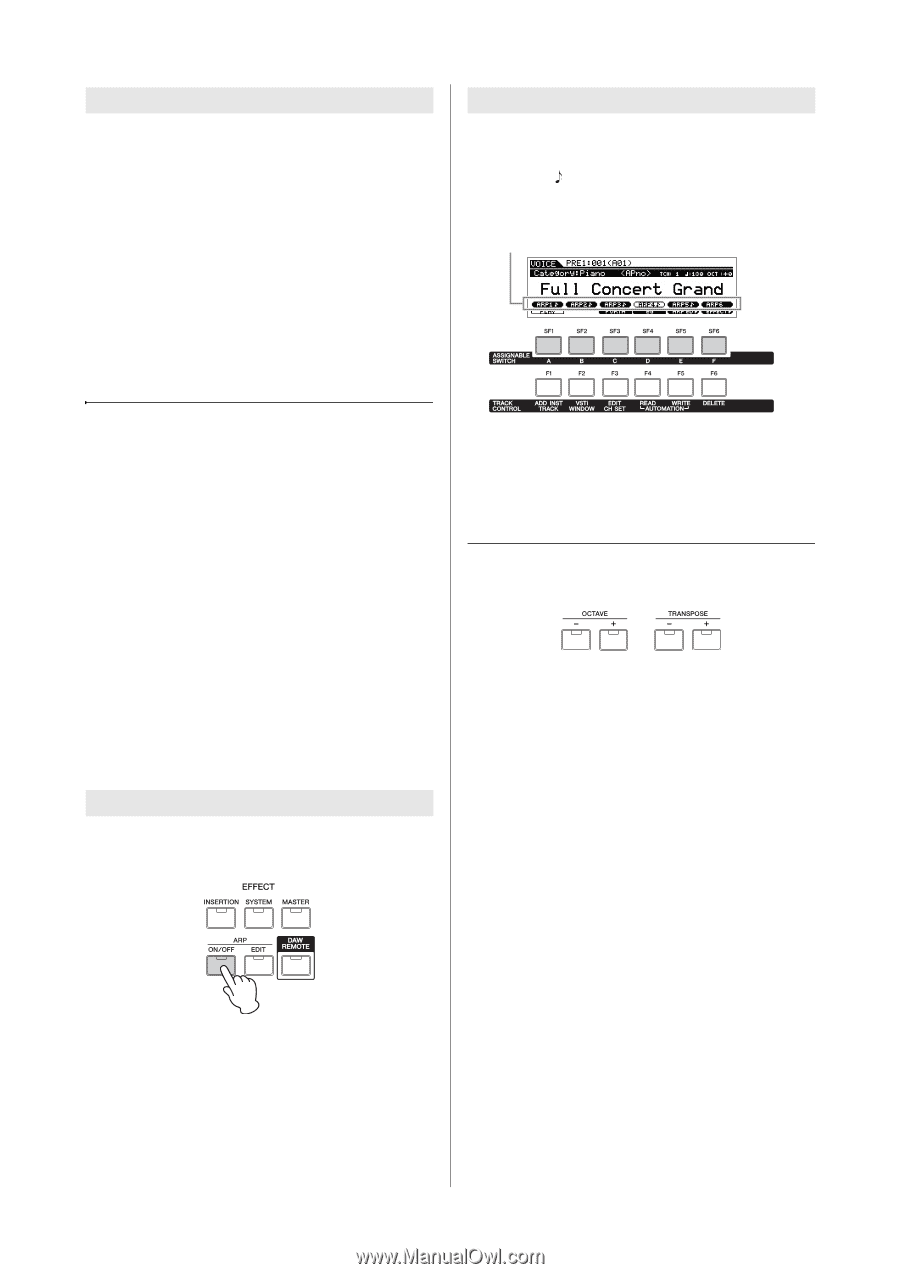
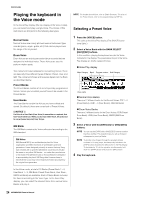
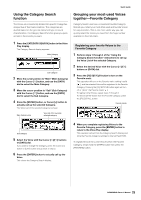
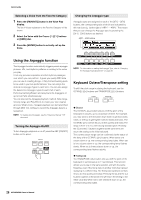
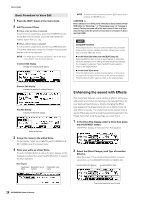
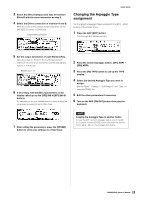
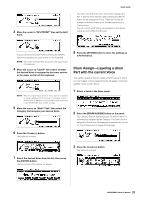
Quick Guide Selecting a Voice from the Favorite Category 1 Press the [FAVORITE] button in the Voice Play display. The list of Voices registered to the Favorite Category will be shown. 2 Select the Voice with the Cursor [V]/[E] buttons or [DATA] dial. 3 Press the [ENTER] button to actually call up the Voice. Changing the Arpeggio type Arpeggio types are assigned to each of the [SF1] - [SF6] buttons, the corresponding tabs of which are indicated by 8th note icons ( ) at the right of "ARP1" - "ARP6." This means that you can change the Arpeggio type by pressing the [SF1] - [SF6] buttons as desired. ARP1 - ARP6 buttons Using the Arpeggio function The Arpeggio function automatically triggers preset arpeggio phrases, riffs, and rhythmic patterns according to the notes you play. It not only provides inspiration and full rhythmic passages over which you can perform, it gives you quality MIDI data you can use in creating Songs, or fully formed backing parts to be used in your live performances. You can assign the desired six Arpeggio Types to each Voice. You can also assign the desired six Arpeggio Types to each Part of each Performance/Song/Pattern and play back the Arpeggios of up to four Parts simultaneously. You can also set the Arpeggio playback method, Note range, Velocity range and Play Effects to create your own original grooves. What's more, Arpeggio playback can be transmitted through MIDI Out, letting you record the Arpeggio data to a sequencer. NOTE For details about Arpeggio, see the "Reference Manual" PDF document. Turning the Arpeggio On/Off To turn Arpeggio playback on or off, press the ARP [ON/OFF] button on the panel. NOTE For information on setting the Arpeggio Type, refer to "Changing the Arpeggio Type assignment" on page 29. Keyboard Octave/Transpose setting To shift the pitch range in playing the keyboard, use the OCTAVE [-]/[+] buttons and TRANSPOSE [-]/[+] buttons. * Octave The OCTAVE [-]/[+] button lets you shift the pitch of the keyboard in octaves, up to a maximum of three. For example, you may want to shift the pitch down lower to get extra bass notes, or shift up to get higher notes for leads and solos. The OCTAVE [-]/[+] controls let you do this quickly and easily. The range is from -3 to +3, with 0 being standard pitch. Pressing the [-] and the [+] buttons together at the same time will return the setting to the initial value (0). The current octave range can be confirmed via the status of the lamp of the OCTAVE [-]/[+] buttons. When set to one octave down or up, the corresponding lamp lights. When set to two octaves down or up, the corresponding lamp flashes slowly. When set to three octaves down or up, the corresponding lamp flashes quickly. * Transpose The TRANSPOSE [-]/[+] button lets you shift the pitch of the keyboard in semitones (up to 11 semitones). This function allows you to play in the same position and with the same fingering, even if the Song data or another instrument player is playing in a different key. The Transpose Up/Down controls let you do this quickly and easily. Pressing the [-] and the [+] buttons together at the same time will return the setting to the initial value (0). When set to one semitone down or up, the corresponding lamp lights. 26 MOX6/MOX8 Owner's Manual
-
 1
1 -
2
-
3
-
4
-
5
-
6
-
7
-
8
-
9
-
10
-
11
-
12
-
13
-
14
-
15
-
16
-
17
-
18
-
19
-
20
-
 21
21 -
 22
22 -
 23
23 -
 24
24 -
 25
25 -
 26
26 -
 27
27 -
 28
28 -
 29
29 -
 30
30 -
 31
31 -
32
-
33
-
34
-
35
-
36
-
37
-
38
-
39
-
40
-
41
-
42
-
43
-
44
-
45
-
46
-
47
-
48
-
49
-
50
-
51
-
52
-
53
-
54
-
55
-
56
-
57
-
58
-
59
-
60
-
61
-
62
-
63
-
64
-
65
-
66
-
67
-
68
-
69
-
70
-
71
-
72
-
73
-
74
-
75
-
76
 |
 |